With Halloween approaching, it's the perfect time to get excited about all the fun seasonal activities! Let's dive into the art of pumpkin carving to make your Halloween even more special.
Pumpkin carving is one of the most popular and enjoyable traditions during the spooky season. Originally, people carved turnips and potatoes with candles inside to ward off evil spirits. When Halloween reached America, pumpkins became the tradition, giving us the jack-o'-lanterns we love today.
This guide will take you step-by-step through how to carve the pumpkin, from creative ideas to important safety tips. Plus, we'll show you how to record your carving process to make your Halloween even more exciting!
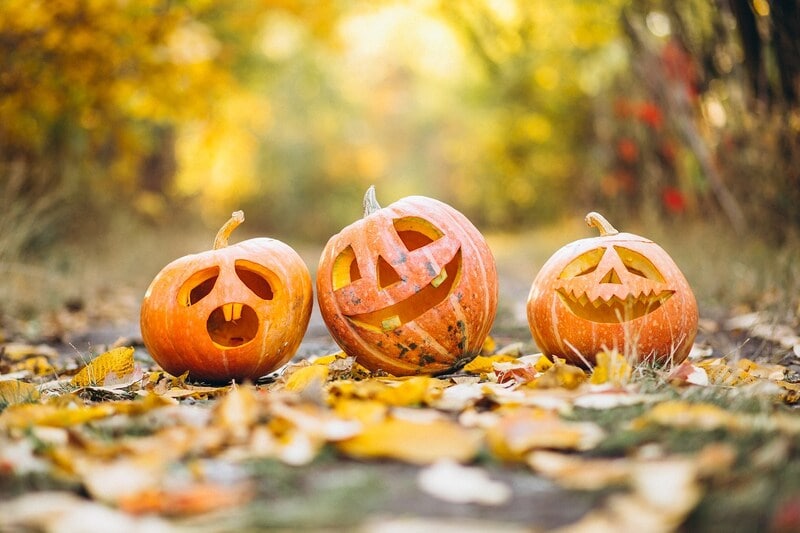
In this article
Part 1. Preparation and Creative Ideas Before Carving a Pumpkin
Before learning how to carve a Holloween pumpkin, knowing things you'll need as preparation is a must! In this section, we'll help you choose the best pumpkin and gather the necessary tools for a fun and creative experience.
How to Choose the Right Pumpkin
When selecting a pumpkin for Halloween, keep these tips in mind for the best carving experience:
- Size: A medium-sized pumpkin (10-20 pounds) is ideal for easy carving.
- Surface: Choose one with a smooth surface and even color to simplify your design.
- Stem: Look for a pumpkin with a firm, thick stem—it's usually fresher and sturdier.
- Avoid Soft spots, cracks, or blemishes, as these can cause early rotting.
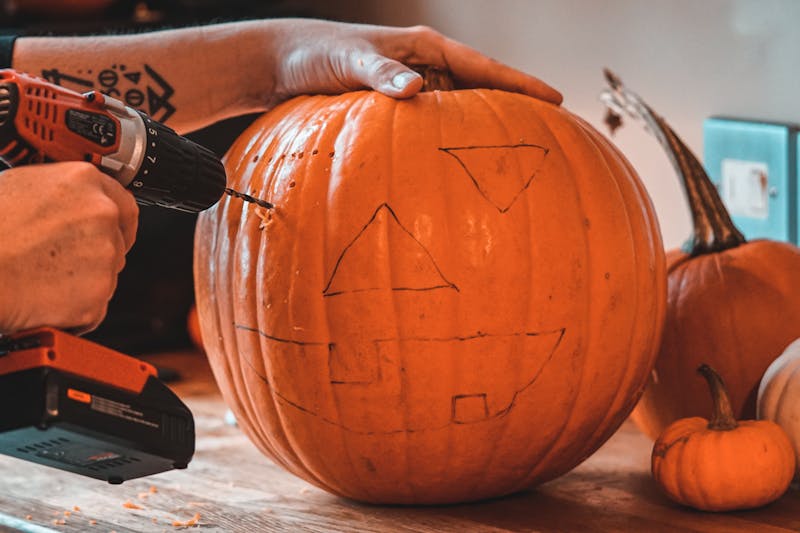
Tools You'll Need for Carving Pumpkin
Basic Tools
- Carving knife or pumpkin saw
- Large spoon or scoop for cleaning out the seeds and pulp
- A permanent marker for sketching the design
Optional Tools
- Linoleum cutter or X-Acto knife for intricate designs
- Metal cookie cutters for fun-shaped cutouts
- A pumpkin carving kit with kid-friendly, safer tools
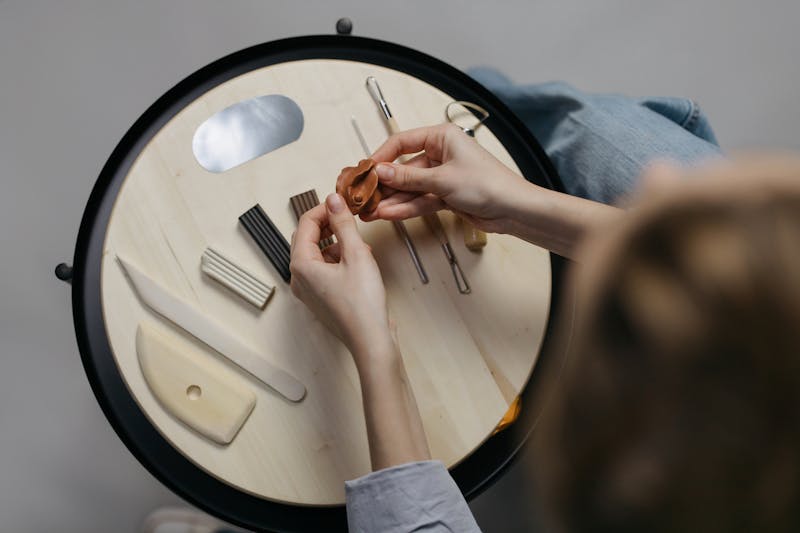
Creative Pumpkin Design Ideas
When it comes to designs, you can keep it simple with classic jack-o'-lantern faces. Or, you can get creative with your pumpkin designs. Here are some popular and fun options:
- Cat Faces: Perfect for Halloween, you can carve a cute or spooky cat face.
- Ghosts and Ghouls: Create haunting spirits on your pumpkin.
- Haunted House: Carve a pumpkin to resemble a haunted house. You can carve a window, then inside the pumpkin place a mini pumpkin that looks like screaming for help.
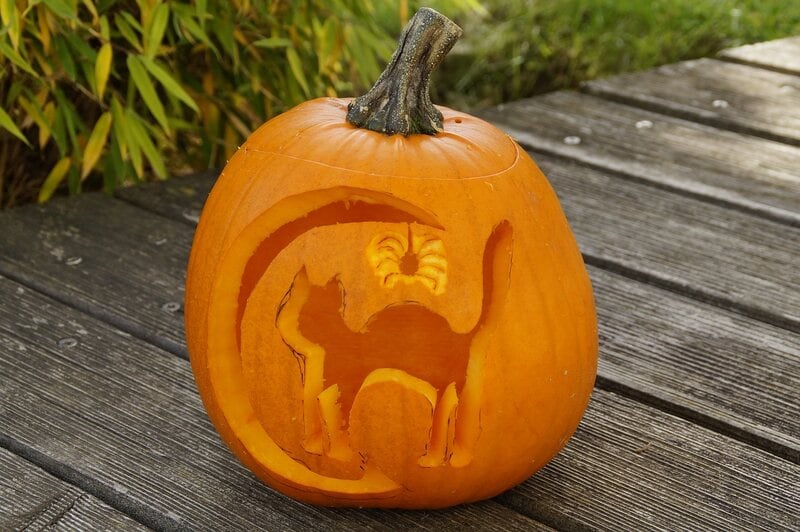
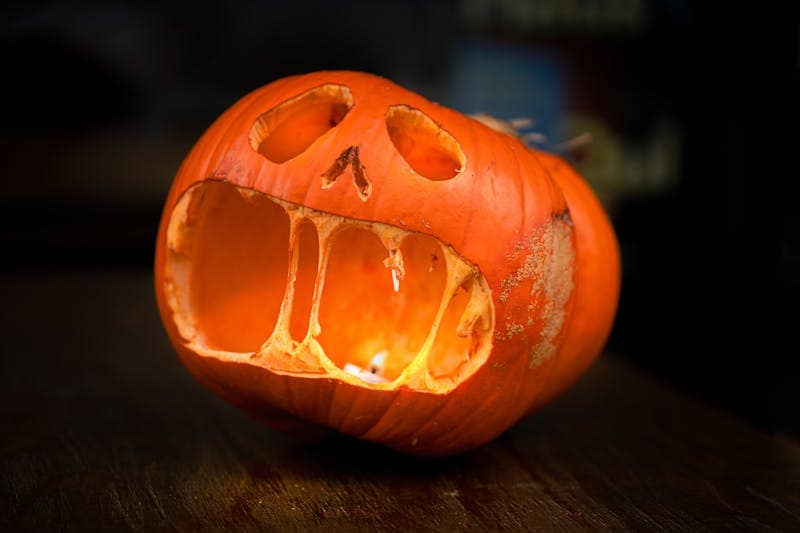
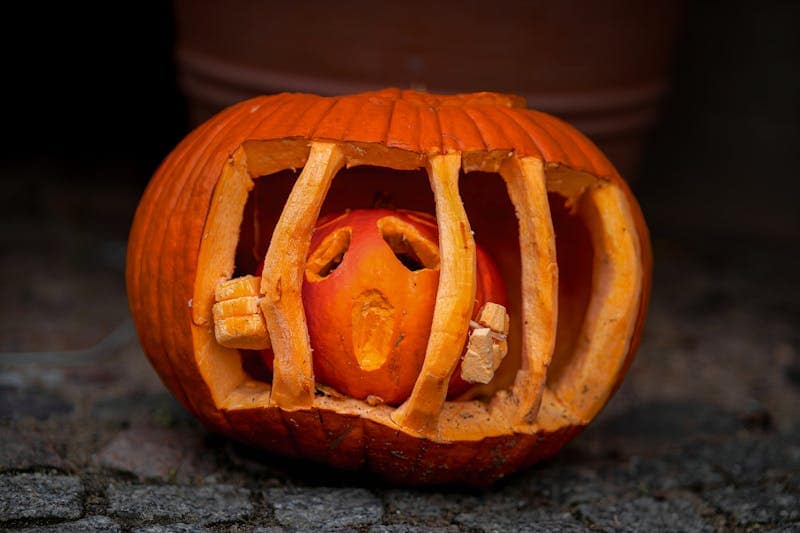
If you're feeling adventurous, you can try 3D designs that give more depth. Or, use a stencil for precise and clean results. If you want something unique, consider adding painted elements or carving just the surface layer to create glowing patterns.
Part 2. Step-by-Step Guide on How to Carving a Pumpkin for Halloween
Carving a pumpkin is a fun Halloween tradition that allows you to unleash your creativity. Here's a simple step-by-step guide on how to carve a pumpkin for Halloween. To add more fun, record your carving process to share with friends or create a spooky Halloween video!
Step 1. Prepare Your Pumpkin
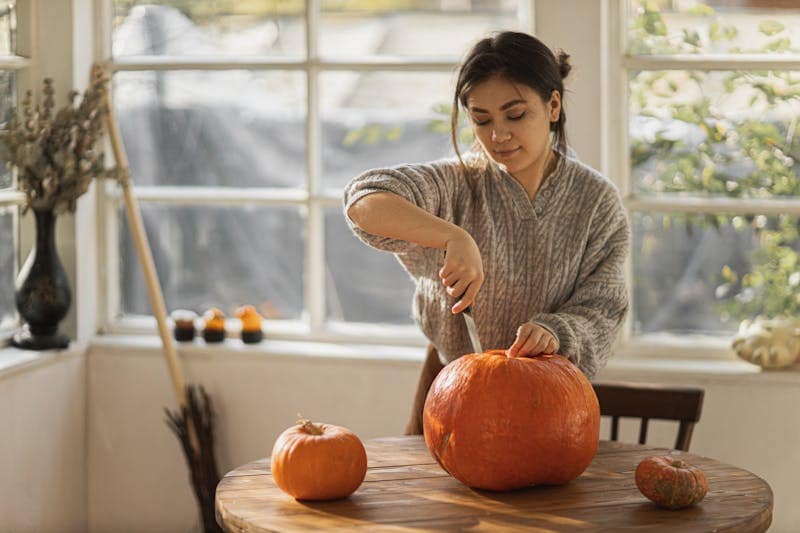
Start by choosing a smooth and sturdy pumpkin. Next, cut a circle around the stem to create a lid. Ensure to cut at an angle so the lid doesn't fall into the pumpkin when replaced.
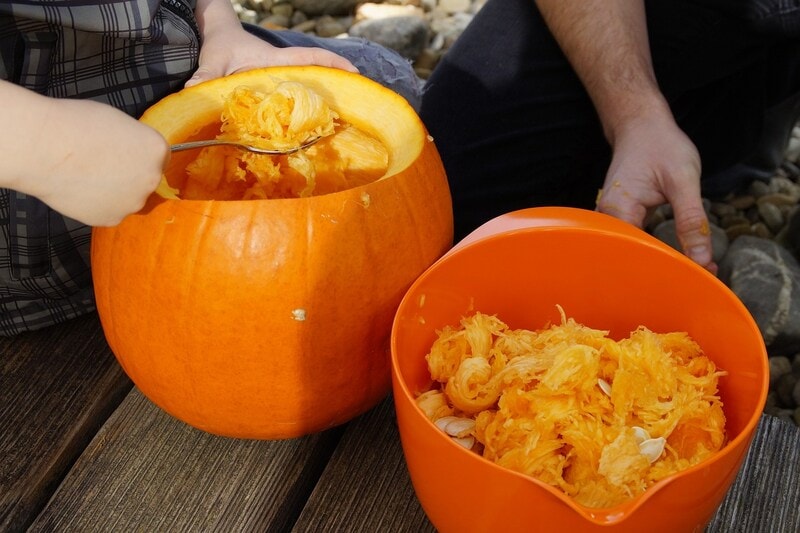
Once the lid is removed, use your scoop or large spoon to clear out all the seeds and stringy pulp inside the pumpkin. This makes it easier to carve and helps preserve the pumpkin longer.
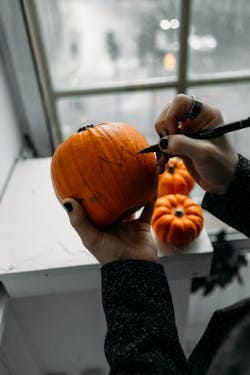
Step 2. Sketch Your Design
Use a permanent marker to draw your design on the pumpkin's surface. Use a stencil or trace a pattern onto the pumpkin to make your design more precise.
Step 3. Start Carving
Begin carving along the lines of your design with your carving knife or pumpkin saw. For detailed areas, use smaller, more precise tools like an X-Acto knife. Take your time with this step to ensure clean, even cuts.
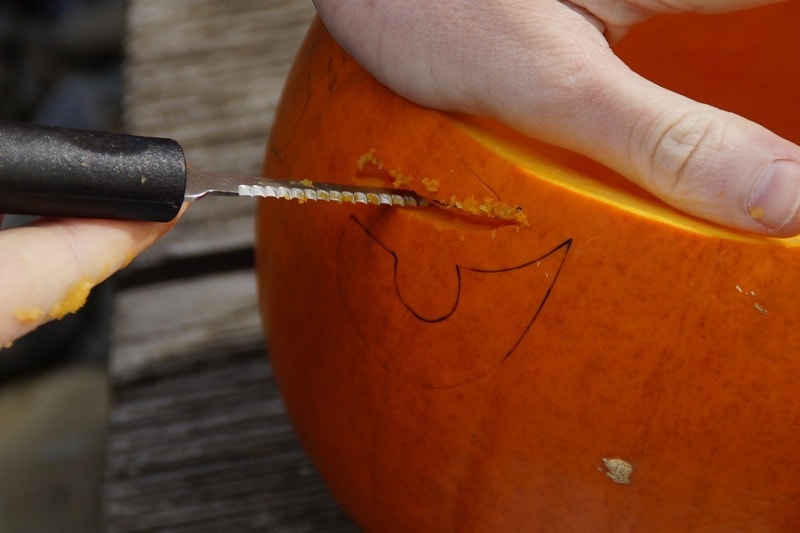
Step 4. Clean Up the Edges
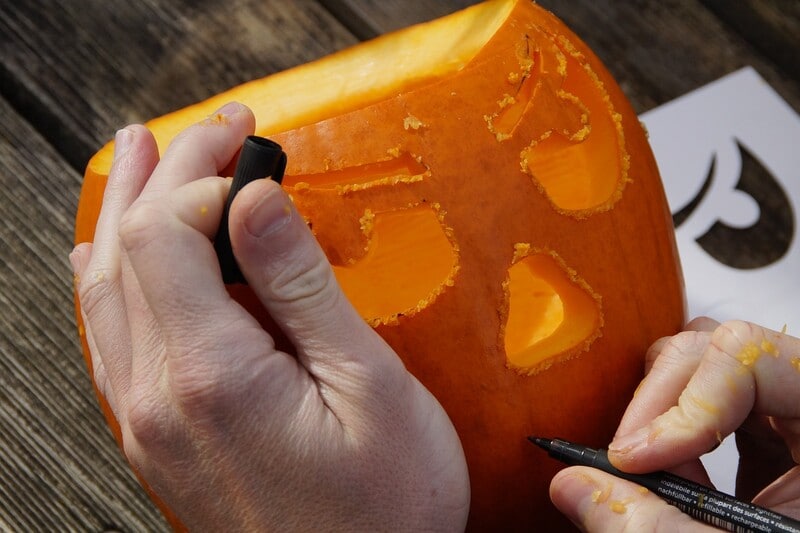
After carving, smooth the edges of your cuts with your knife or a small scraping tool. This step will help the light shine through more clearly.
Step 5. Light It Up
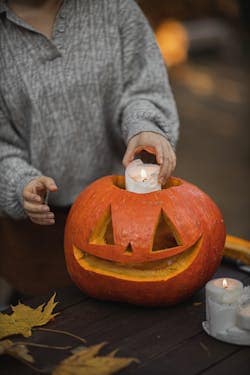
Place a candle, LED lights, or battery-powered tea light inside your pumpkin to make your design glow. Put back the lid and admire your work!
For more inspiration and tips on pumpkin carving, visit Martha Stewart's Pumpkin Carving Guide.
Part 3. Record Your Pumpkin Carving Process for Fun Halloween Videos
Now that you know the steps for carving a pumpkin, why not take it a step further and turn the whole process into a fun Halloween video? 📹✨ With Wondershare Filmora, you can easily transform your carving session into a polished, spooky highlight reel.
From trimming long clips to adding creepy effects and music, Filmora has all the tools you need to make your pumpkin story both professional and frightfully entertaining. 🎃👻
| 🎬 Filmora Feature | ✨ How It Helps | 🎃 Halloween Twist |
| Smart Short Clips | Automatically trims long carving footage into short, polished highlights. | Turns a 30-minute carving session into a fun, share-ready clip. |
| AI Auto Reframe | Keeps the pumpkin or your hands centered, even if the camera shakes or you move. | Ensures your spooky masterpiece is always in focus. |
| Halloween Effects & Stickers | Adds themed animations like bats, ghosts, and glowing pumpkins. | Makes the carving process look magical and festive. |
| AI Audio Denoise + BGM | Removes background noise and lets you add eerie soundtracks. | Replace chatter with creepy music for a haunted vibe. |
| Split Screen / Collage | Show different pumpkin designs or carving angles at once. | Perfect for group carving sessions—everyone's spooky pumpkin gets a spotlight. |
| Speed Ramping | Speed up boring parts, slow down the dramatic reveal. | Build suspense before showing off your scary design. |
| AI Text/Titles | Generate step titles and spooky captions in creepy fonts. | Adds a tutorial feel while keeping the Halloween style. |
| Direct Social Sharing | Export and post directly to TikTok, Instagram, or YouTube. | Instantly share your pumpkin masterpiece with friends. |
Follow the step-by-step guide below to edit your pumpkin carving video in Filmora:
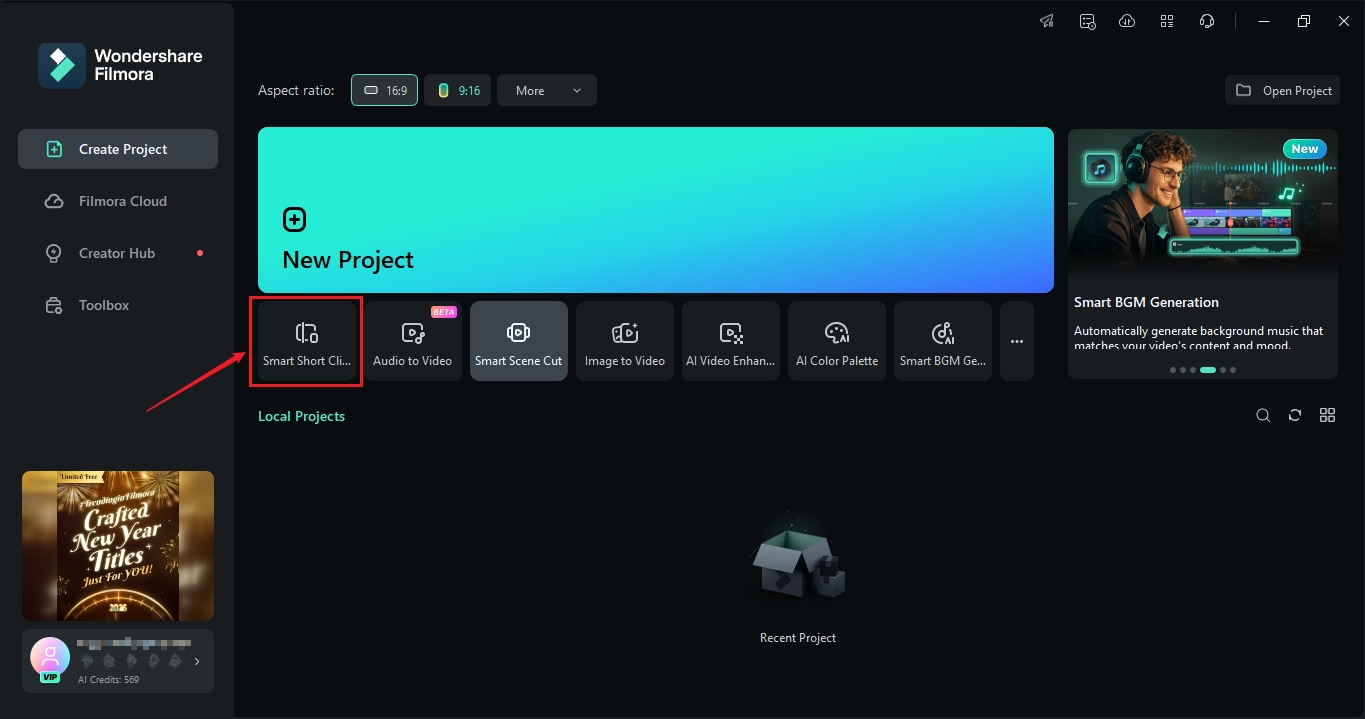
Step 1Access the Smart Short Clips Feature
After opening Filmora, navigate to the Create Project panel. Find the option for Smart Short Clips in the feature list.
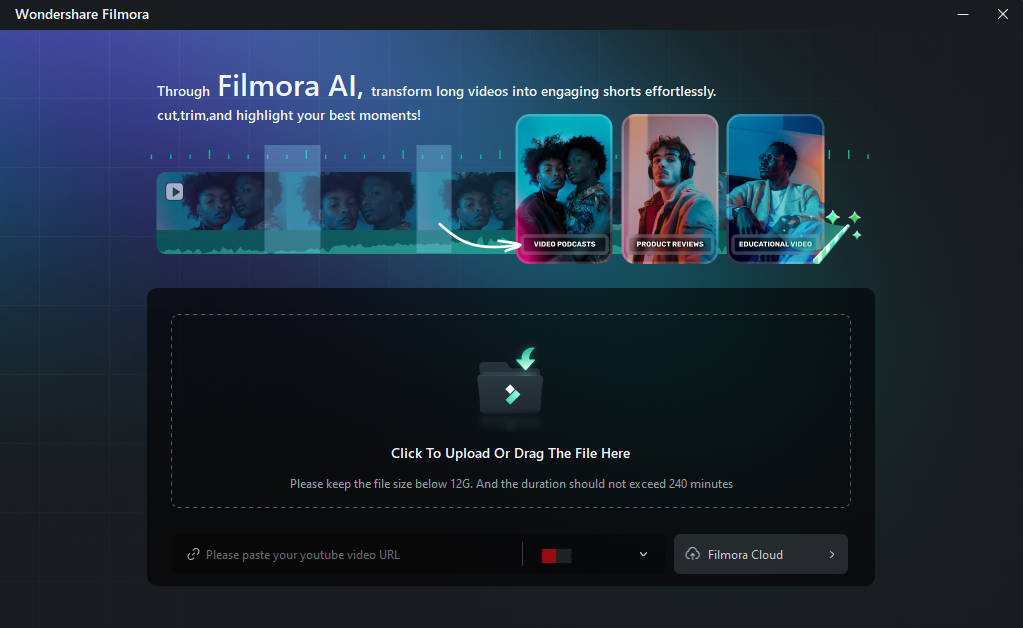
Step 2Import Your Videos
You can paste a YouTube link or upload a video file from your device. You can also select a file from Filmora Cloud. If you use a YouTube URL, ensure it's from your channel.
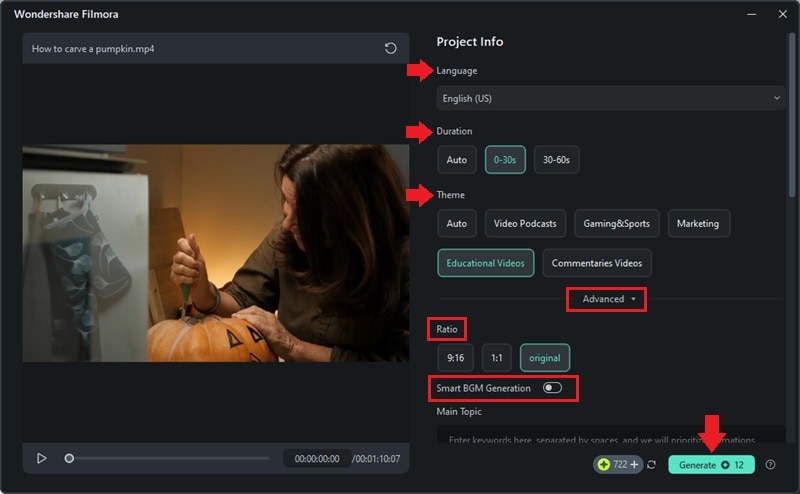
Step 3Customize Settings
A new window will open for you to configure settings. Set the video source Language, the Duration of the video result, and the Themes for the video. For more control, explore the Advanced menu. Here, you can select the aspect ratio and enable the Smart BGM Generation feature to add background music that complements your video. Then, click Generate.
Step 4Select Your Shortened Video
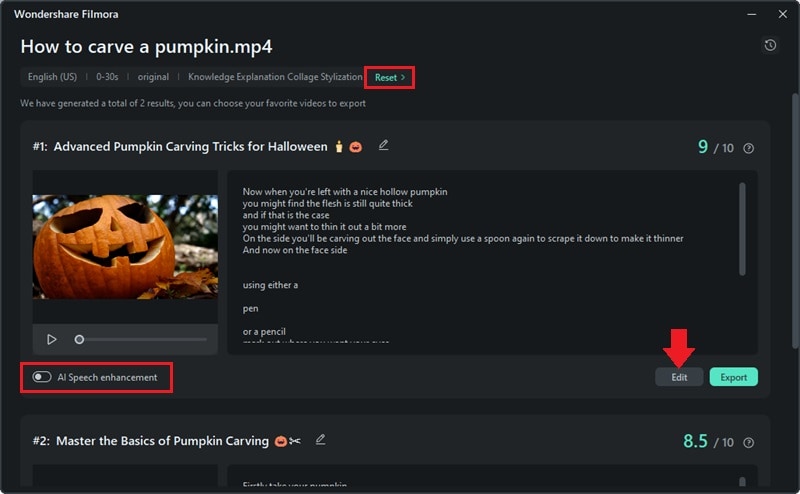
Once Filmora analyzes the video and generates shortened versions, select the video you like. If needed, click Reset to regenerate the clips. Or, apply AI Speech Enhancement to improve the quality of voice recordings. Then, click Edit to enter the Smart Short Clips editing workspace.
Step 5Edit the Video
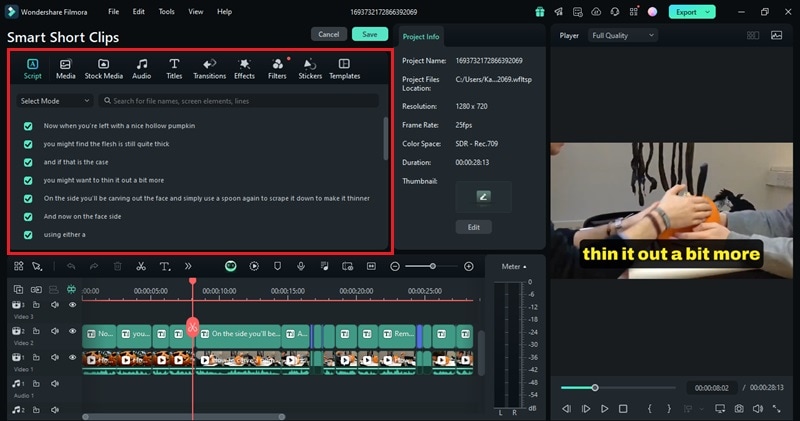
Once you're in the editing workspace, edit the video to suit your style. Here, You can edit the captions or change the font style. The top toolbar offers a variety of resources like titles, transitions, filters, and stickers to enhance your video.
Step 6Enhance Your Clips with AI-Powered Features
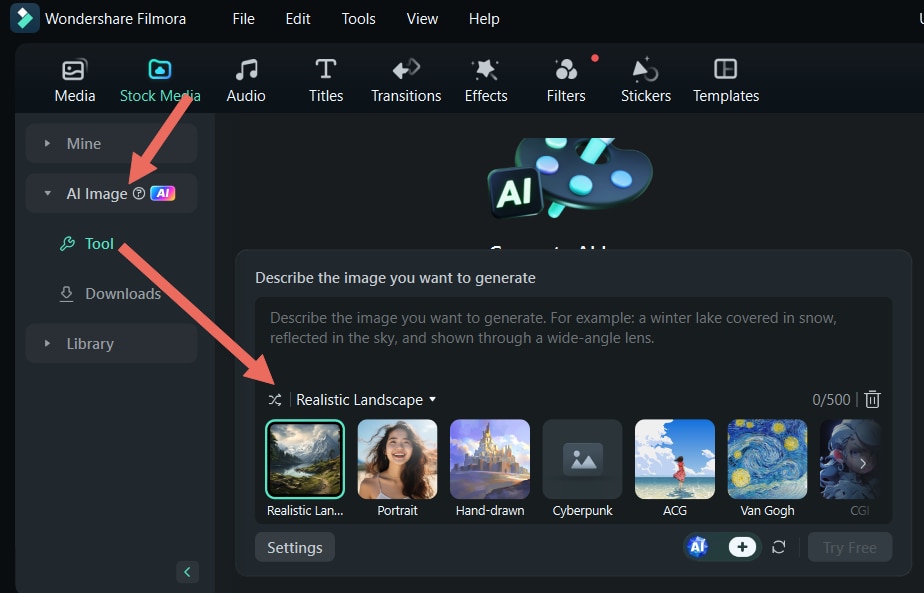
If you want more customization, try generating music, stickers, and images using Filmora's AI Features.
- Generate an image using AI Image Genarator based on your text description.To generate an AI Image, go to Stock Media, find AI Image, and describe the image you want to create. Then, click Generate.
- You can add spooky music with AI Music Generator . To do this, go to Audio, AI Music, Start and choose the Mood, Theme, or Genre. Then, click Start to let Filmora create the music for you.
- Add ghost stickers using AI Stickers Generator . To generate these stickers, go to Stickers and find AI Stickers. Then, provide the prompt for the sticker you wish to create and click Generate.


Step 7Export Your Pumpkin Carving Video
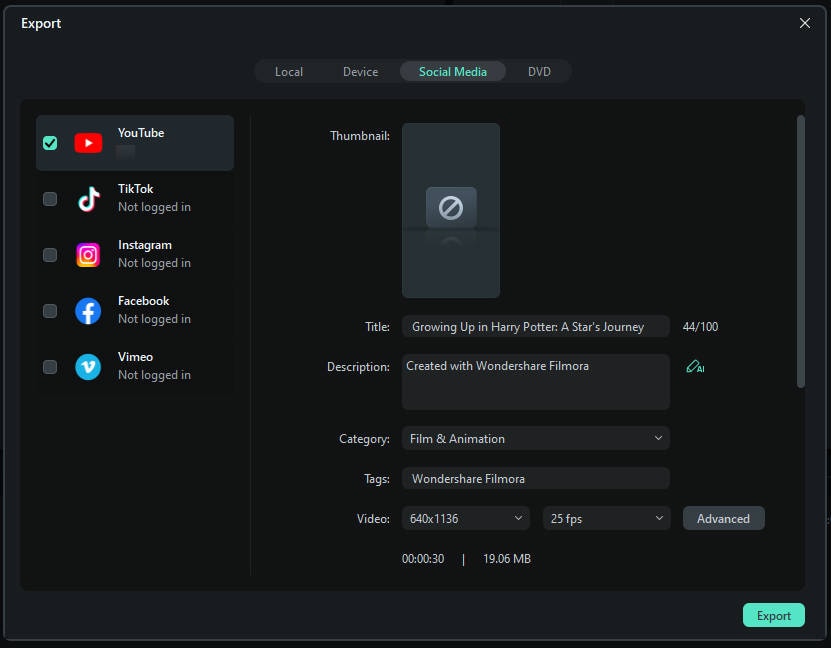
When ready, head to the Export window. Select your preferred platform (like YouTube, TikTok, or Vimeo). Configure the title, description, category, and resolution. You can also schedule your video's posting time.
You can also check this video to get more detailed information about Filmora's new features:
Bonus: Preservation and Safety Tips When Craving a Pumpkin
When carving pumpkins for Halloween, it's essential to take preservation and safety measurements. Follow these quick tips to ensure your carved pumpkin stays vibrant and safe throughout the spooky season!
Pumpkin Preservation Tips
- Apply petroleum jelly around the edges of your cuts to lock in moisture. Do this to keep your carved pumpkin looking fresh longer.
- Consider using a bleach spray solution (one tablespoon of bleach per quart of water) to slow down mold growth.
- Placing your pumpkin in a cool, shaded area when not on display will also help extend its lifespan.
Safety Tips for Carving
- Use pumpkin carving tools, as they're safer than regular knives.
- If using sharp tools is unavoidable, wear gloves to avoid accidental cuts, and work on a stable surface to prevent slips.
- If you involve children during carving, ensure adult supervision at all times. Let them use kid-friendly carving tools rather than sharp knives to prevent injuries.
Conclusion
Carving pumpkins for Halloween is a fun and creative way to celebrate the spooky season. Even though Halloween only comes once a year, knowing how to carve a pumpkin can make the event more enjoyable.
Follow the step-by-step how to carve a pumpkin for Halloween in this guide to create yours. Don't forget to capture the carving process and edit it in Wondershare Filmora. Doing this will help you cherish the moment and allow you to share it with your loved ones!


