Note: This video tutorial is compatible with Filmora V11, V12 and V13 versions.
Audio Ducking with Filmora
Filmora is altering programming that carries your innovativeness to an unheard-of level. To have a fantastic video with wonderful impacts, you should know when to make a slice and how to change, starting with a single shot and then onto the next quickly. It can't be learned in only a couple of days and requirements years to dominate. Indeed, even prepared video-altering experts might wind up in a problematic situation tracking down the ideal speed for their video.
Audio ducking is the method of compacting the volume of a sound sign at whatever point another sound sign goes over a specific limit. This procedure allows you to get greater lucidity from both sound signs when utilized tenderly. Also, when utilized at a more outrageous level, audio ducking can assist with making a few intriguing sonic flavors to give an instrument (or a whole track) truly special energy.
Audio ducking is a great way to prioritize Audio over the others. Audio ducking simply means lowering the Audio for the selected portion.
This is the best and time-saving way to prioritize audios if you have multiple audio tracks and need one track to be more audible and the other one in the background at a lower volume or adjust the background; now, Audio Ducking is the way you can.
Suppose you have a voice-over with background music. Audio ducking will lower the music in that region of the vote around.
Add the audio file to the timeline.
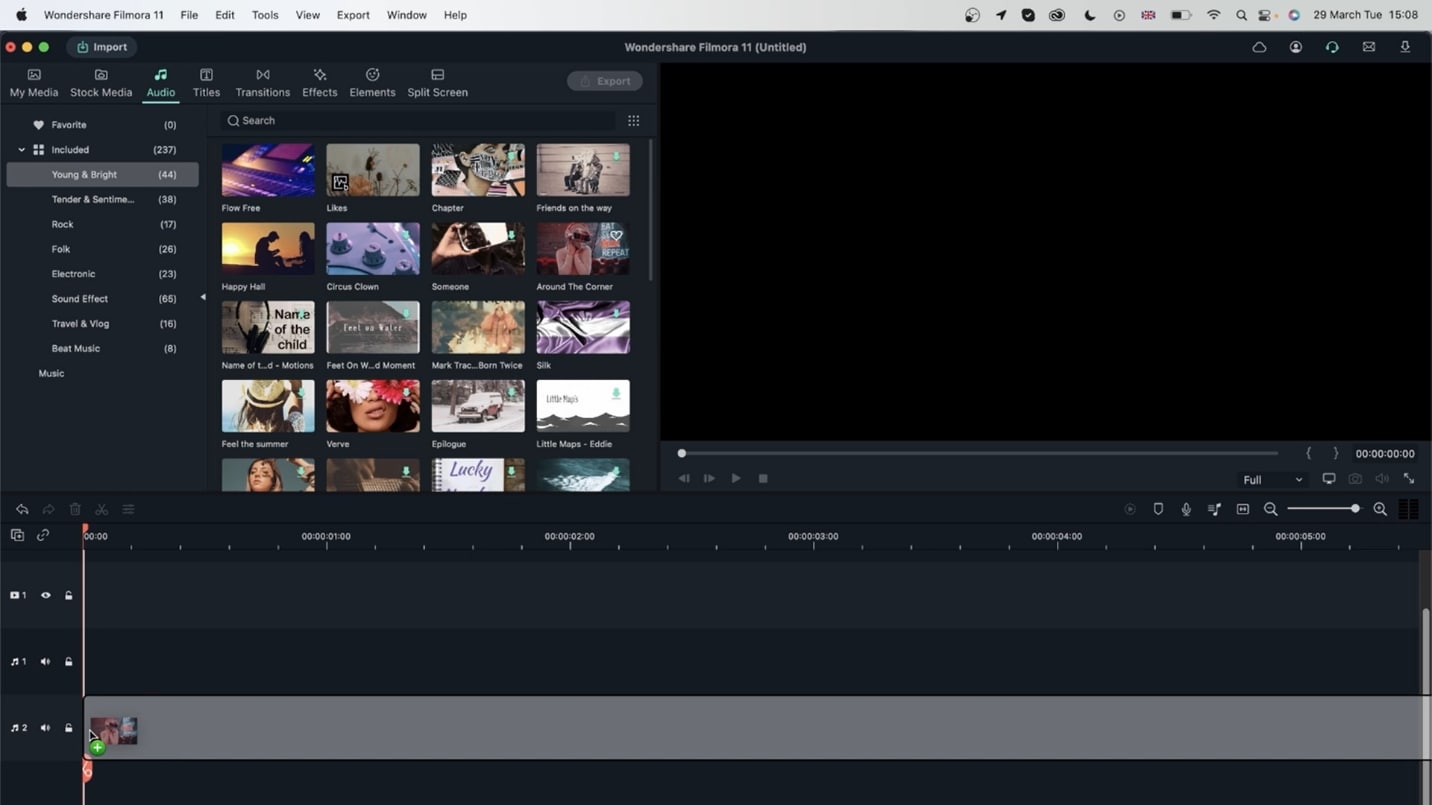 Add the audio file to the timeline
Drag the voice-over on the timeline and then add the video file.
 Drag the voice-over on the timeline
Select the first voice-over. Head over to the properties and turn on ducking.
 move voice-over to properties
The sound waves get lowered in the region of audio-ducking. It also fades out on both sides.
If the video is played without ducking, bother audios will be playing at the same volume and time, and listeners will face a hard time understanding what you are trying to say in Audio.
You can also adjust the intensity of ducking in your video here below mentioned. Screenshot as you can see, there are three options showing for ducking intensity- Weak, Mid, and Strong. There's also an option available for adjusting audio intensity manually by editing the percentage of the ducking.
Suppose if I want more background music, I will choose the Weak ducking option; however, if I want less background noise, I will go towards Stronger Ducking. I can same adjust by selecting the percentage manually; I can type any percentage.
Also, there is an option to drag and adjust the ducking.
 option to drag and adjust the ducking
You will notice when the ducking option is on you will notice the background is faded whenever the prioritized Audio is playing. If you have multiple audios, you will be selecting the video multiple times where background music needs to be lowered down.
As we are able to able to choose the Audio ducking sum way we can in order to clear background noise, we have an option of "Denoise."
The denoise option is available right above the ducking option. You need to select the checkbox and also will be able to select the intensity of Denoise from going to Weak, Mid, to strong.
However, only select Denoise when there is background noise; otherwise, it will make your voice muffled and robotic. Either use Denoise in lower intensity, or you use it only when there is higher background noise in your voice-over.
Now, If I have a video where I have music added in the background, however, I want Audio recorded. In the video, to be more audible, I will turn on the option of ducking and adjust the intensity of ducking accordingly.
 Adjusting the density
As you can see, ducking is turned on, so in the middle part where the video is added, background music intensity is showing low.
If you don't use the Audio ducking, you have to manually zoom in the audio-video part and select the area to turn the volume down whenever you speak. This will take more time and energy. Also, you will find a sudden drop of music, and then you have to fade the music every time manually.
Audio ducking saves a lot of time and improves the quality of work.
