
 100% Security Verified | No Subscription Required | No Malware

Video invitations can be much more entertaining than regular, still solutions, which is why many people opt for such solutions nowadays. However, some tools may be overwhelming, especially if you want to DIY your way through the process and add a personal touch to your special day.
We've prepared a detailed guide to the best video invitation maker on the market to help you navigate the experience and get the best results in no time. Without further ado, let's see what Wondershare Filmora has in store for your experience.
In this article
Make a Video Invitation That Shines
Mastering your video invitation-making skills can be challenging, but Wondershare Filmora understood the assignment by providing an easy-to-use solution. The best part about this application is that you can add as many personalized elements as you want to elevate your experience and make an eye-popping invitation for your big day.
Whether you're preparing for a wedding, birthday, or other occasion, Wondershare Filmora will provide a custom solution for you and make your guests excited for what's to come.
Video Invitation Maker Overview
You may wonder why Wondershare Filmora is such a unique tool for your video invitation-making journey, and we're here to tell you all about it.
Aside from being easy to use and navigate, Wondershare Filmora provides a treasury of additional features that can help you boost your experience, such as the following:
- Custom branding — Add a personal touch to your invitations by creating custom branding and watermarks everyone will recognize.
- Audio denoise — Remove noise from your audio or voiceovers to make your invitations more professional and get the message across.
- Creative assets — Access a library of more than 10 million stickers, effects, filters, fonts, and more to enhance your invitations and keep the guests entertained.
- Templates — Wondershare Filmora has an extensive template library you can use to cut production time and create incredible video invitations.
- Enhance — Enhance the quality of your video invitations with this AI feature.
- Text-based editing — If you don't want to manually edit your video invitations, use this feature and tell the program exactly what you want your journey to look like.


These are just some of the features that will boost your experience and help you create the invitations of your dreams in just a few minutes.

Access Countless Wedding Invitation Video Templates
Wondershare Filmora provides an extensive video template library you can use to create customizable invitations.
The best part about these templates is that you can change their appearance and add a personal touch to your experience, regardless of your needs and preferences. It'll truly provide you with a fantastic experience and help you create professional invitations in no time, even with no previous skills in the field.

Personalize Your Wedding Invitations
One of the things that makes Wondershare Filmora stand out from the crowd is that you can personalize your invitation templates until you get the desired results. It will help you create unique invitations and turn your celebration into a night your guests won't forget.
You'll set the mood and make everyone feel welcome to your big day. You don't need to be a video editing expert to transform your experience and create professional-grade video invitations, thanks to Wondershare Filmora.

Get Creative With the Most Powerful Video Invitation Maker
Wondershare Filmora is a place full of editing opportunities. If you want to let your creative side take its toll and make your visions come to life, this may be your ideal choice. You'll discover numerous tools and features to help you unleash your creative power and create breathtaking video invitations.
All you need is a little bit of imagination, a plan, and the Wondershare Filmora platform. There are no editing boundaries with Filmora, so you'll surely reach your visual goals.

How to Use a Video Invitation Maker
As previously mentioned, Wondershare Filmora is an intuitive platform you can use to create your ideal content and transform your video invitation experience.
The first step to this journey is downloading the Wondershare Filmora application to your desktop device. You can follow the steps below to get started and unleash your video editing power.
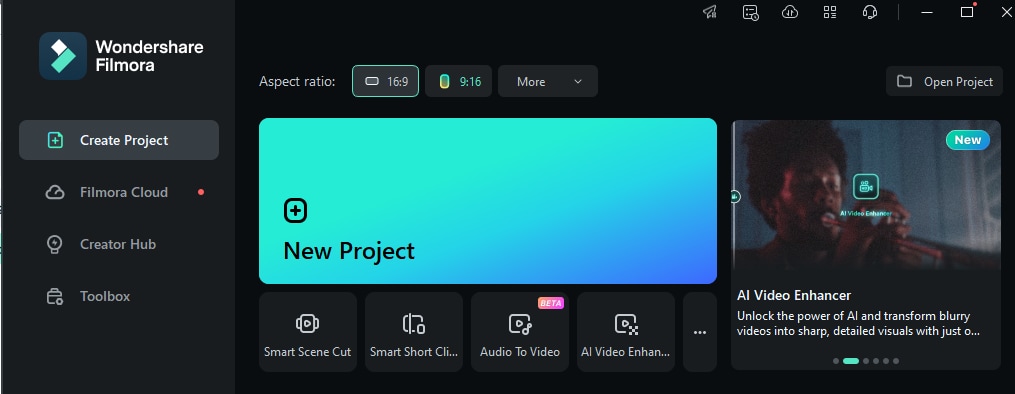
- Open the Wondershare Filmora platform and head to the New Project option from the main menu.
- Head to the Templates section from the top bar, as presented in the image below.
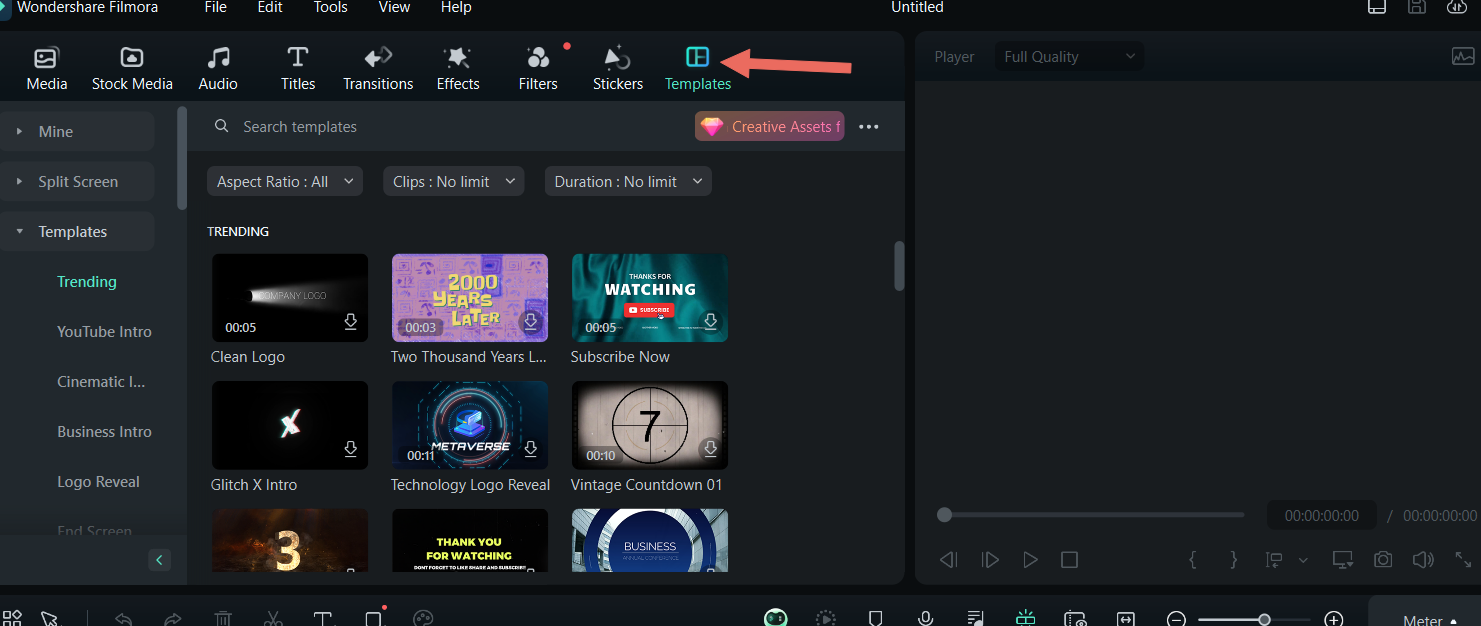
- Type your preferences in the search box and select the desired template from the available options.

- Drag the template to the timeline to start the editing process.

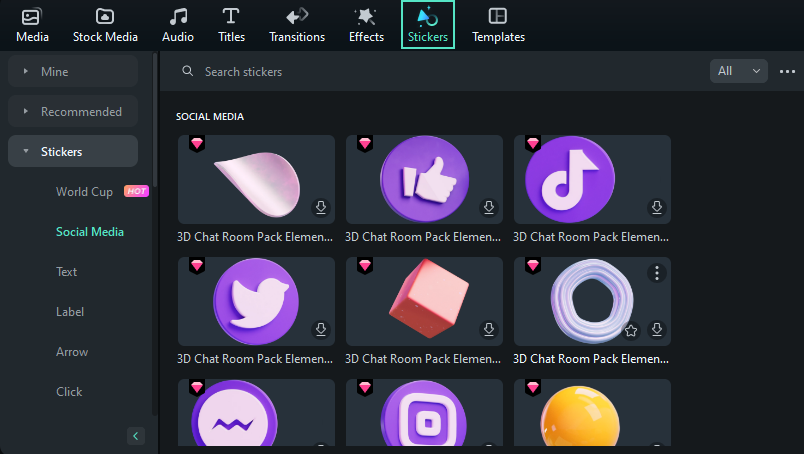
- Once you choose your template, head to the Stickers section to add a new element to your creations.
- Click on Transitions and choose a transition to transform your experience.

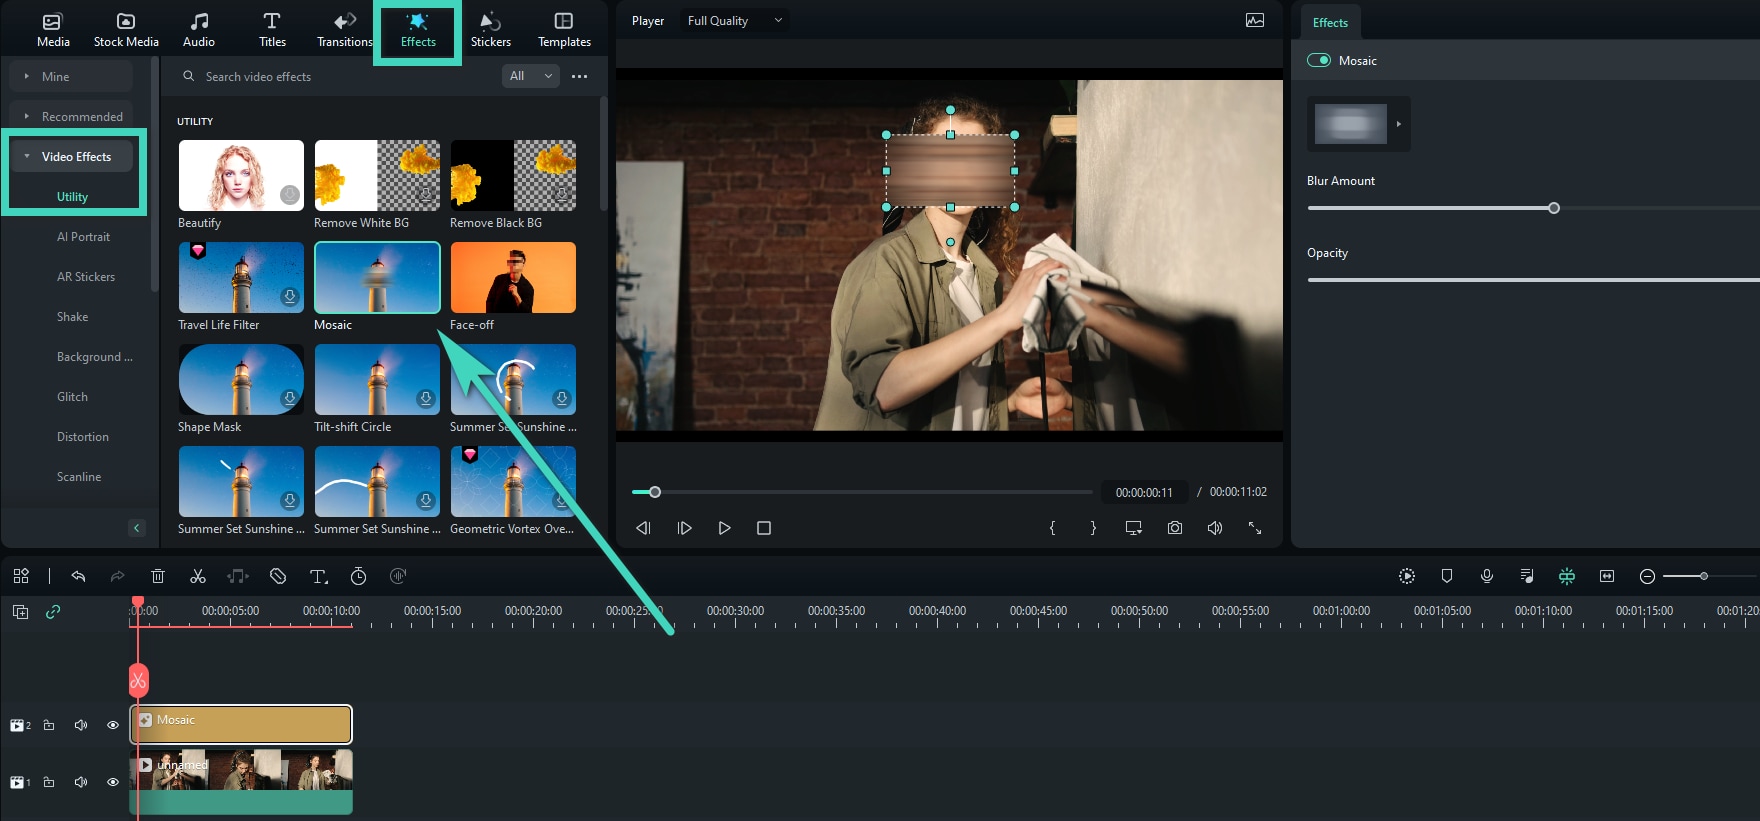
- Under the Effects tab, select an element from the available options to change the visual appearance.
These are just some things you can do to customize your video invitation experience. To reveal the platform's full potential, we advise you to check out the complete Wondershare Filmora guide by following this link.
You May Also Like
Motion Tracking on Wondershare Filmora for Mac
Switch between Dark/Light Mode
Conclusion
Creating video invitations may initially seem overwhelming, especially if you don't have the right tools to meet your needs and let your creative side take its toll. Today, we've presented the best solution you can use for your experience: Wondershare Filmora.
This tool has everything you need to meet your goals, including preset templates, audio, stickers, transitions, effects, and more. The best part is that you can completely customize your experience and create unique content.
Wondershare Filmora is a beginner-friendly solution – you don't need previous skills to master the art of invitation-making and enhance the atmosphere of your big day.
