

 TL;DR:
Adobe After Effects remains the industry standard for complex, multi-layered visual effects and 3D motion graphics, but beginners or users with mid-range computers should choose Wondershare Filmora for a more accessible and budget-friendly alternative.
● After Effects operates exclusively on a subscription model starting at $22.99 per month and demands high-end hardware, requiring a minimum of 16 GB RAM, 4 GB VRAM, and Windows 10 version 22H2 or macOS Monterey 12 or later to run effectively.
● The June 2025 update (version 25.3) introduces AI-powered Roto Brush object extraction, true HDR monitoring, and hardware acceleration for 10-bit 4:2:2 video specifically for users equipped with NVIDIA Blackwell GPUs.
● Wondershare Filmora is best suited for users needing quick animations and basic VFX, bypassing complex layer management with drag-and-drop pre-made elements, integrated Mocha FX tracking, and AI Smart Masking that run smoothly on lower-spec machines.
Ask AI for a summary
 ChatGPT
 Perplexity
 Gemini
 Claude
 Grok
Grok
Adobe After Effects has long been considered the gold standard in motion graphics, compositing, and professional VFX. Professionals across film, TV, advertising, and even YouTube creators have trusted it for making high-quality animations and cinematic effects.
But for those who are just getting started or only need light editing, you might wonder if it's the right fit for your workflow (and wallet). To save you from spending time on a tool that might be more than you need, this guide will help you decide if After Effects is truly the best option or if a simpler alternative suits you more.

Part 1. What is Adobe After Effects? A Quick Overview
You've probably come across Adobe After Effects or seen the kind of eye-catching visuals it helps create. After Effects is another popular tool from Adobe that's widely used in animation, video games, filmmaking, and TV production. With After Effects, you can do all sorts of things, including animation, compositing, and motion tracking, among others.
Want your logo to bounce, spin, or fade? Add fire, smoke, glitch effects, and other cinematic touches to a scene? After Effects can do all that. Here's what makes it a favorite among creators.
Key Highlights
What's New
As of the latest update in June 2025 (version 25.3), Adobe After Effects has rolled out several new features and performance upgrades:
- Smooth Zoom: Navigating your project timeline is now more fluid. Whether you're scrolling, pinching to zoom, or using the Zoom tool, everything feels faster and more responsive in the Composition, Layer, and Footage panels.
- Reveal Projects in File System: No more digging through folders to find your saved file. With one click, you can now reveal the location of your project directly in your file system, which is super handy when organizing or moving files.
- Support for NVIDIA Blackwell GPUs: If you're using the latest NVIDIA Blackwell architecture, you'll now get hardware acceleration for 10-bit 4:2:2 video. That means much smoother playback and improved performance, especially when handling large projects.
- HDR Monitoring Support: See your After Effects motion graphics result in full-color fidelity with true HDR monitoring. With richer color depth and luminosity, your visuals look more accurate and vibrant.
- AI-Powered Object Extraction: The upgraded Roto Brush tool now uses AI to help you quickly select and extract objects from the background, even tricky ones like transparent fabrics or messy hair.
- New Animation Presets & UI Improvements: Speed up your creative process with over 30 new animation presets, improved number-counting tools, and interface tweaks that make creating even more efficient.
After Effects Price & Subscription Model
Like other Adobe products, After Effects is available through a subscription-based model. You can either subscribe to After Effects on its own or as part of the full Adobe Creative Cloud (CC) suite, which includes apps like Premiere Pro, Photoshop, and Illustrator.
| Subscription Plan | What's Included | Price (Monthly) | Price (Annual, Billed Monthly) | Price (Annual Prepaid) |
| After Effects (Single App) | After Effects + 100GB Cloud Storage | $34.49/mo | $22.99/mo | $263.88/yr |
| Creative Cloud All Apps | Full Adobe suite (20+ apps) + 100GB cloud storage | $104.99/mo | $69.99/mo | $779.88/yr |
| Creative Cloud Pro Student Plan | Adobe apps for students & teachers | - | $29.99/mo | $359.88/yr |
Does After Effects offer free trials?
Adobe offers a fully featured 7-day free trial of After Effects. During this period, you get complete access to all tools.
Part 2. Features and Usability of After Effects in 2025
Now that you've got a general idea of what Adobe After Effects is, let's take a closer look at what it actually offers and how well it fits your workflow and system setup.
System Requirements
OS: Windows 10 (64-bit) version 22H2 or later, or macOS Monterey (12) or later
RAM: Minimum 16 GB
Storage: 8 GB available for installation (more needed during setup)
GPU:
- Windows: NVIDIA (Maxwell or newer) or AMD/Intel with 4 GB VRAM and OpenCL support
- Mac: Apple Silicon with 16 GB RAM, or Intel Mac with discrete AMD GPU (4 GB VRAM)
In terms of features and usability, After Effects is built around three core areas: 2D animation, 3D animation, and visual effects.
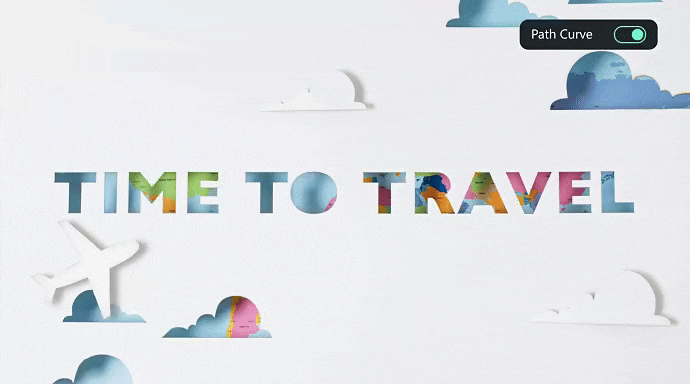
2D Animation

- Animate text and titles with ease: Build custom After Effects motion graphics for titles, subtitles, or lower thirds from the ground up, or start with ready-to-edit After Effects templates.
- Bring your logo to life: Add movement to icons, shapes, and branding elements. Apply transitions, animate custom shapes, or explore a wide library of built-in effects and presets.
- Create smooth, natural motion: Make characters or graphics feel more realistic using tools like motion blur, the graph editor, wiggle effects, and mesh-based animation tools like the Puppet tool.
- Control every detail with keyframes: After Effects video editing tools include adjusting movement, size, transparency, and rotation over time using precise keyframe animation settings.
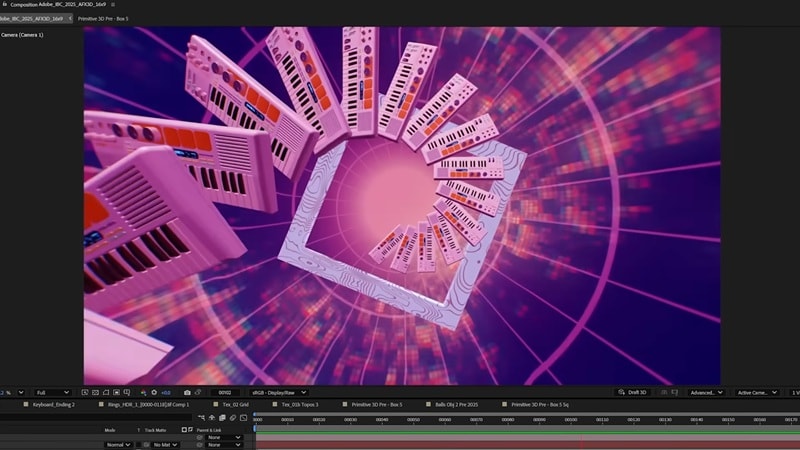
3D Animation

- Work with 3D models directly: You can import 3D objects from tools like Cinema 4D or Adobe Substance 3D straight into your After Effects project without pre-rendering them beforehand.
- Create natural lighting and shadows: Use Image-Based Lighting to turn any photo into a light source, adding depth and realism to your 3D scenes.
- Animate with dynamic camera movement: By adding camera layers, you can move through your 3D composition and adjust angles and perspectives, just like filming a real-life scene.
Visual Effects

- Replace backgrounds: Take your subject and place it in a completely different setting using advanced keying tools. You can remove green screens, insert new environments, or layer in special effects to transform your scene.
- Track moving objects: Use motion tracking to follow the path of any object in your footage. Add text that sticks to a moving person, swap out screens on devices, or animate elements like floating icons that follow the action.
- Clean up unwanted elements: Need to get rid of distracting objects or people in the background? The Content-Aware Fill tool automatically removes them and fills in the missing parts frame by frame.
Part 3. Hands-On Review: What It's Like to Use After Effects
We'd say, using Adobe After Effects for the first time can feel like stepping into the deep end. The interface is packed with panels, timelines, effects, and layer controls. And without some guidance, it's easy to get lost.
To get comfortable with After Effects, at least, you'll need to build a solid foundation in a few key areas, such as keyframing, layer management,compositions, nesting, and how to apply effects and presets.
If you're just starting out, expect to jump between YouTube tutorials, Adobe's help guides, and online forums. Even something seemingly simple, like animating text or applying After Effects VFX, can take time to figure out at first. But once you grasp the basics, the possibilities open up fast.
When Should You Use After Effects?
AE is the tool to reach for when you're dealing with multiple layers, detailed animations, and effects that require precision and control. It's built for tasks like:
- ✅ Adding effects like smoke, fire, light flares, or glitch transitions
- ✅ Animating text so it types out, bounces, or slides in with style
- ✅ Tracking a moving object and attaching text or graphics to it
- ✅ Creating title sequences as you see in movies or trailers
- ✅ Building layered scenes with 2D or even 3D elements that move with a virtual camera
Part 4. Easier Alternative to After Effects for Motion Graphics
If you're looking to create simple animation videos or apply basic visual effects without dealing with a complicated interface, After Effects might not be the best fit. For those working on a lower-spec computer or just getting started with motion design, a lighter and easier tool can save both time and frustration.
Wondershare Filmora is a great alternative to After Effects if your goal is to add motion graphics, animated text, transitions, and visual effects with a minimal learning curve.
Filmora is designed for beginners, runs smoothly even on mid-range computers, and keeps the editing process simple. You can drag and drop prebuilt animation presets or apply keyframe-based motion quickly.
The intuitive interface makes it easy to start editing, even if it's your first time. Unlike After Effects, Filmora doesn't overwhelm you with complex panels or advanced setups.
Filmora's Features for Motion Graphics and Animation
- Keyframe Animation: Control how objects move, rotate, zoom, or fade by setting custom keyframes.
- Chroma Key: Remove green screen backgrounds in one click and replace them with any scene or image to create visual effects.
- Smart Masking: Use AI-powered masking tools to isolate subjects or apply effects to specific areas in your video without editing frame-by-frame.
- Pre-made Animated Stickers Library: Access a wide collection of animated stickers that you can drag and drop into your project to add dynamic elements.
- Motion and Planar Tracking: Make text, stickers, or effects follow moving objects accurately, even on tilted surfaces.
- Video Effects: Add overlays and enhance your video with pro-level effects from Boris FX and NewBlue FX, trusted by industry professionals.
- Customizable Animated Titles: Create animated text for your videos and customize the font, color, motion, and more.
Why We Recommend It:
- ✅ It's far easier to get started with. No steep learning curve, no intimidating layers or panels to navigate.
- ✅ Filmora works well on mid-range laptops and desktops. You don't need a powerful GPU or tons of RAM just to preview your animations.
- ✅ More budget-friendly with more flexible pricing options. You can opt for a subscription-based plan or a perpetual license that is cheaper than After Effects.
Creating VFX with Filmora
If you're working with green screen footage, Filmora makes it easy to create visual effects and remove the green screen using its built-in Chroma Key tool. Just import your footage, enable Chroma Key, and adjust the settings to blend your subject.

If you want to isolate specific areas in your footage for custom effects, Smart Masking lets you mask out sections of a clip and apply filters, overlays, or animations to just those parts. You can also stack multiple effects, adjust their intensity, or keyframe changes over time.

And if you want to apply tracking to an object, Filmora supports both motion tracking and planar tracking, along with integrated Mocha FX. Mocha is also often used in After Effects to attach elements like text or images to moving objects, replace screens, or add effects that follow complex movements.

Creating a Simple Animation Video in Filmora
Unlike After Effects, which requires building animations from scratch using complex layers and expressions, Filmora makes animation more accessible by offering pre-made animated elements that you can easily drag and drop into your project. These include motion graphics, titles, stickers, and effects overlays.
You can fine-tune these elements using keyframe animation. You can also combine multiple animated assets, adjust timing, and add transitions to create a smooth animation video with ease. It's ideal for making an intro, explainer, or animated social media clip.
Conclusion
From our After Effects review above, there is no doubt that this software is a powerhouse for visual effects. After Effects is packed with impressive, professional-grade tools that have made it the industry standard. Even in 2025, it's one of the most feature-rich options out there. But for beginners, it can feel a bit overwhelming at first.
Not to mention, After Effects also demands a higher-end system to run smoothly and comes with a subscription price that might not fit everyone's budget. If you don't need everything it offers (or just want to get started fast), Wondershare Filmora is an option that gives you a much smoother, more affordable entry point into motion design and VFX.
