

Do you want to add more depth to your flat logo for your video projects? Creating a 3D animation in After Effects lets you shape your logo with light, motion, and perspective. It can help make your logo look more refined on screen.
Many people think the process is complicated, but this article will guide you step by step. You'll learn how to create 3D logo animation in After Effects using a free-to-download template and see how pros do it without plugins.
For an even faster workflow, you can also learn how to create a 3D logo animation with an all-in-one tool, too. Let's get started.
Part 1. Best for Pros: Create 3D Logo Animation in After Effects (No Plugins)
Many editors create 3D animation in After Effects because the software gives strong control over depth, lighting, and motion. Its tools help you shape each part of the look and movement with ease. You can build a clean 3D logo without relying on extra plugins.
How to Create a 3D Logo Animation in After Effects (Step-by-Step)
You can follow the steps below to learn how to create a 3D logo in After Effects:
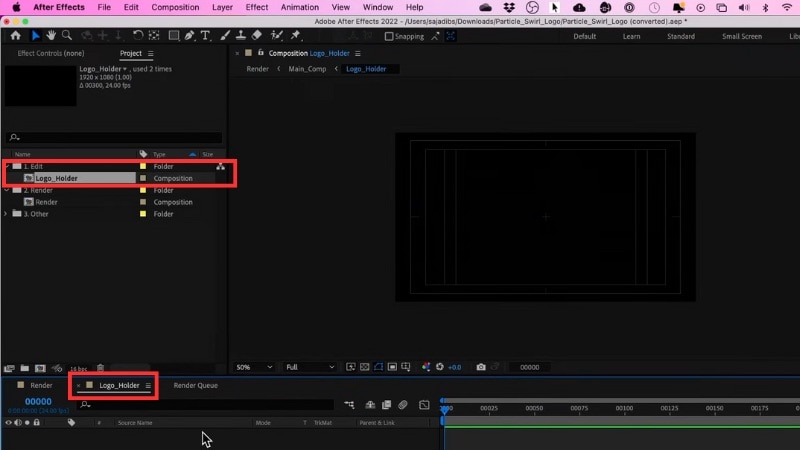
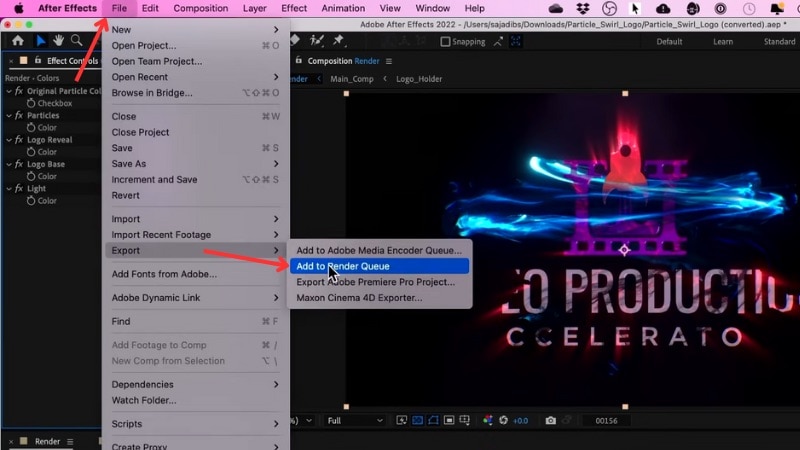
Step 1. Add Your Logo and Pre-Compose It
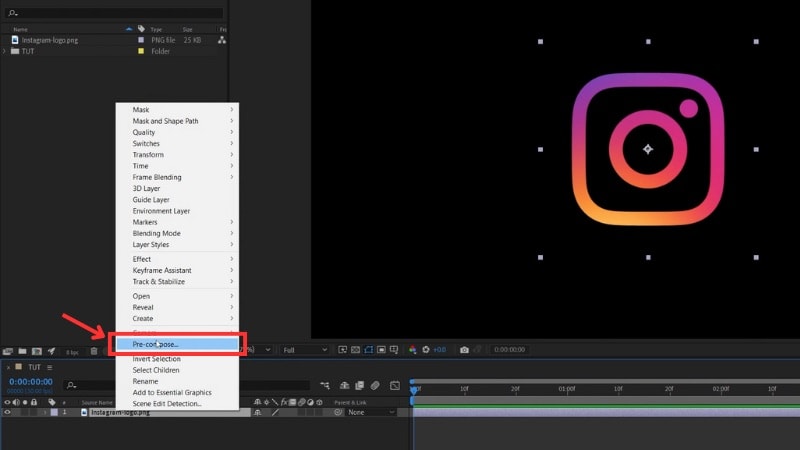
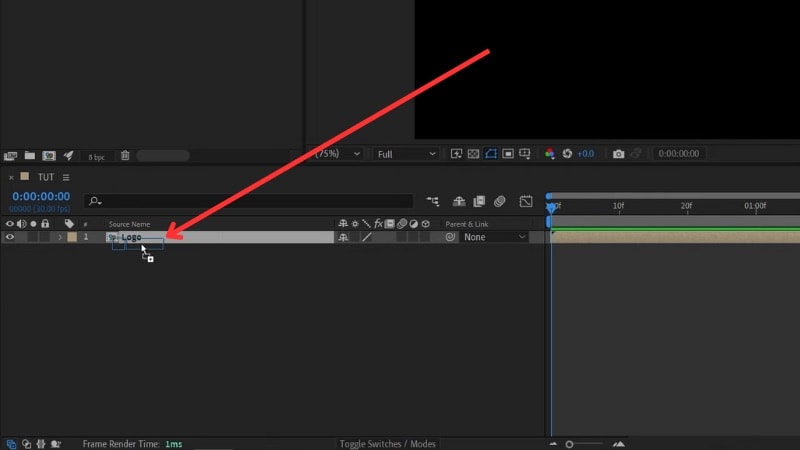
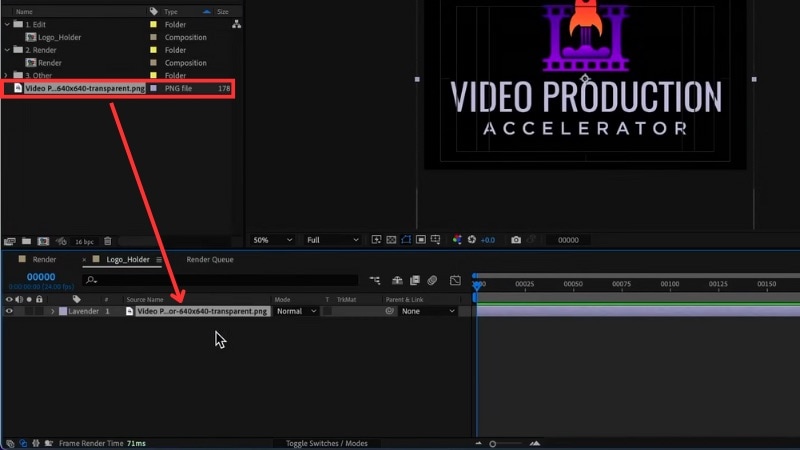
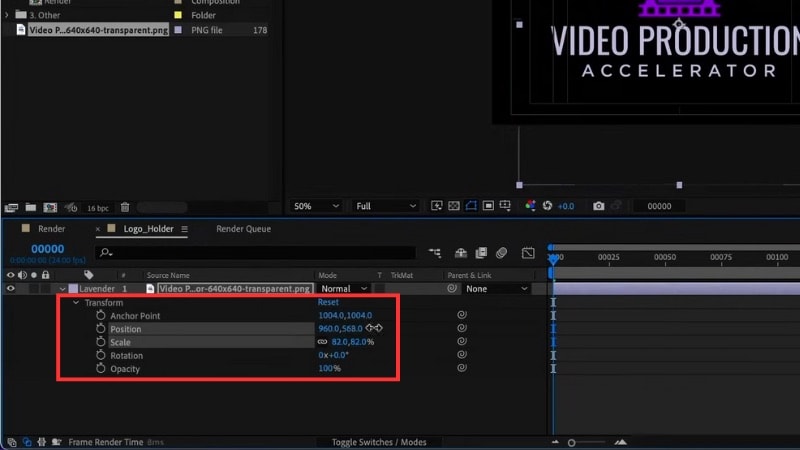
Import your logo as a PNG with a transparent background into After Effects and drag it onto the timeline. Then, right-click the logo layer and choose Pre-compose from the menu to prepare it for further animation or effects.
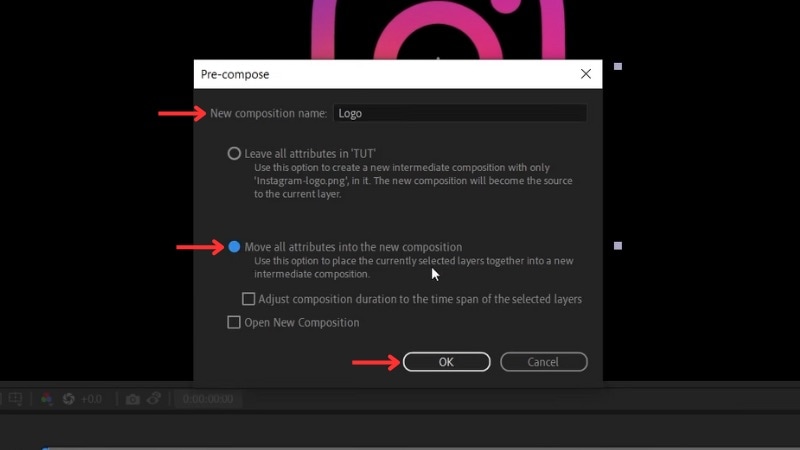
Once the Pro-compose window appears, you can give it a new name. Then, check the “Move all attributes to the new composition” option and click OK.
Step 2. Apply the Shatter Effect
Open the Effects & Presets panel and search for Shatter.
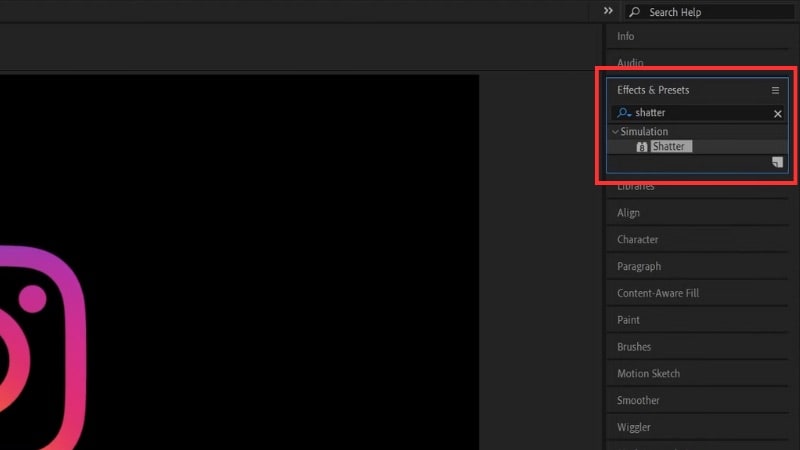
Drag the effect to your pre-comp layer.
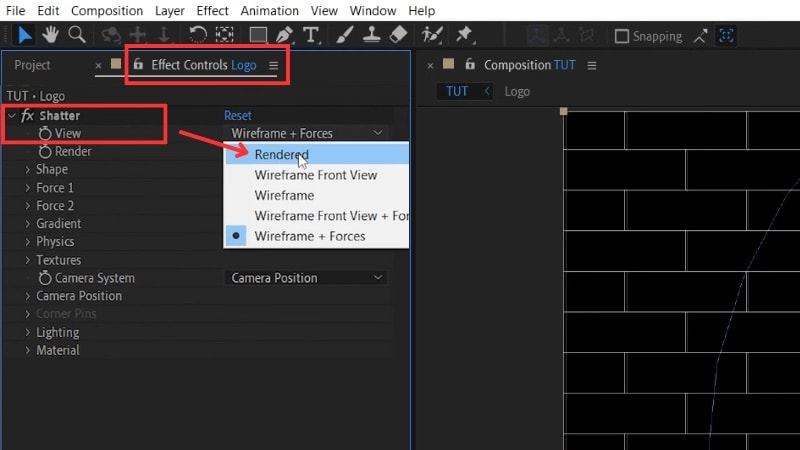
In the Effect Controls > Shatter, change its View to Rendered so you can see the full logo.
Step 3. Set the Logo as the Custom Shatter Map
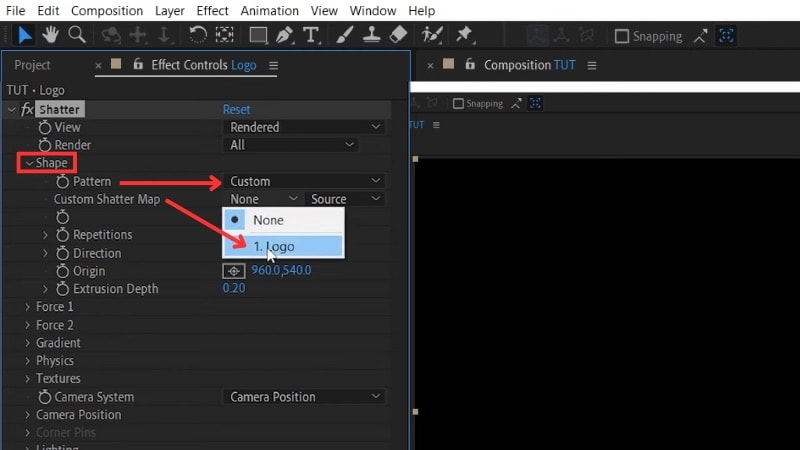
Open Shape > Pattern, switch it to Custom, then set the Custom Shatter Map to your Logo. This step lets After Effects use your logo shape for extrusion.
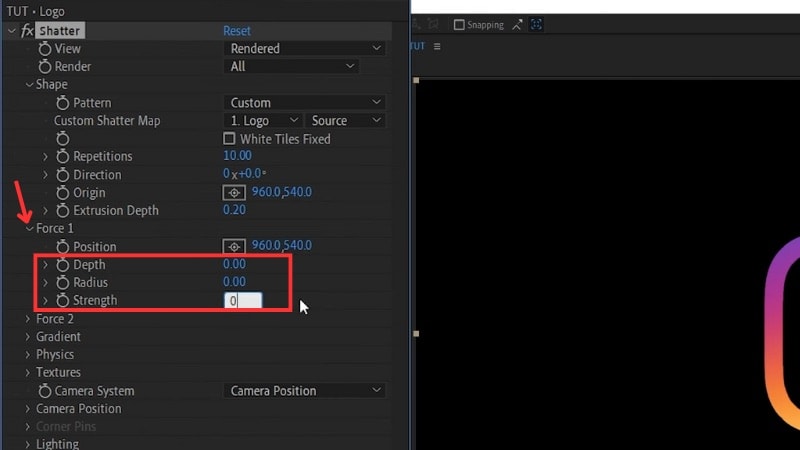
Step 4. Lock the Logo in Place
Open Force 1 menu and set the Depth, Radius, and Strength values to zero to keep the logo from breaking apart.
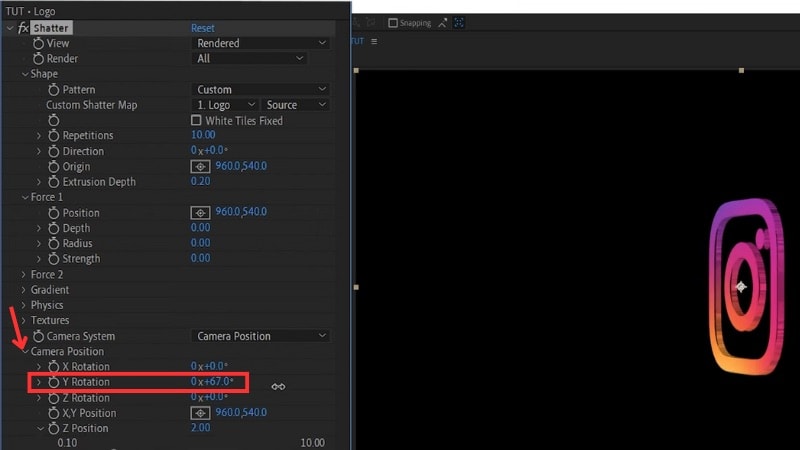
Step 5. Adjust the 3D Angle and Extrusion
Open the Camera Position controls, and increase the Y Rotation's value to view the logo from the side.
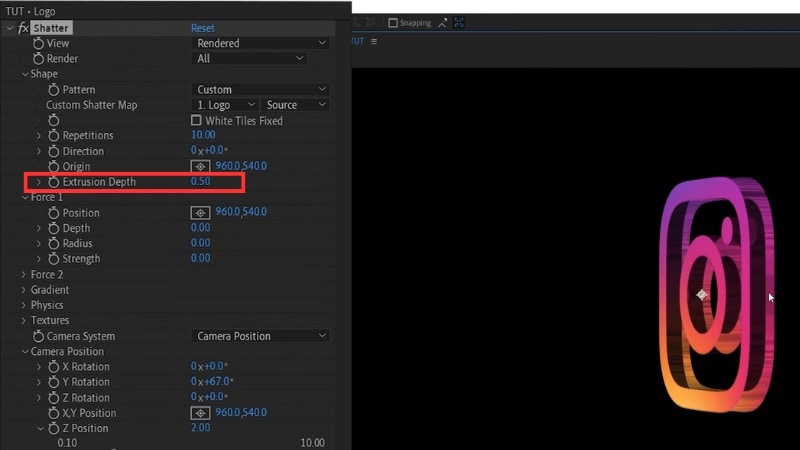
Set the Extrusion Depth to around 0.5 so the logo gains visible thickness.
Step 6. Set the Side Color
Go to Textures and change the Side Mode from Layer to Color.
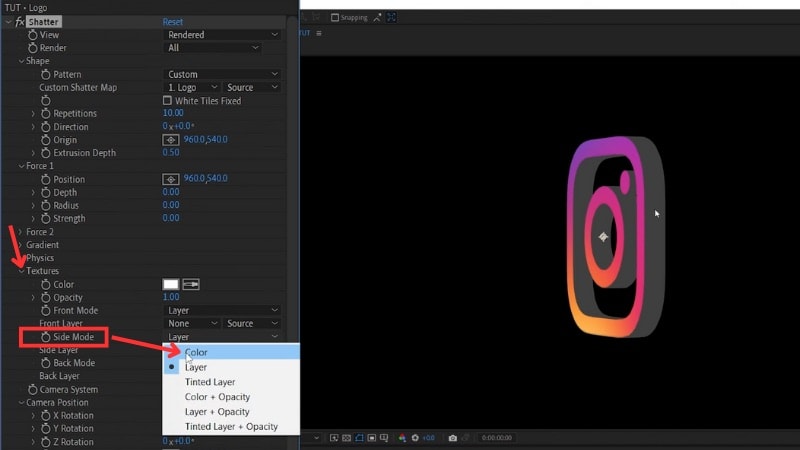
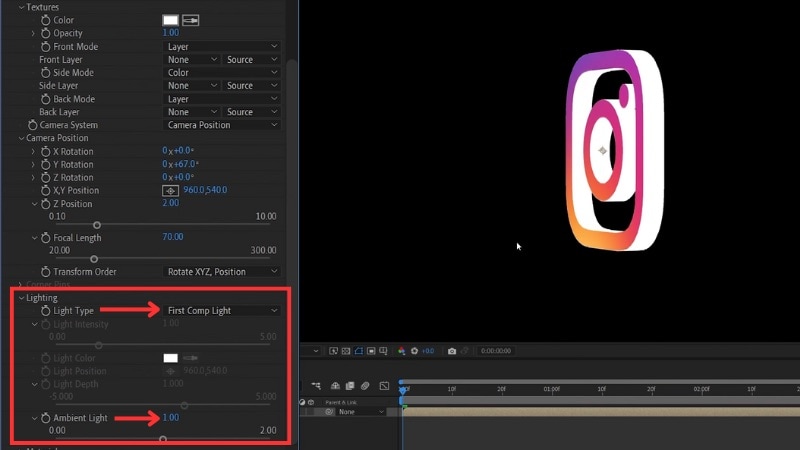
Before we set the color, go to the Lighting settings and set Light Type to First Comp Light.
Then, raise Ambient Light to 1 to keep the logo evenly lit.
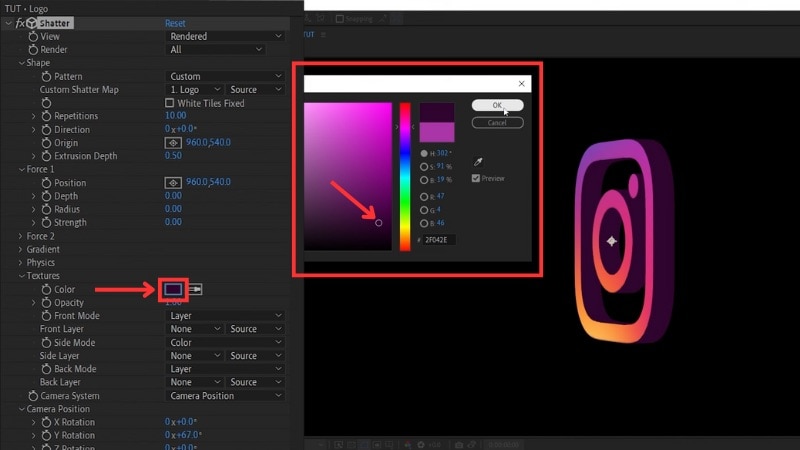
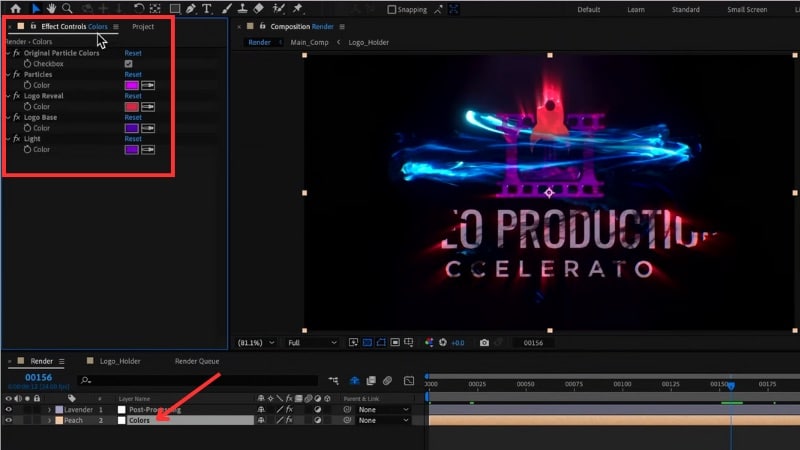
Back to the Textures menu > Color, and use the eyedropper to select a tone from your logo.

Then darken the color to add depth to the inner edge.
Step 7. Animate the Rotation
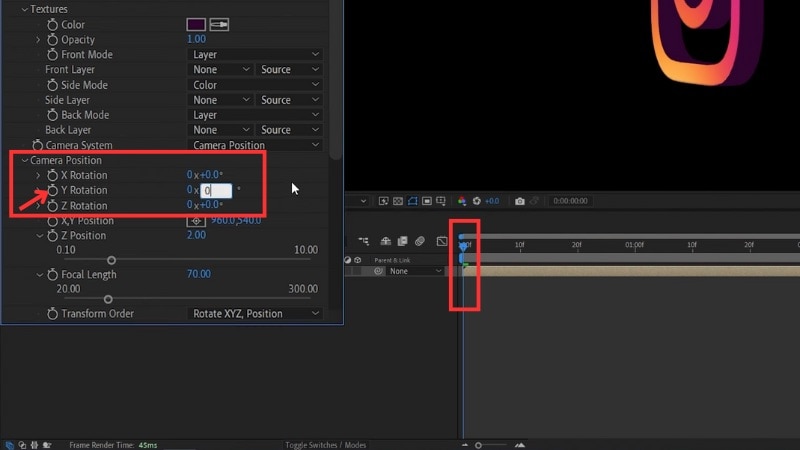
Move the playhead to the start of the timeline and set the Y Rotation to 0°, then enable keyframing by clicking the Stopwatch icon next to the Y Rotation property.
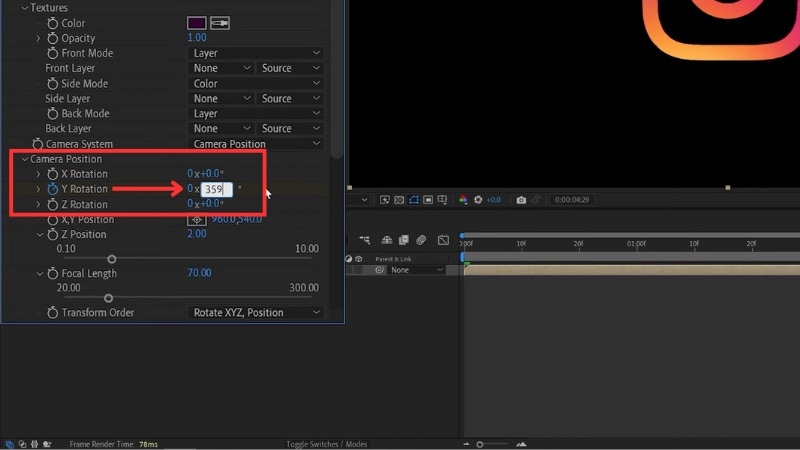
Move to the end of the timeline and change the Y Rotation to 359°. This action will create a smooth loop for your 3D logo animation in After Effects.
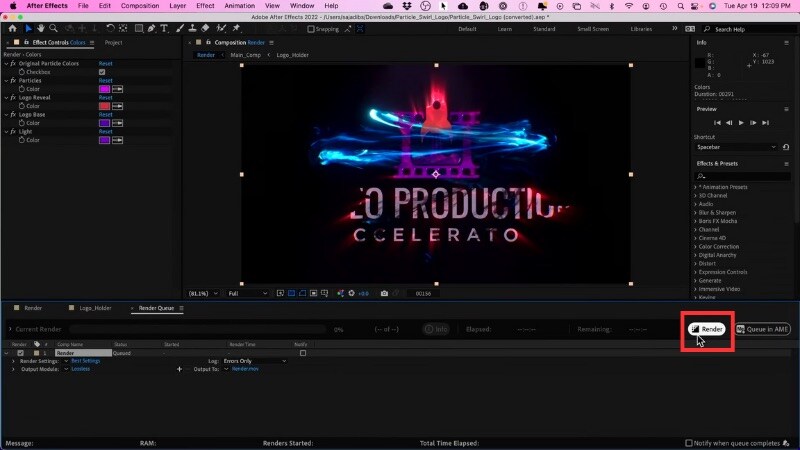
Preview the rotation and fine-tune the depth, color, or lighting until the movement feels right. Once you finish adjusting, render the clip. This method works well if you want full control while learning how to make a 3D logo in After Effects with no plugins.
Part 2. Best for Beginners: Use 3D Logo Templates in After Effects
Not everyone wants to start from scratch when making a logo animation. If you're one of them, you can create a 3D animation in Adobe After Effects using preset templates. Templates work well for beginners because they already include lighting, depth, motion, and effects.
Recommended Sources to Find 3D Logo Templates
Here are reliable sources where you can get paid and free templates for 3D logo animation you can use in After Effects:
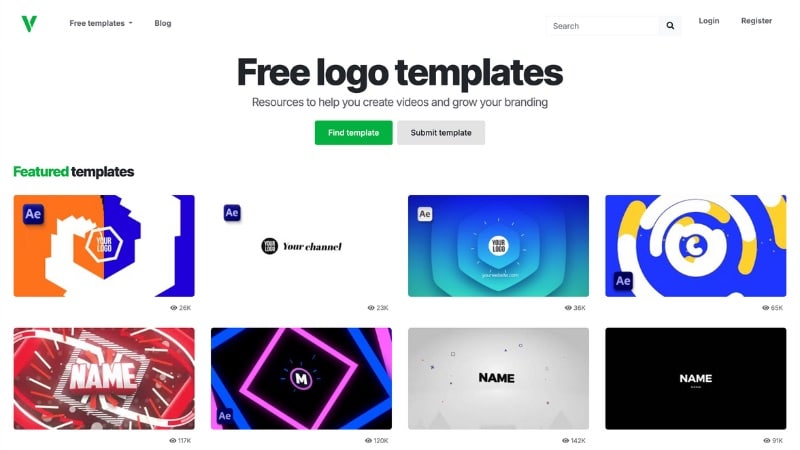
Velosofy – Free Templates
Velosofy offers free After Effects templates, including simple 3D logo intros that beginners can edit without extra tools. It's a good place to start if you want to try 3D logo animation at no cost.
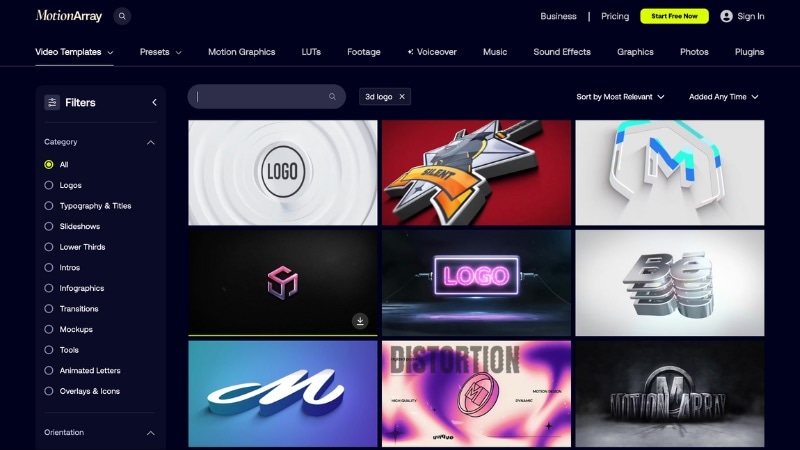
Motion Array – Free + Premium Templates
It provides a mix of free and premium After Effects logo templates. You can grab a few free 3D logo intros on their site. And if you need more styles, their premium library offers a lot of variety.
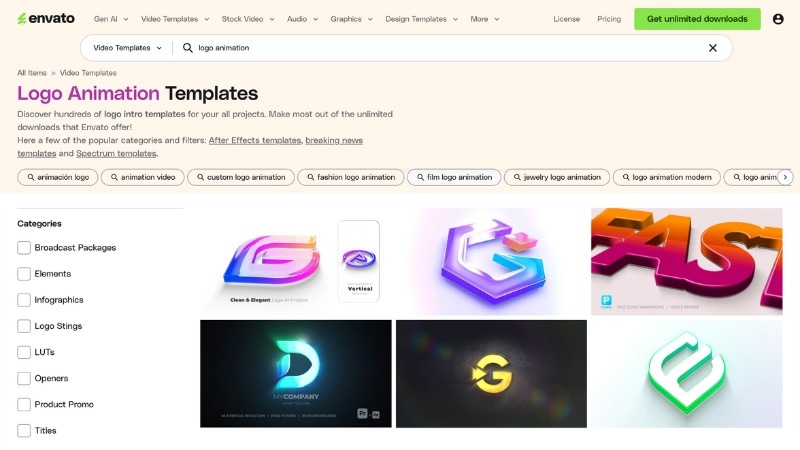
Envato Elements – Premium Templates
It has many 3D logo animations designed for After Effects. It's best for users who want access to many styles in one place. While it works with a subscription model, the value comes from unlimited downloads.
Pond5 – Premium, Pay-Per-Template
It gives you a large collection of ready-to-edit 3D logo templates, each available for individual purchase. It's useful if you don't want a subscription and prefer to buy just one template that fits your project.

When downloading, check the file format (usually .aep), After Effects version compatibility, and whether a specific font or plugin is required. Most templates are plugin-free, but some may need Element 3D or Optical Flares for special visual effects.
How to Edit a 3D Logo Animation Template in After Effects
Editing a template takes only a few steps because the animation is already built. Here's how to make a 3D logo in After Effects using ready-made templates:
Using a template helps new editors learn how to create a 3D logo in After Effects without dealing with complex steps. You get a finished 3D reveal in less time, and once you export it, the animation is ready to use in any project.
Part 3. For Beginners Who Want It Simple: Make 3D Logo Animations in One Place
If creating a 3D animation in After Effects feels overwhelming or too time-consuming, there's an easier alternative: Wondershare Filmora. Unlike After Effects, Filmora is an all-in-one video editor that lets you create 3D logo animations quickly using ready-made templates and simple 3D-style effects, so you can achieve professional-looking results without the steep learning curve.
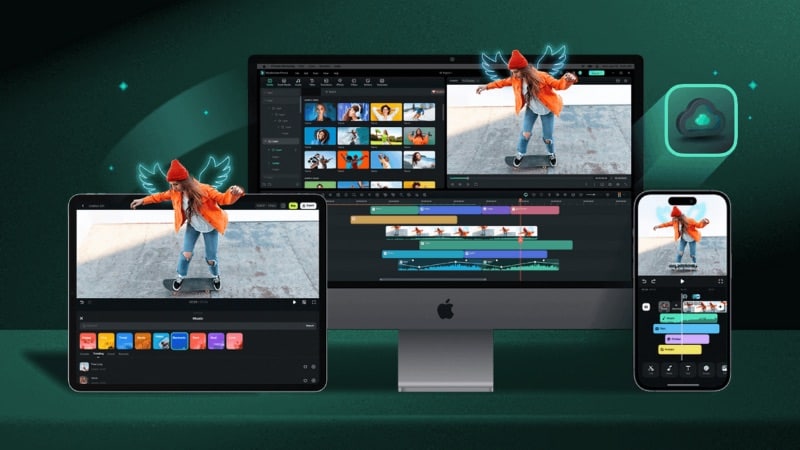
Filmora also includes AI-powered features that help beginners create logo intros fast, even if you have no motion design experience. Below are three easy methods you can try inside Filmora.
Method 1. Using Built-in Logo Reveal Templates
Filmora includes logo reveal templates that come with transitions, light effects, and motion already set up. You only need to add your logo and export the result.

Follow these steps to create a 3D-style logo animation using Filmora's Logo Reveal templates:
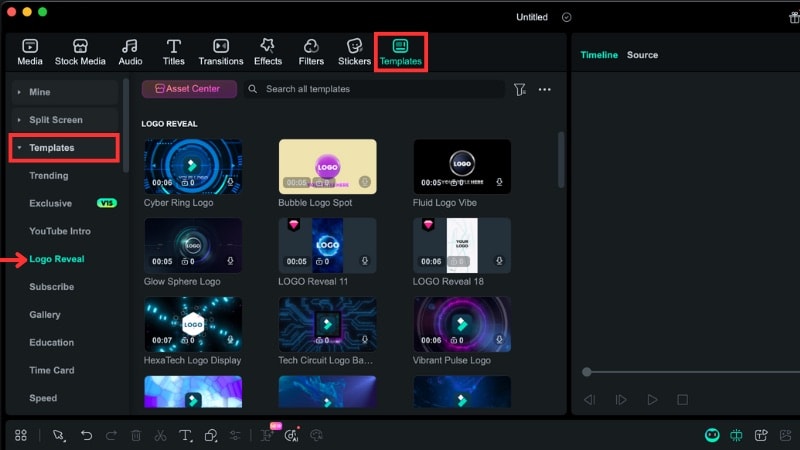
Step 1. Access the Logo Reveal Templates
Open Filmora and go to the Templates tab. In the left sidebar, select the Templates category and choose Logo Reveal.
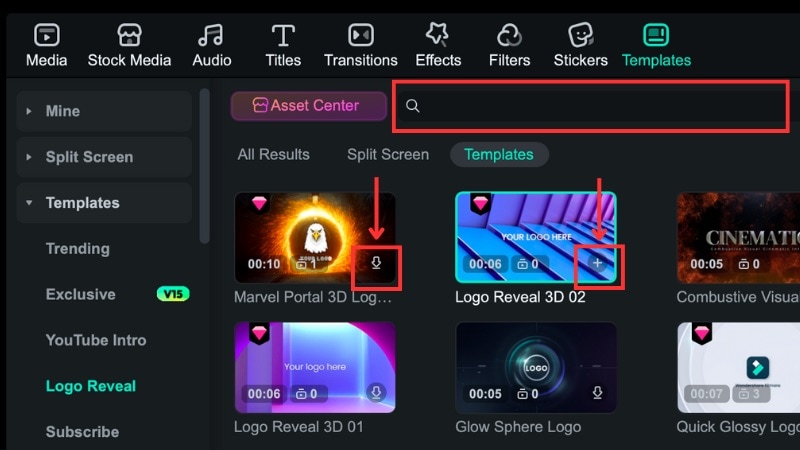
Step 2. Find and Apply a Template
- Scroll to browse the template options or search for “3D logo” in the search bar to find relevant styles.
- Click a template to preview it. When you find one that fits, click the Download icon.
- Once the download is completed, tap the Plus button to insert it into the timeline. Or, you can also drag the template to the timeline.
Step 3. Replace the Logo
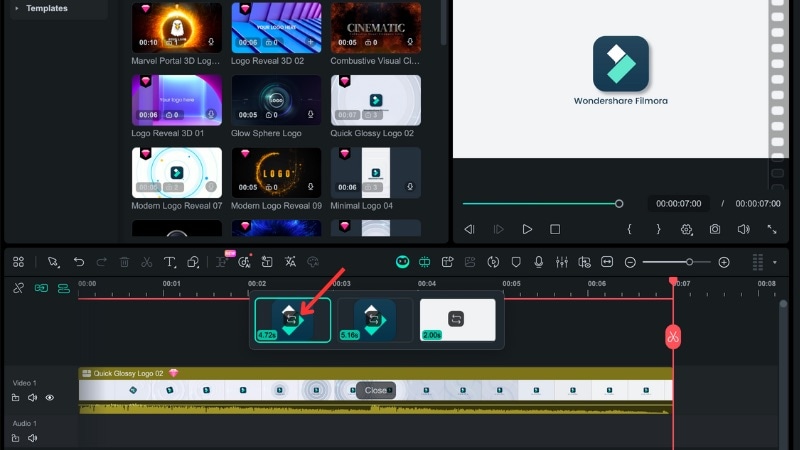
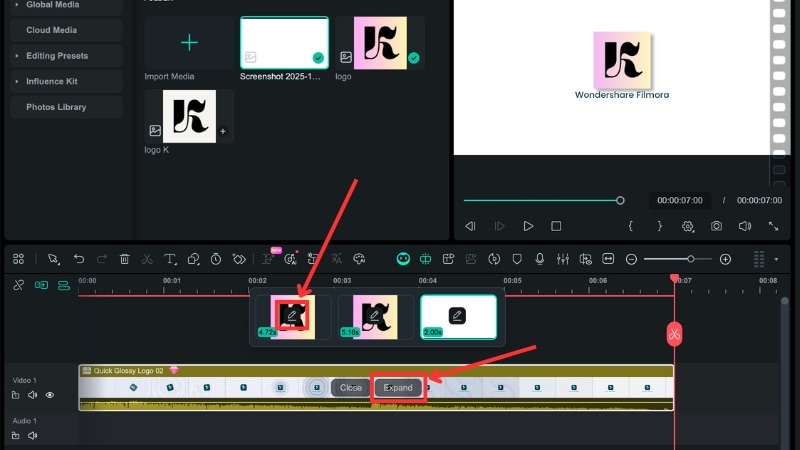
Click the “3 items to be replaced” button on the timeline. The number may differ based on the template, and it will show all the editable media slots.
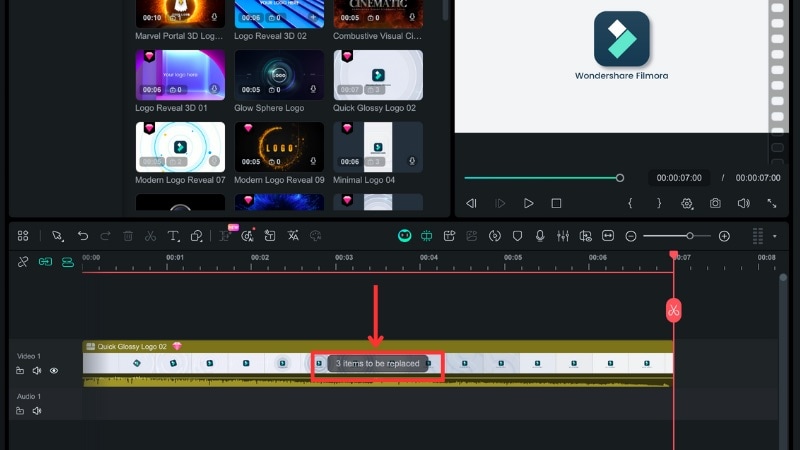
Select the Replace icon on the logo slot, then upload your logo file.
Step 4. Edit the Logo if Needed
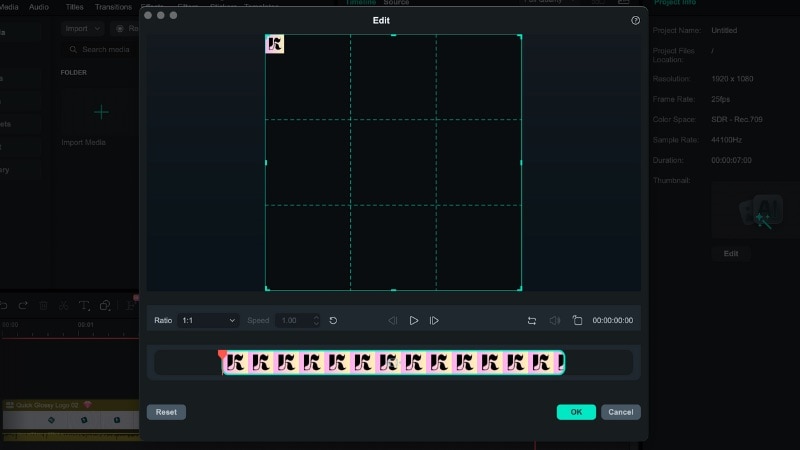
Filmora lets you edit the uploaded logo if needed. To edit it, click on the Pencil icon to open the Edit window.
In the Edit window, you can change the ratio, replace, or rotate the image of your logo.
Step 5. Fine-Tune the Template
Once you change all the replaceable media, you can click Expand to open the template layers. Here, you can move the logo, tweak the text, or remove extra effects if you want a simpler look.
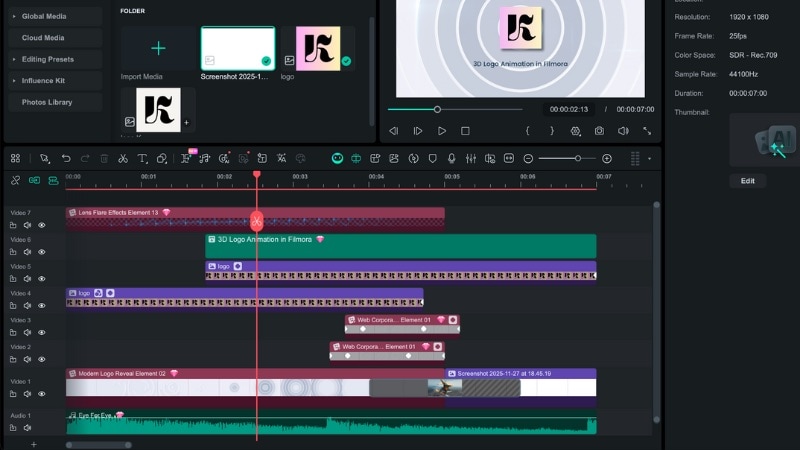
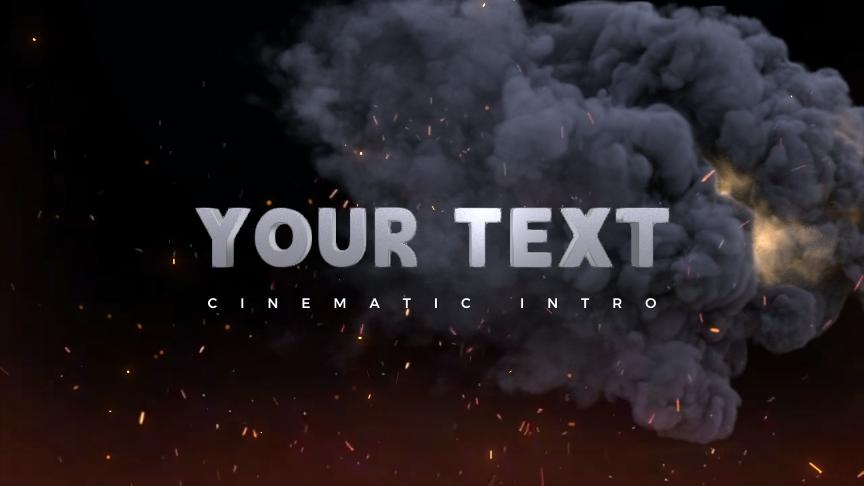
Here is the result of creating a 3D logo animation in Filmora using its Logo Reveal template:

Method 2. Using the AI Video Inspiration Tool
Filmora doesn't stop at built-in templates. Using the Image-to-Video template within its AI Video Inspiration tool, you can automatically generate short 3D logo intros with movement, making it ideal for beginners who want fast results without dealing with complex steps.
Check out the steps to create a 3D logo animation with Filmora's AI Video Inspiration tool:
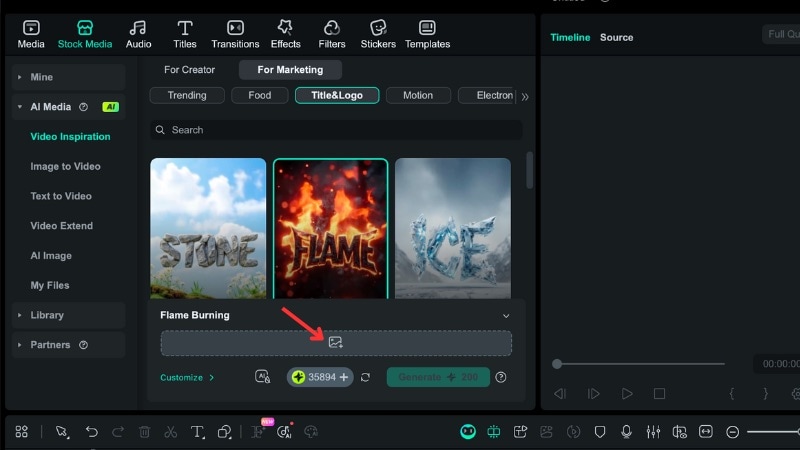
Step 1. Access the Video Inspiration Tool
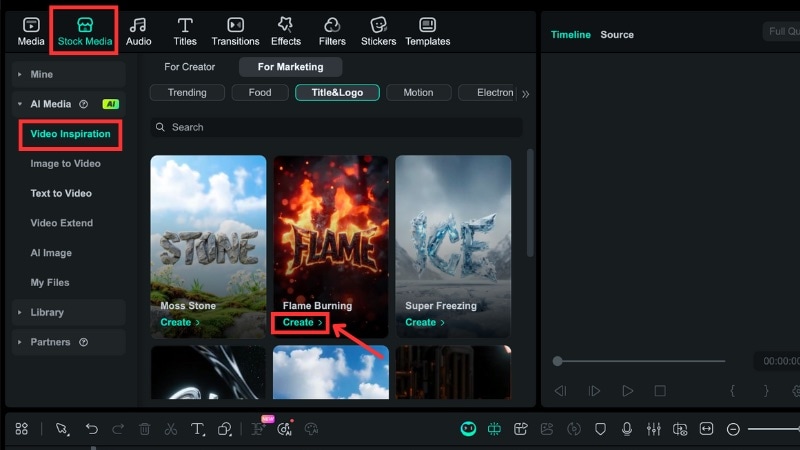
- Go to Stock Media > AI Media > Video Inspiration.
- Choose the Marketing category and select Title & Logo.
Step 2. Select the Animation Style
Scroll through the style options and hover your cursor to preview each animation. Once you find a style that fits your project, click Create.
Step 3. Upload Your Logo
Click on the Image icon and select your logo file to upload it to Filmora.
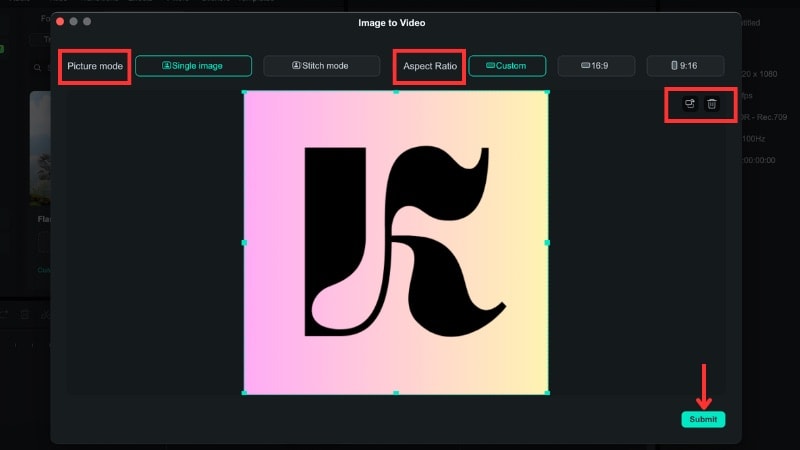
After the upload, a new window will appear. Adjust the Picture Mode and Aspect Ratio if needed. You can rotate the logo or replace it with a new file. When everything looks right, click Submit.
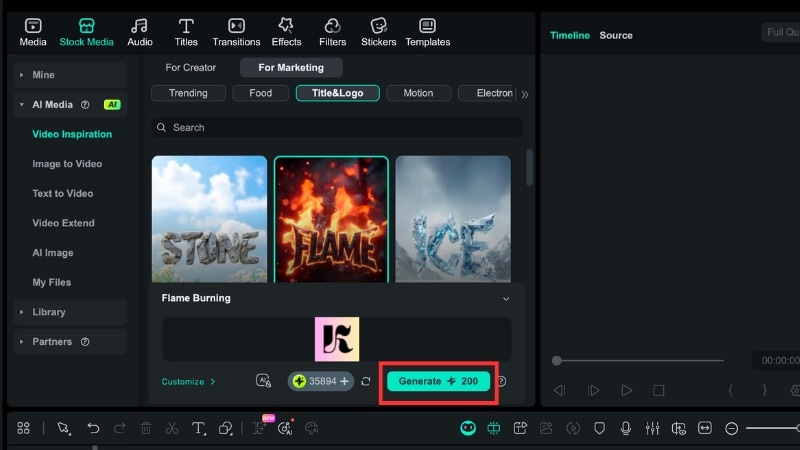
Step 4. Generate the 3D Logo Animation
Click Generate to let Filmora create the animation based on your input.
Here is the 3D logo animation that Filmora generated using the Video Inspiration tool:

Method 3. Using Logo Reveal in the Influence Kit Tool
The Influence Kit in Filmora also includes a Logo Reveal feature that helps you make a simple 3D logo animation. Follow these steps to create one:
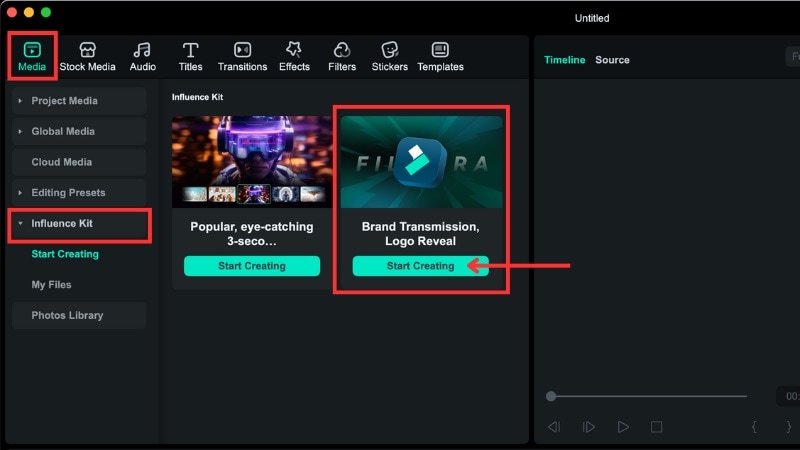
Step 1. Access the Logo Reveal tool in the Influence Kit
In the top menu, go to Media > Influence Kit. Under the “Brand Transmission, Logo Reveal” option, click Start Creating.
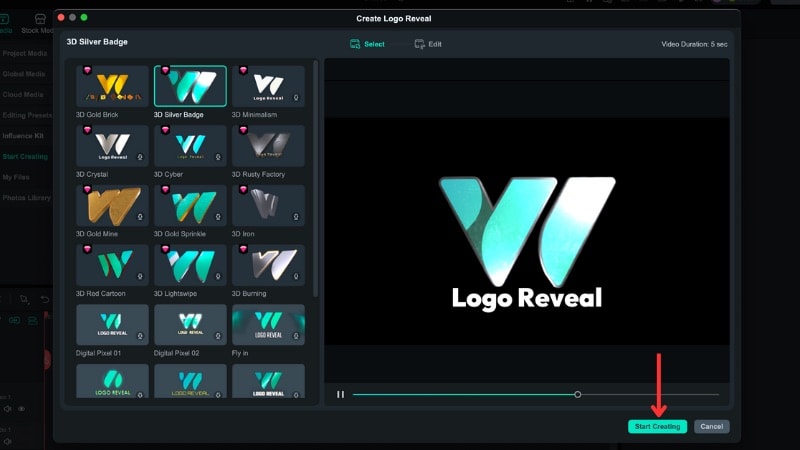
Step 2. Choose the Logo Reveal Template
Pick a style that suits your channel or brand. You can preview the motion before you select it. When you find one you like, click on the template to download it, then Start Creating.
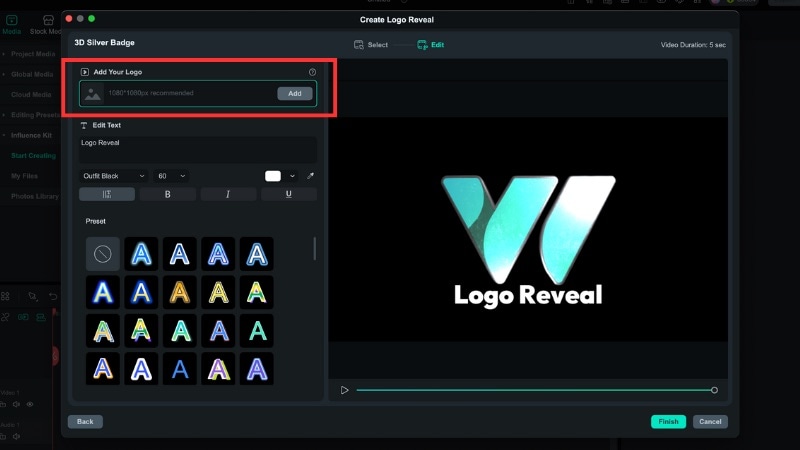
Step 3. Upload Your Logo
Click Add under the Add Your Logo section and select your logo file.
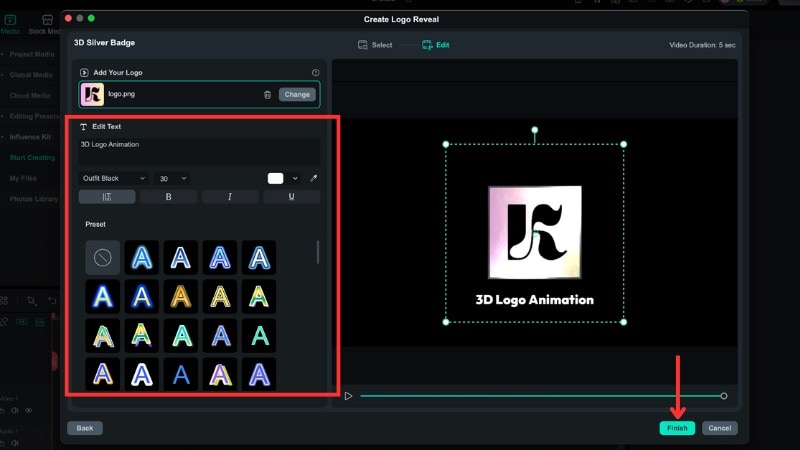
Step 4. Edit the Text and Adjust the Logo
Update the text if the template includes it and resize the logo inside the preview window. Click Finish when you're done, and Filmora will place the final animation on the timeline.
See the final result created using the Influence Kit Logo Reveal:

Conclusion
Creating 3D animation in After Effects gives you full control over motion, lighting, and depth. It works well for a professional editor to create logo reveals. If you prefer a faster method, try creating a 3D logo animation in After Effects using free-to-download templates.
For beginners who want the simplest path, you can try an alternative editor like Filmora. It offers built-in templates and AI tools that let you create 3D-style animations without complex controls. Use the method that fits your skills and project needs, and start creating the logo style you want.
FAQ
-
How can beginners learn the basics of 3D animation in After Effects without feeling overwhelmed?
You can start by using templates for 3D logo animation in After Effects. They already include motion and depth, so you only need to replace the logo. If you want an easier method, Filmora's logo reveal tools give you a quick 3D-style result with fewer steps. -
Can we use free 3D logo templates for commercial use?
It depends on the source. Some websites allow commercial use, while others limit usage to personal projects. Always check the license page of the free to download template for 3D logo animation in After Effects before starting the project. -
Do I need a strong computer to make a 3D logo animation in After Effects?
A fast computer helps because 3D layers, lighting, and motion can load many effects at once. You can still work on a mid-range system, but preview and render times may take longer as the project grows.
