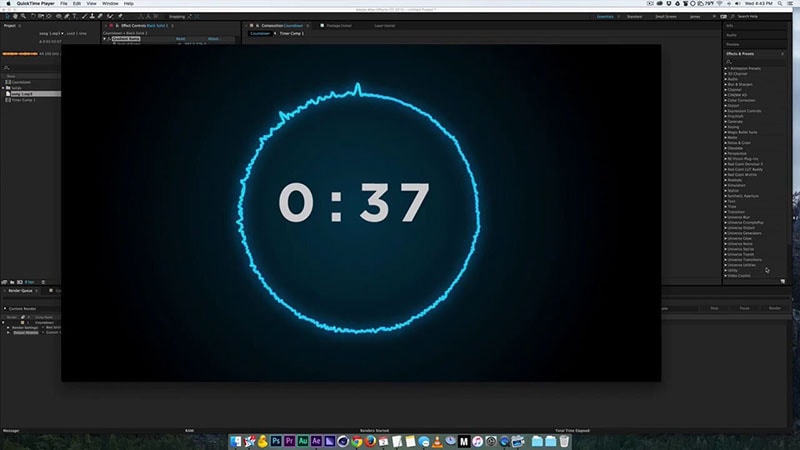
Have you ever wanted to use Adobe After Effects to recreate a countdown timer for a rocket launch or simply create a suspenseful moment in a video by displaying how the time runs out? This tutorial will show you how. It is imperative that you become familiar with the process of creating a countdown in After Effects.
In this article, we will demonstrate how to use Adobe After Effects to put together a countdown video. This procedure is a straightforward one, and it will handle expressions as well as plugins. Stay here and read on to find out more about the various methods in which we might accomplish this goal!
Let's begin!
In this article
Part 1. Create a new composition
It's possible that you only want to show the minutes and seconds. Make a mask around the entire area you intend to use in order to quickly remove undesired information.
1. Create a new Text Layer.
2. Alt + Click (on a PC) or Option + Click (on a Mac) on the stopwatch in the Source Text to display text options.
3. Place the expression “timeToCurrentFormat” within the expression box (). You must set your composition frame rate to 60 frames per second in order to make it appear to be a real digital countdown timer.
4. Everything should be pre-composed, and the composition's tempo should be reversed to make it count down. Right-click the composition and choose Time > Time Reverse Layer to change its pace.

Part 2. Using the timecode plugin
To make a countdown timer, you can use the Timecode plugin rather than the "timeToCurrentFormat()" statement. The timer layout will be immediately created when the plugin is added to a New Solid; use the same steps as before to convert it to a countdown timer.
Here is a quick video that demonstrates how simple it is to set up a countdown timer in this manner:
Step1 Ctrl-click (Windows) or Command-click (Mac OS) the time display to cycle through Timecode Base or Frames/Feet + Frames (depending on whether the "Use Feet + Frames" option is checked in the Project Settings). The Timeline panel's upper-left corner, as well as the bottoms of the Layer, Composition, and Footage panels, all indicate the current time. Timeline panel (See.)
Step2 A smaller text version of the option that is not selected in the project settings will be seen underneath. Do the following to limit the display to the Timecode or Frames option that was chosen in the Project Settings:
Step3 Choose After Effects > Preferences > Display (Mac OS) or Edit > Preferences > Display to access the display preferences window (Windows). Remove the check mark next to "Show Timecode and Frames in Timeline Panel" (this option is selected by default).
Step4 Change the time display units by selecting File > Project Settings and then selecting a different choice from the list in the Time Display Style section.
Timecode:
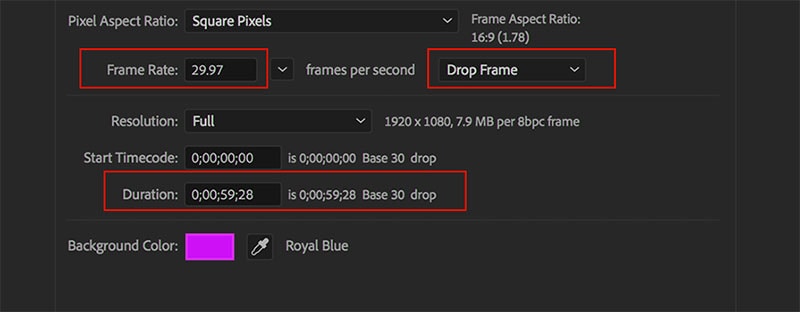
Displays the current time as timecode in the time rulers of the Timeline, Layer, and Footage panels. You have the option of utilizing the timecode from the source media (Use Media Source) or beginning at 00:00:00:00. To use timecode rather than frames, select the Timecode option from the menu. It is important to take note that there are no options available for changing the frame rate or whether or not to delete frames, as the source timecode is recognized and used instead.

Part 3. Source timecode
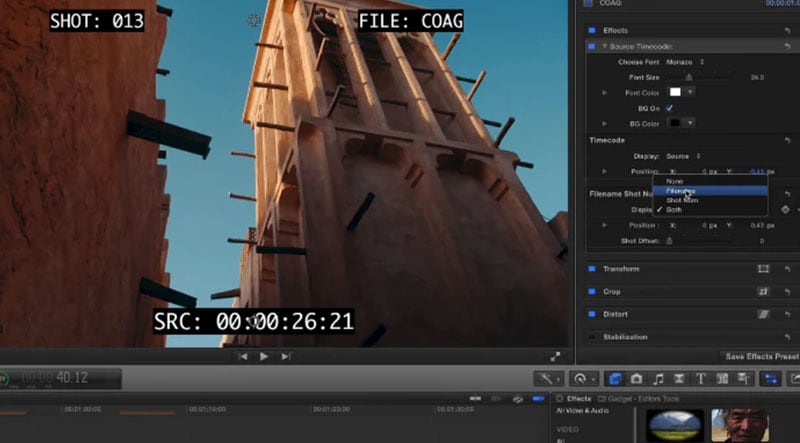
Support for various file formats for the source timecode QuickTime, DV, AVI, P2, MPEG-2, MPEG-4, H.264, AVCHD, RED, XDCAM EX, XDCAM HD, and WAV image sequence importers are just some of the formats that After Effects is able to read and apply timecode for.
Project panel
The Project panel includes several columns that display the source timecode. These columns are titled as follows: Media Start, Media End, Media Duration, and Tape Name. These are the beginning, ending, and overall length of time for the source. There are columns labeled "In," "Out," and "Duration," which reflect the In and Out points that the user has set in the Footage panel for the footage item or the work area for the composition, respectively. These columns also show the duration of the clip.
Context of the Project
The source timecode feature set can be found in the dialog box that is used to configure the Project. Check out the Options for Time Display Units page for more information.
Box for Configuring Composition Settings
The source timecode feature set is located in the dialog box that is called Composition Settings.
Box for Specifying Preferences
The Import section of the Preferences dialog box is capable of handling source timecode functions.

That's it! You are now familiar with the process of creating a straightforward countdown and a countdown timer in After Effects, and you have three options to choose from. Make use of this information to give your videos an interesting spin and to round out the experience for the audience.


 100% Security Verified | No Subscription Required | No Malware

