- iMovie Complete Tutorial
iMovie Tutorial: How to Import Videos from iCloud Drive to iMovie?

Apr 14, 2026• Proven solutions
 TL;DR:
To import videos from iCloud Drive to iMovie, you must ensure your videos are already uploaded to your iCloud account, then access them through the iMovie media browser on an iPhone or via the Import Media function and Finder on a Mac.
● When importing on an iPhone, you must navigate to iCloud Drive within the iMovie media browser, though you are restricted from enlarging videos or photos during selection unlike in the native Photo Library.
● For Mac users, the process requires locating the uploaded files via Finder, selecting Import Media inside a new iMovie project, and dragging the video files directly into a specific iMovie event.
● Wondershare Filmora serves as a Mac editing alternative that supports direct social media imports, Touch Bar integration, and proxy file generation to accelerate 4K video editing workflows without sacrificing final export quality.
Ask AI for a summary
 ChatGPT
 Perplexity
 Gemini
 Claude
 Grok
Grok
There are times when you want to share your favorite videos with your loved ones, but you're faced with less storage on your smartphone or desktop. In times like these, one desires to have the best tools or software to save these videos. With the help of software like iMovie and iCloud, you can now transfer videos from one platform to the other with ease. iMovie not only allows you to save videos without occupying any space on your iPhone or Mac, but it also allows you to edit videos with minimal effort. But to do that, first, you must import your saved videos from iCloud to iMovie.
Therefore, this article will guide you step-by-step to import videos from iCloud to iMovie on your iPhone and Mac.
- Part 1: How to Import Videos from iCloud Drive to iMovie on iPhone?
- Part 2: How to Import Videos from iCloud Drive to iMovie on Mac?
- Part 3: Better Choice: Import Videos with Wondershare Filmora
Part 1: How to Import Videos from iCloud Drive to iMovie on iPhone?
It is relatively easy is to import a new project or video to iMovie using iCloud Drive on your iPhone. This can be done if you have an iCloud account set up, which is necessary to use an iPhone. You can also trim the video's length, set the audio, and add effects while importing a video to your iMovie project.
The video clips can be added through your iPhone's Photo Library, iCloud Drive, or Files app, or you can make new videos. But since this part is based on iCloud Drive, we'll only be covering how to import the videos from iCloud Drive to iMovie. So, the following steps can help you in importing the videos from iCloud Drive to iMovie on iPhone.
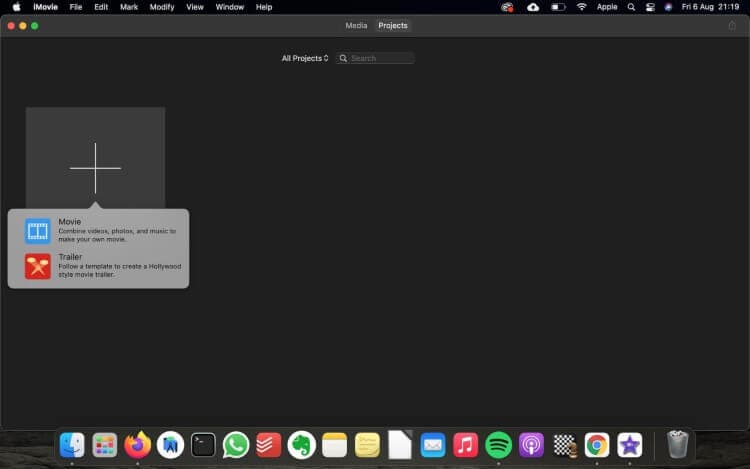
Step 1: Open iMovie
First, open the iMovie on the iCloud device before importing the videos. You have to select Create New Project or select an Existing Project afterward to import the video.
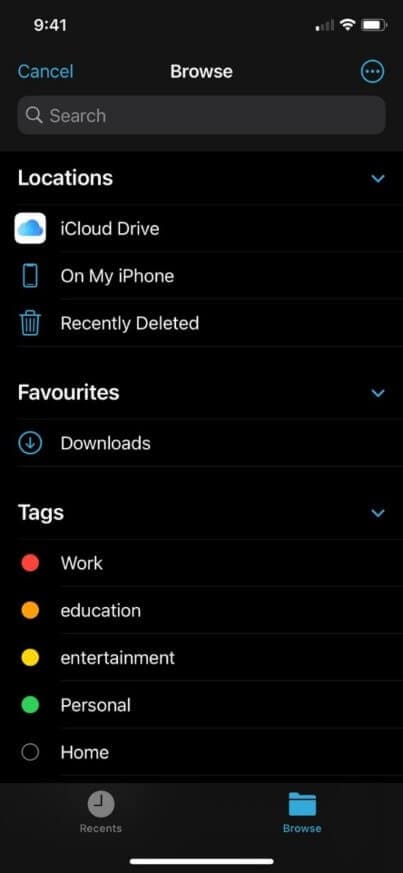
Step 2: Select iCloud Drive
You have to select iCloud Drive in the media browser to import the video from the iCloud Drive to iMovie. You have to choose the Recent or Browse tab to select the video you want to import in your iMovie app. Not only that, but you cannot enlarge the videos or photos in iCloud Drive as you do in your iPhone Photo Library.
Step 3: Crop the Video (Optional)
Before adding the video, you can also crop the length of the video. Identify the part you want to import and drag the borders to that part of the video you wish to import.
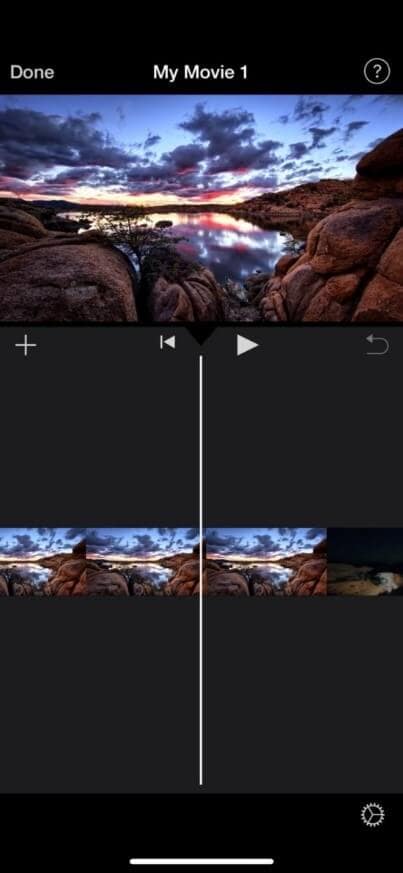
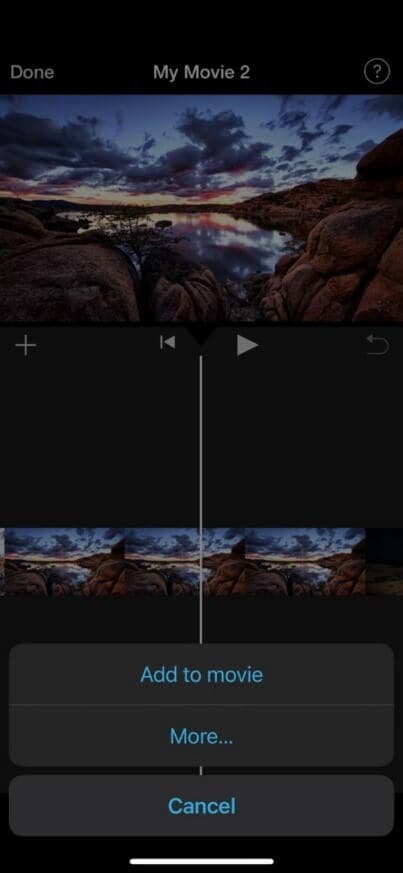
Step 4: Import the Video
If you are done with the above steps, click on the Import to import the video to your iMovie timeline. After that, you can also edit the video clip by adding effects and setting the audio.
Part 2: How to Import Videos from iCloud Drive to iMovie on Mac?
Utilizing iCloud Drive on your Mac, you may quickly import a new presentation or video into iMovie. If you possess an iCloud account in the first place, which is required when you're using an iPhone, you can do this instantly.
While importing a movie or a video to your iMovie application, you can also cut the length, adjust the sound, and apply effects. You can add video clips to your Mac Photo Library, iCloud storage, or Files app, or you can record or capture new ones.
However, because this section relies on iCloud Drive, here's how to import videos from iCloud Drive into iMovie. But before that, ensure to have videos uploaded on the iCloud before you begin to import something. The steps below will assist you in importing videos from your iCloud Drive into iMovie on your Mac.
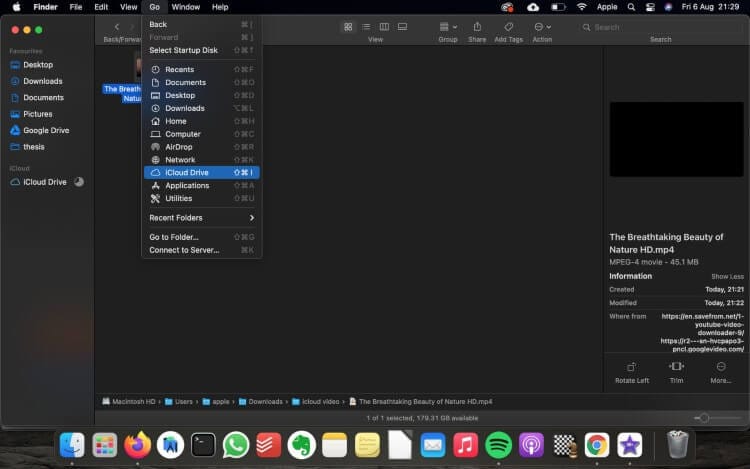
Step 1: Open "Finder"
To begin with, open your Mac and click on Finder to select the saved video files.
Click on the Go option available at the top to upload. To decide which platform, you want to share your video files, click on iCloud Drive to upload.
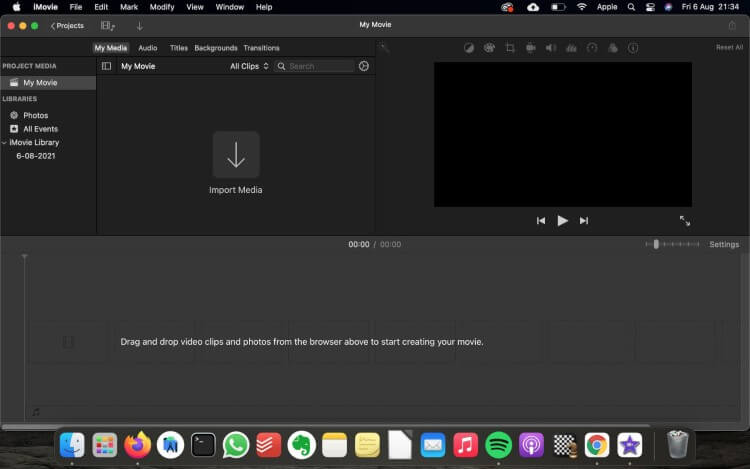
Step 2: Create a New Project
Create a new project and select the type of project. After selecting the video files or other media, you’ll be able to upload them to iMovie from iCloud Drive.
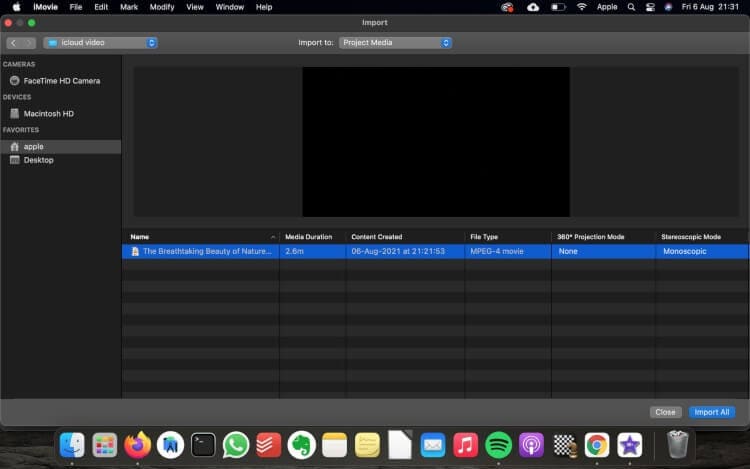
Step 3: Import Media
Click on Import Media option to browse through the folder where you have saved the videos. After browsing through the video folder, click on Import Media in iMovie on the Mac.
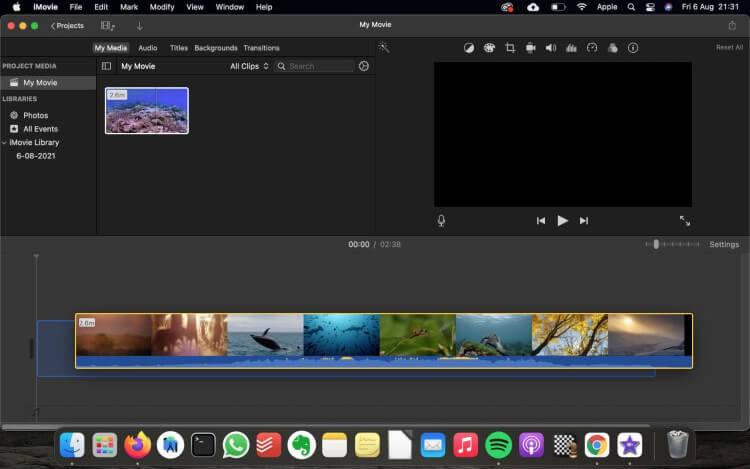
Step 4: Find the Event
Inside the iMovie, you need to navigate the event you want to import your videos into.
Step 5: Select the Videos
After deciding which video you want to import into the event in iMovie, select and drag the media files directly into the iMovie event.
Part 3: Better Choice: Import Videos with Wondershare Filmora
Irrespective of your ability level, Wondershare Filmora is an incredibly simple and fashionable video editing program that allows you to import and edit your videos on Mac and strengthen your narrative. Better than importing videos to iMovie from iCloud, Filmora for Mac enables you to import and edit your videos to a different degree.
By applying special effects and animations and distributing your finished output on social media, intelligent applications, or DVDs, Filmora makes it easy to get started with any new movie production.


Wondershare Filmora for Mac has many features to offer that make it easier for you to edit videos:
4K Editing Tool
The 4K Editing tool enables you to edit your imported videos up to a maximum resolution of 4K. It increases the video resolution to that "picture perfect" level!
Frame by Frame Preview
You now use this feature to jump through your audio and video tracks frame by frame for precise editing of your videos. That allows you to preview videos meticulously.
Social Import
To edit your videos, you should be able to import them from every social media account, and Filmora for Mac offers precisely that! Import videos from Facebook, Instagram, and other social platforms with ease.
Advanced Text Editing
The best thing about Filmora for Mac is the ability to edit colors, alter video size, add new fonts for text editing, and even add animation of your titles and text.
You may now import your video files into the application once you've created a project. Wondershare Filmora for Mac lets you import video from various digital photos, video recorders, smartphones, and other sources in a variety of different and HD media players.
You may also record video instantly from your webcam. You will also get access to a Media Library where you can arrange your media clips so that you might and quickly find components for your work. There are three methods you can use to import video files into Filmora. The following steps will guide you to import your favorite video files with Filmora for Mac:
Method 1. Using the Import Media option
Step 1: Import File
First and foremost, click on the File option to import media files.
Step 2: Select Video Files
After opening the video gallery or the desired folders, select video files using the Import Media option.
Step 3: Edit Your Video File
After importing, you can edit your video file using Filmora for Mac.
Method 2. Using Pop-up Window
Step 1: Import the Video
Click on the Import Media option to import your video file.
Step 2: Select the File
Choose your video files to import from the pop-up window.
Step 3: Begin Editing
After importing your file, you can now start editing the video using Filmora's video editing features.
Method 3. Using Touch Bar Controls
Import videos into Filmora for Mac using the Touch Bar controls. But before that, ensure that your Mac does have that option.
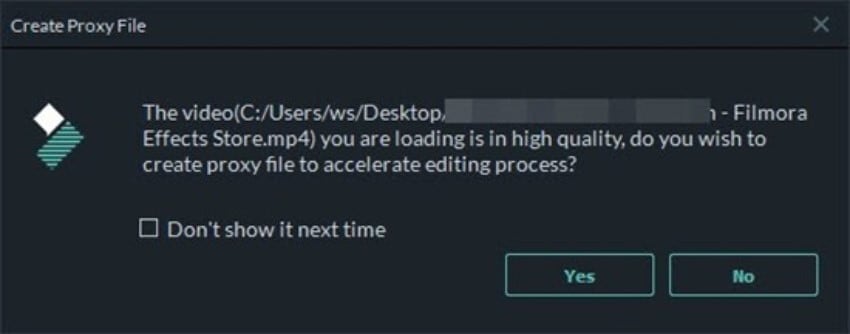
Filmora may ask you to generate a proxy file to speed up the editorial process when you upload a video file. A proxy file is a copy of your original format file that is shorter. When the film has a very high quality, greater timeline effectiveness is usually necessary. Generating a proxy file reduces video resolution to speed up the process without sacrificing the final export quality.
For a quicker video editing workflow, we recommend selecting Yes to produce proxy files.
Conclusion
Video editing is an essential need today. People use different editing software on their iOS devices to edit the video. But why do they need editing software when there's a built-in one? Yes, you can edit your videos through iMovie on an iOS device.
But you need to be aware of how to upload the video clip on iMovie through iCloud Drive. To solve this problem, the article has covered the step-wise method to upload video clips from iCloud Drive to iMovie using iPhone and Mac. So, now you can upload and edit your videos through the iMovie application.

Liza Brown
chief Editor