

 100% Security Verified | No Subscription Required | No Malware
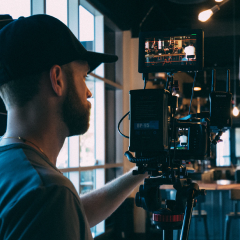
Converting HLG footage to Rec.709 is essential for consistent color grading across devices, especially for web delivery. Without proper conversion, your HDR content may appear flat or overly bright on standard displays.
Our Free HLG to Rec.709 LUT Pack delivers accurate, one-click color transformation, making it ideal for HDR creators and video editors handling hybrid camera clips. Achieve broadcast-safe visuals with minimal effort.
In this article
Sunlit Outdoor Scenes
Natural Daylight
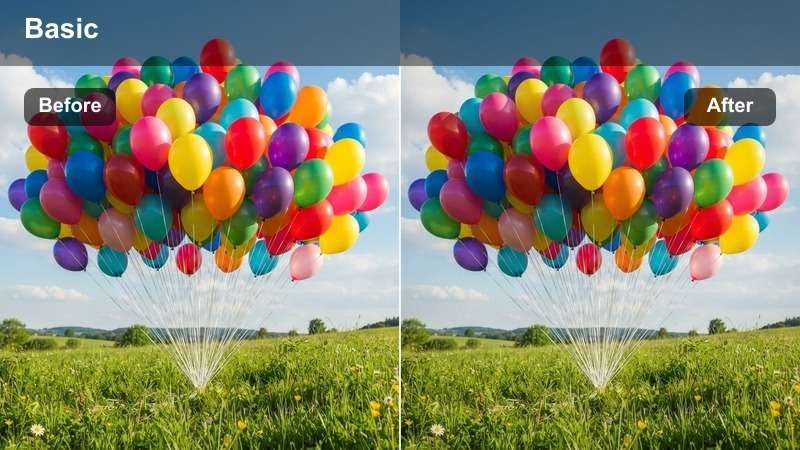
- Effect look: Balanced contrast with true-to-life colors
- Best for: HLG footage shot in midday sun
- Editing tip: Apply at 100% and adjust exposure if needed
This LUT is designed to handle the intense dynamic range of HLG footage captured under bright sunlight, delivering natural-looking skin tones and well-balanced highlights. It ensures that your outdoor scenes retain detail in both shadows and bright areas without appearing washed out.
In Filmora, apply the Natural Daylight LUT early in your color grading workflow to establish a consistent base. Use it on midday shots where accurate color reproduction is key, such as travel vlogs or documentary segments filmed in open environments.
Golden Hour Glow
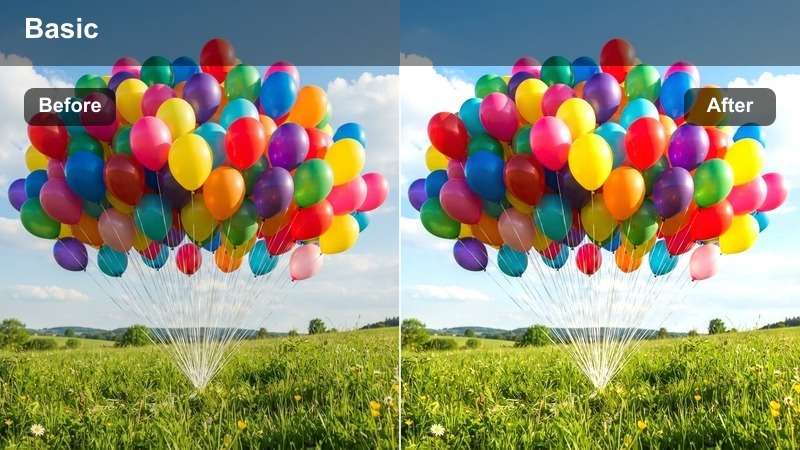
- Effect look: Warm tones with soft highlights
- Best for: Sunrise or sunset HLG clips
- Editing tip: Boost saturation slightly for richer skies
The Golden Hour Glow LUT enhances the warm ambient light typical of early morning or late afternoon scenes, preserving shadow detail while enriching golden hues. It’s perfect for cinematic shots where mood and atmosphere are central to storytelling.
When editing in Filmora, layer this LUT with color wheels to fine-tune the warmth of highlights. It works exceptionally well for lifestyle content, wedding videos, or any project aiming to evoke a nostalgic, romantic feel.
Open Shadow
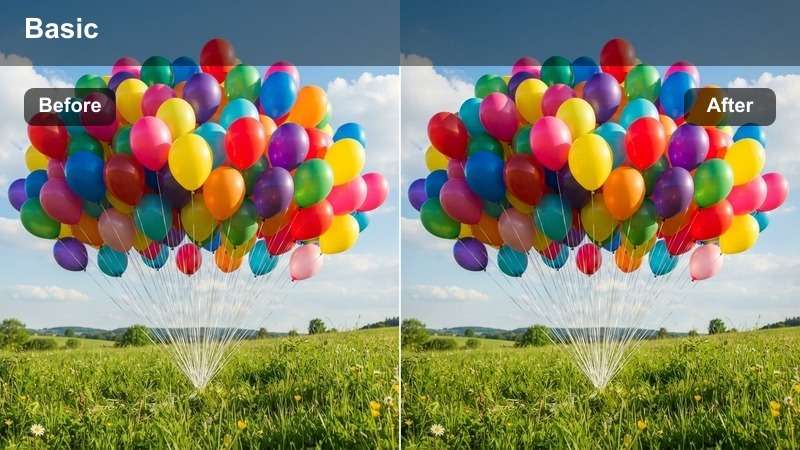
- Effect look: Lifted blacks with neutral contrast
- Best for: Overcast daylight scenes
- Editing tip: Combine with contrast boost for depth
This LUT prevents flatness in HLG footage captured under overcast conditions by lifting shadow values while maintaining a neutral tonal balance. It brings clarity to low-contrast scenes without introducing unnatural color casts.
In Filmora, use Open Shadow when editing interview clips or street footage shot on cloudy days. Pair it with a slight S-curve in the RGB parade to add dimension while keeping skin tones and textures accurate.
Indoor & Artificial Lighting
Cool Interior
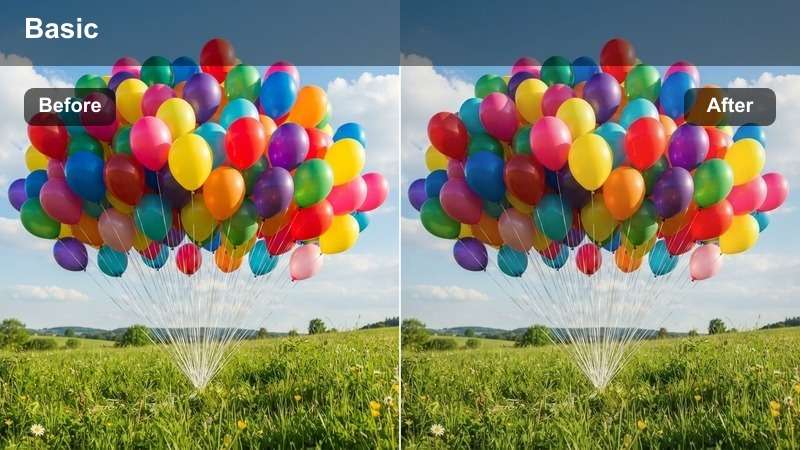
- Effect look: Crisp whites with blue-neutral balance
- Best for: Office or studio HLG footage
- Editing tip: Desaturate blues slightly for a professional look
The Cool Interior LUT delivers a clean, professional appearance ideal for corporate videos, interviews, or educational content shot under fluorescent or LED panel lighting. It corrects the cool bias of artificial sources while maintaining clarity.
In Filmora, apply this LUT as a base grade before adding secondary corrections. It’s especially useful when syncing footage from multiple cameras in controlled studio environments.
Warm Living Room
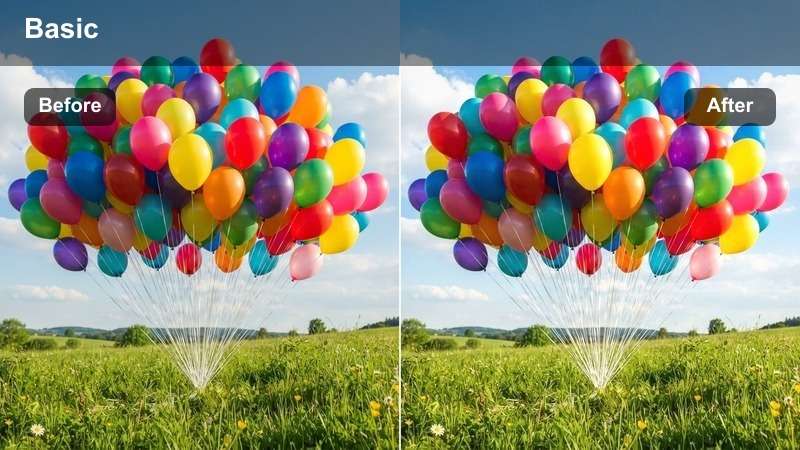
- Effect look: Soft amber tones with gentle highlights
- Best for: Home or lifestyle content
- Editing tip: Add vignette for cozy atmosphere
This LUT creates a welcoming warmth that mimics the natural glow of incandescent or warm-white LED bulbs. It avoids heavy color casts, ensuring skin tones remain natural even in dimly lit home environments.
Use Warm Living Room in Filmora for family vlogs, real estate tours, or cooking videos. Adjust opacity if the warmth feels too intense, and pair with a subtle vignette to draw focus to your subject.
Neon Mixed Light
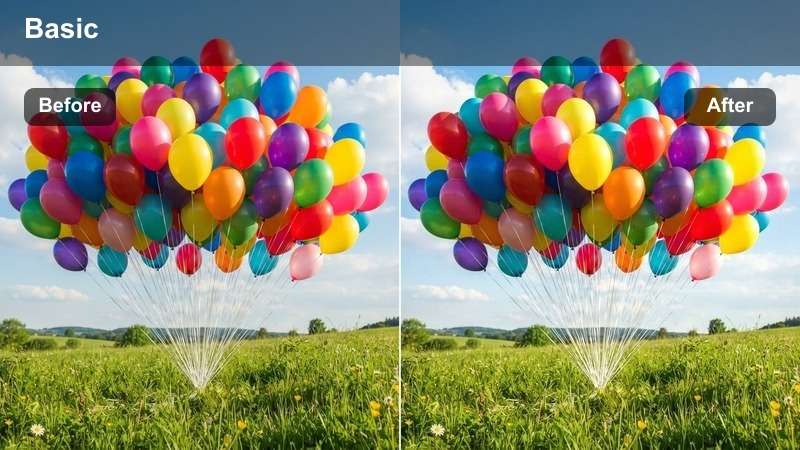
- Effect look: Balances warm and cool artificial sources
- Best for: Urban interiors with mixed lighting
- Editing tip: Use secondary color correction to isolate neon signs
Neon Mixed Light excels in complex lighting scenarios where multiple color temperatures coexist, such as bars, restaurants, or city apartments with ambient decor lighting. It prevents color dominance from any single source.
In Filmora, combine this LUT with secondary color tools to desaturate or adjust specific neon hues. It’s ideal for content creators shooting in urban lifestyle settings where authenticity matters.
City Nights & Low Light
City Glow
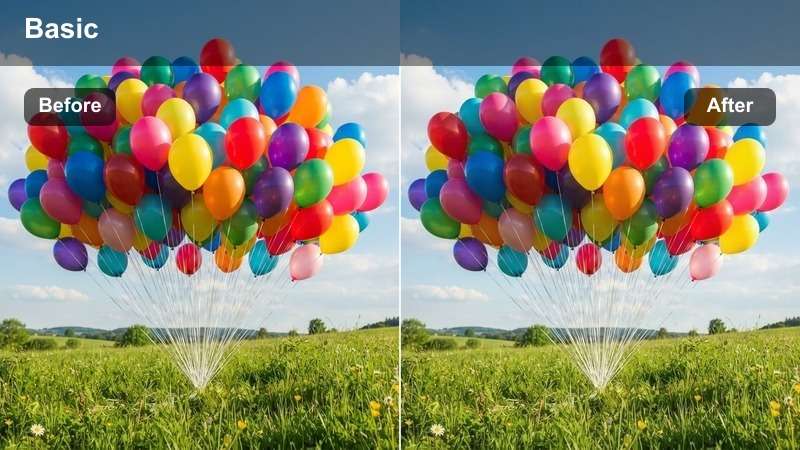
- Effect look: Smooth highlight roll-off with rich blacks
- Best for: Nighttime cityscapes in HLG
- Editing tip: Use with noise reduction for clean shadows
City Glow preserves the dynamic range captured in HLG night footage while compressing highlights gracefully for Rec.709 delivery. It maintains smooth gradients in light trails and building illuminations.
Apply this LUT in Filmora when editing time-lapses or drone shots of cityscapes. Avoid additional contrast boosts to prevent clipping in bright areas, and pair with noise reduction for cleaner shadow detail.
Street Lamp Ambience
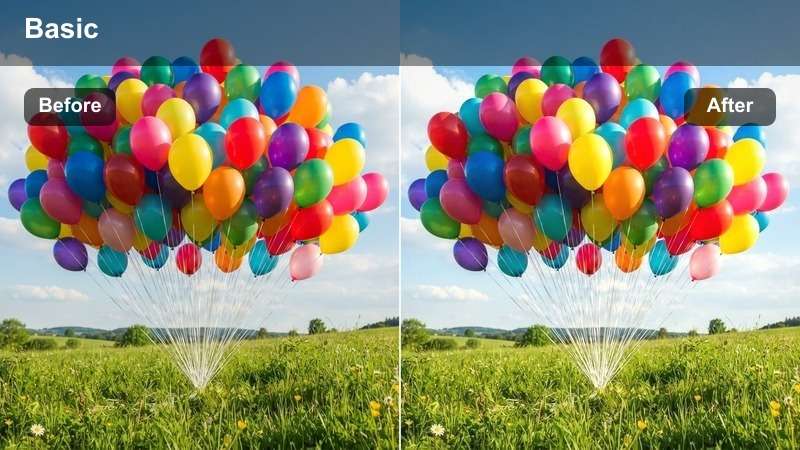
- Effect look: Amber-dominant with soft shadow detail
- Best for: Pedestrian areas under street lighting
- Editing tip: Adjust white balance to neutralize orange cast if needed
This LUT accurately renders the warm hue of traditional sodium-vapor street lamps while preserving texture and detail in clothing, pavement, and facial features. It strikes a balance between realism and visual appeal.
In Filmora, use qualifiers to selectively cool skin tones without affecting the ambient warmth. This is especially helpful for narrative or documentary scenes shot during evening walks or urban exploration.
Blue Night
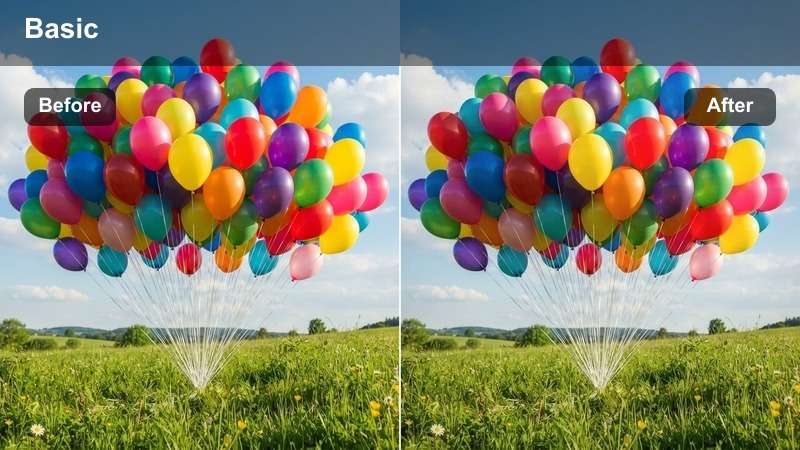
- Effect look: Cool-toned with cinematic contrast
- Best for: Dramatic urban night scenes
- Editing tip: Boost contrast for a filmic look
Blue Night adds a modern, moody tone to HLG footage, ideal for thriller-style content or cinematic cityscapes. It enhances contrast while keeping shadow detail intact, delivering a polished, professional finish.
Use this LUT in Filmora to create a consistent night-time aesthetic. Apply power windows to brighten key subjects and add a subtle blue tint in shadows for tonal consistency across your sequence.
Hybrid Camera & Web Delivery
Web Safe
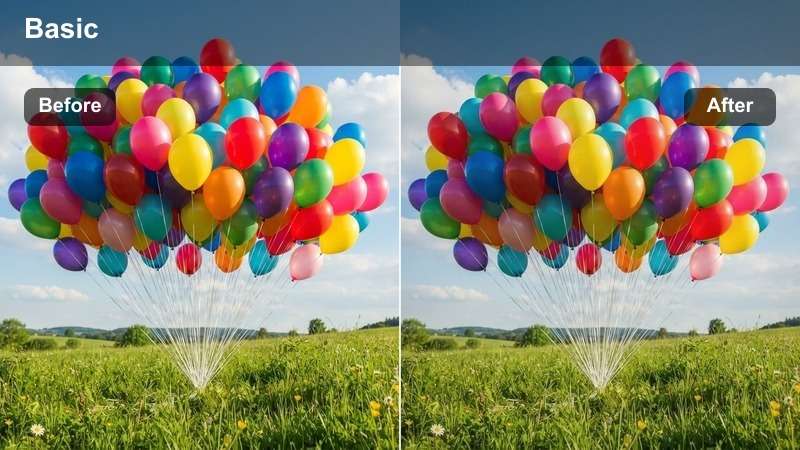
- Effect look: Consistent Rec.709 gamut with limited highlights
- Best for: Final delivery to YouTube or social media
- Editing tip: Check waveform to ensure luma stays under 100 IRE
The Web Safe LUT ensures your HLG footage is fully compatible with consumer displays and streaming platforms by constraining brightness and color within Rec.709 limits. It prevents overexposure in final exports.
In Filmora, use this LUT as your final color pass. Always verify with scopes to confirm luma and chroma levels are within broadcast-safe ranges before exporting to YouTube or social media.
Camera Match
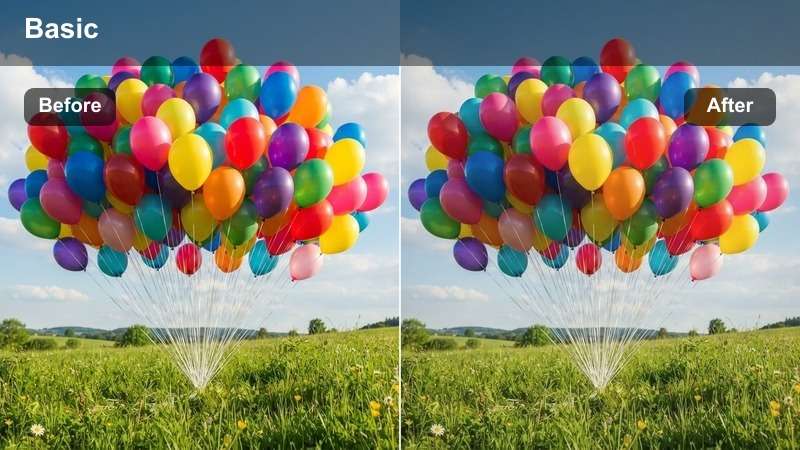
- Effect look: Neutral base for multi-cam color sync
- Best for: Hybrid camera shoots (DSLR, mirrorless, camcorder)
- Editing tip: Apply before secondary color grading
Camera Match provides a uniform color baseline for footage captured across different devices, making it easier to achieve consistent skin tones and exposure. It’s essential for multi-cam productions.
In Filmora, apply this LUT first in your grading stack, then layer creative looks on top. Save it as a preset for quick access in future multi-camera projects.
Fast Export
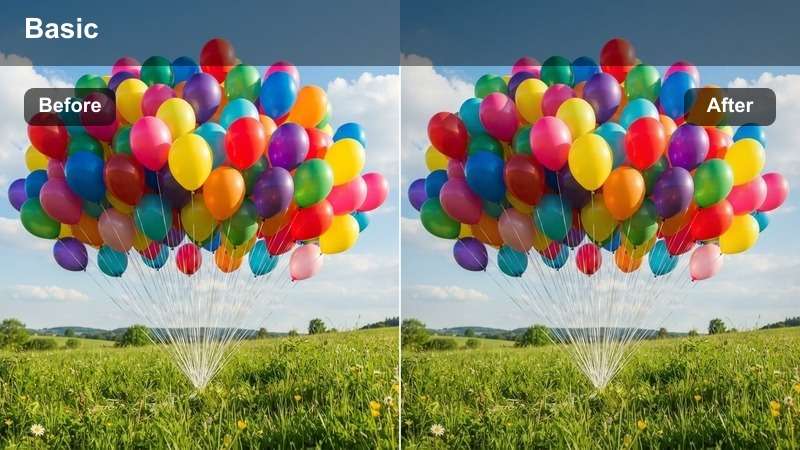
- Effect look: Optimized for speed and compatibility
- Best for: Quick turnaround web content
- Editing tip: Use with Filmora's hardware acceleration
Fast Export streamlines the HDR-to-SDR conversion process, allowing you to publish high-quality content quickly without sacrificing color accuracy. It’s tailored for social media creators and vloggers.
In Filmora, pair this LUT with proxy editing for smoother playback and use hardware acceleration to reduce export times. Save your setup as a template for batch processing similar clips.
 secure download
 secure download secure download
 Tips for Using Hlg Rec709 Lut Download Filters in Filmora
- Always apply HLG to Rec.709 LUTs early in your timeline to maintain consistent grading.
- Use scopes to verify that your final output stays within Rec.709 broadcast limits.
- Combine LUTs with Filmora's color wheels for fine-tuned adjustments.
- Save your graded project as a template for future HLG-to-SDR conversions.
- Apply noise reduction after LUTs to clean up shadows in low-light HLG footage.
- Use power windows to protect skin tones when applying strong creative LUTs.
- Check your export settings to ensure Rec.709 color space is selected.
- Preview LUTs in real time using Filmora's live filter preview mode.
The Free HLG to Rec.709 LUT Pack simplifies HDR grading for video editors and HDR creators working with hybrid camera clips and web delivery needs.
With scene-specific presets and real-time compatibility in Filmora, you can achieve professional results quickly and consistently.
secure download 