

 100% Security Verified | No Subscription Required | No Malware

 ChatGPT
 Perplexity
 Gemini
 Claude
 Grok
Grok
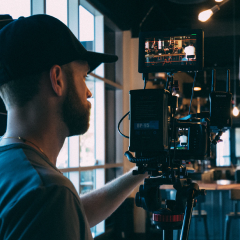
If you just picked up a Canon R10 and want your footage to look cinematic without spending hours color grading, beginner-friendly LUTs and filters are the fastest way to get there.
Below you will find scene-based Canon R10 beginner LUT style filters tailored for videographers and creators, along with simple editing tips so you can get consistent, polished results even on your first projects.
In this article
Warm Golden Hour Cityscapes
Soft Sunset Pop
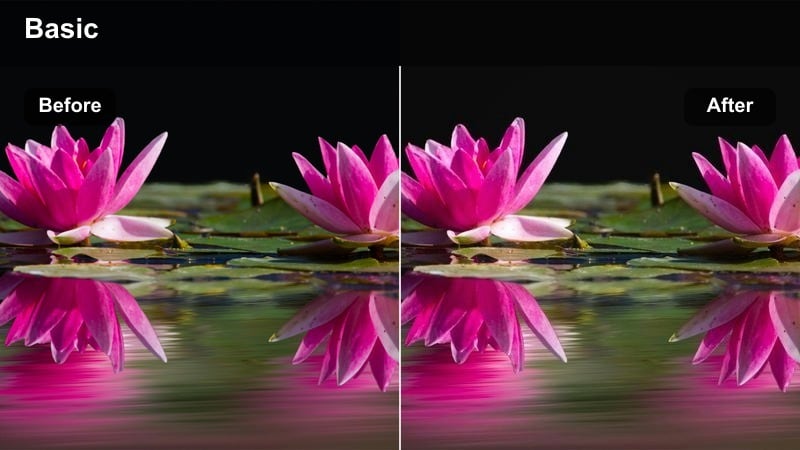
- Effect look: Gentle warm contrast that adds golden highlights and subtle saturation for late afternoon city scenes.
- Best for: Handheld Canon R10 walk-and-talk vlogs during sunset in urban streets or rooftop terraces.
- Editing tip: Lower contrast slightly if your Canon R10 footage is shot in harsh backlight to keep skin tones smooth.
Soft Sunset Pop is a beginner-friendly filter that pushes your Canon R10 sunset clips toward a cinematic golden hour look without making faces orange or buildings overly saturated. It adds a soft boost to warm highlights and midtones, helping skies, windows, and reflective city surfaces glow while keeping contrast under control.
In Filmora, apply this filter to your timeline clips, then fine-tune exposure so your skin tones stay natural and not too dark against a bright sky. If you exposed slightly for the sky in camera, gently lift shadows and bring down highlights before export to preserve cloud detail and keep the golden hue even across your cityscape.
Let AI Suggest Looks for Your Canon R10 Footage
Filmora s AI color tools can quickly scan your Canon R10 clips and suggest palettes that match your lighting and location, so you do not have to guess which LUT-style filter to start with. This is especially helpful for beginners who are still learning how golden hour, daytime, and night scenes respond to color grading.
Use an AI-suggested palette as a base, then layer one of the beginner Canon R10 filters from this guide on top to refine contrast, warmth, and saturation. This workflow keeps your look consistent while still letting you make small, controlled adjustments that will not break your footage.
 secure download

Preview Filters on Real Canon R10 Scenes
Before committing to a look, load a short Canon R10 test clip into Filmora and quickly cycle through several filters. Seeing them side by side on the same footage makes it easy to compare how each one handles skin tones, skies, and building details in your scene.
Use split-screen or compare view to stack different presets on duplicates of the same clip. Once you find the filter that best matches your vision, delete the tests and keep the graded version as your reference look for the whole edit.
secure download1000+ Video Filters and 3D LUTs
Filmora includes a large library of built in video filters and 3D LUTs that you can pair with your Canon R10 footage. Whether you are after subtle cleanup or a strong stylized look, there are presets for travel vlogs, cinematic city walks, studio tutorials, and more.
Combine these filters with your own saved adjustments to create a personal LUT workflow. Start from a Filmora preset, tweak exposure, contrast, and color, then save the result as your go to look for specific Canon R10 shooting situations.
secure downloadUrban Gold Glow
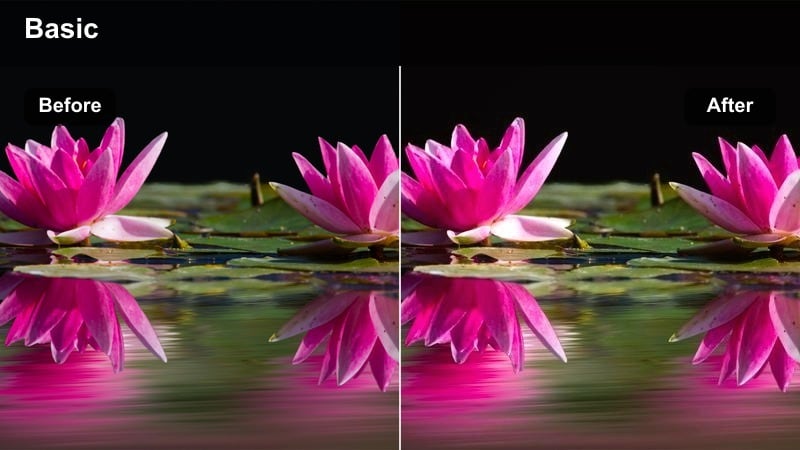
- Effect look: Rich, golden color cast with lifted shadows that adds a cinematic glow to buildings and streets.
- Best for: City b-roll, street details, and skyline shots captured with the Canon R10 around sunset or early evening.
- Editing tip: Increase vibrance instead of saturation to keep golden tones rich without oversaturating traffic lights and signs.
Urban Gold Glow pushes your Canon R10 city b roll toward an atmospheric, movie style warmth by giving glass, concrete, and metal surfaces a rich amber tone. Shadows are gently lifted so you can still see detail in doorways, side streets, and building textures without losing the sense of depth.
In Filmora, apply this filter to your establishing shots and detail b roll, then fine tune whites and highlights so windows and street signs stay readable. When working with 8 bit Canon R10 footage, avoid extreme exposure pushes and rely on subtle vibrance adjustments to keep gradients smooth while still making the golden cast stand out.
Rooftop Vlog Warmth
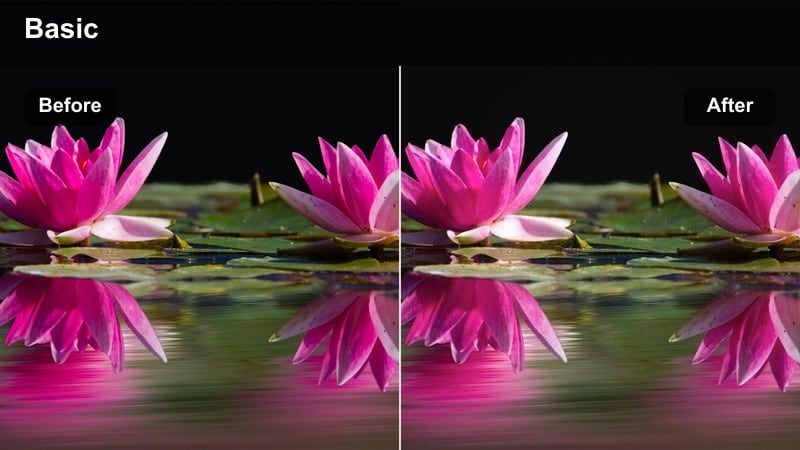
- Effect look: Soft contrast with warm midtones designed to flatter faces while keeping city backgrounds natural.
- Best for: Talking-head vlogs, intros, and thumbnails filmed on rooftops or balconies with the Canon R10.
- Editing tip: Use Filmora s skin tone slider or HSL to slightly desaturate reds if faces look too orange after applying the filter.
Rooftop Vlog Warmth is tuned to make your face the hero of the frame while still keeping skyscrapers and skylines pleasing and cinematic. It warms midtones just enough to flatter skin without making concrete and sky look unrealistic, and the gentle contrast avoids harsh transitions around your features.
Use this filter in Filmora on both A roll and B roll rooftop shots from your Canon R10, then nudge exposure on each clip individually for consistency. If your skin drifts too red due to sunset or building reflections, adjust the orange and red channels in HSL to pull saturation back until skin looks natural again.
Clean Daytime Street Vlogs
Neutral City Clean
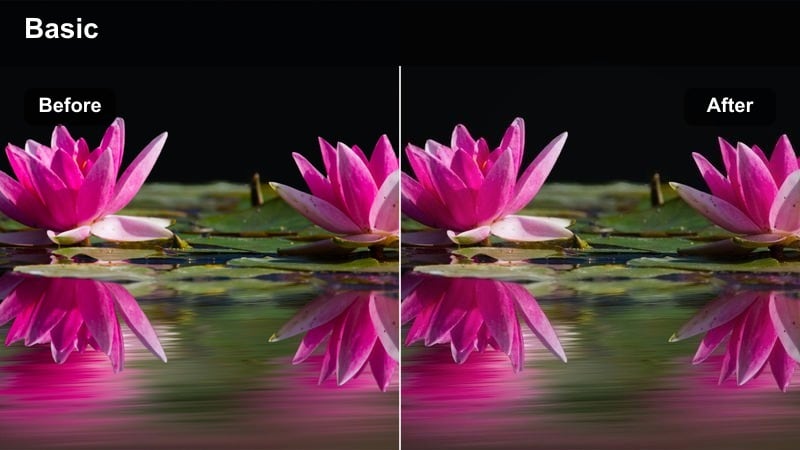
- Effect look: Balanced, low-contrast filter that keeps colors true to life with a slight clarity boost.
- Best for: Beginner Canon R10 vloggers filming in mixed daylight on sidewalks, plazas, and shopping streets.
- Editing tip: Dial back sharpness in camera and use Filmora s clarity instead to avoid harsh edges on signs and bricks.
Neutral City Clean is designed to keep your daytime vlogs looking realistic and polished, perfect when you want accurate colors instead of a heavy cinematic grade. It slightly softens contrast while adding a touch of clarity, making text on storefronts and street signs easy to read without introducing halos or artifacts.
In Filmora, apply this filter across your whole Canon R10 vlog sequence for a cohesive base look. Then adjust white balance and exposure per clip to account for moving between sun and shade, keeping your skin tone consistent and preventing buildings from looking too dull or too contrasty as lighting changes.
Street Contrast Lite
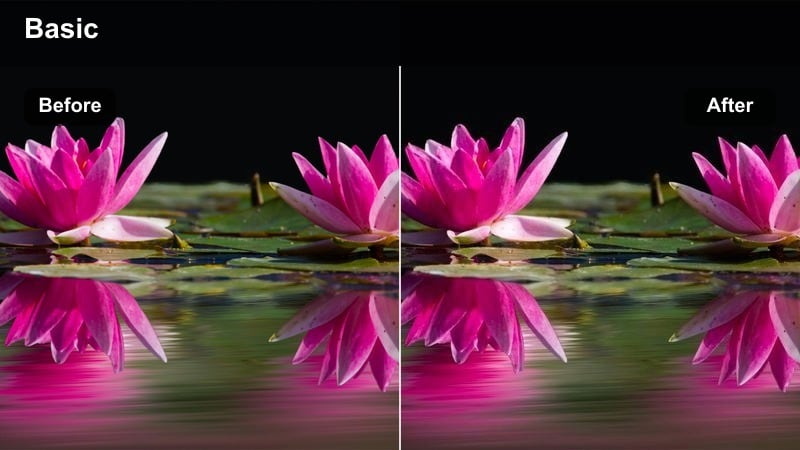
- Effect look: Soft contrast with a mild punch in shadows and a cooler balance in highlights for crisp street detail.
- Best for: Architecture shots, travel b-roll, and quick handheld clips shot with Canon R10 kit lenses.
- Editing tip: If your footage was underexposed, raise exposure first before adding extra contrast or you may crush details in dark areas.
Street Contrast Lite introduces a modest contrast curve and a slightly cooler emphasis in the highlights, which helps define edges, windows, and repeating patterns in city architecture. It is light enough for Canon R10 8 bit footage, so you still retain gradient detail in skies and building shadows.
When grading in Filmora, use this filter primarily on b roll sequences that showcase city textures, then balance saturation so colors do not become too vivid. Keep an eye on deep shadows like doorways and alleys; if they start to lose detail, lift blacks gently or back off the contrast slider to preserve information.
Creator Day Vlog
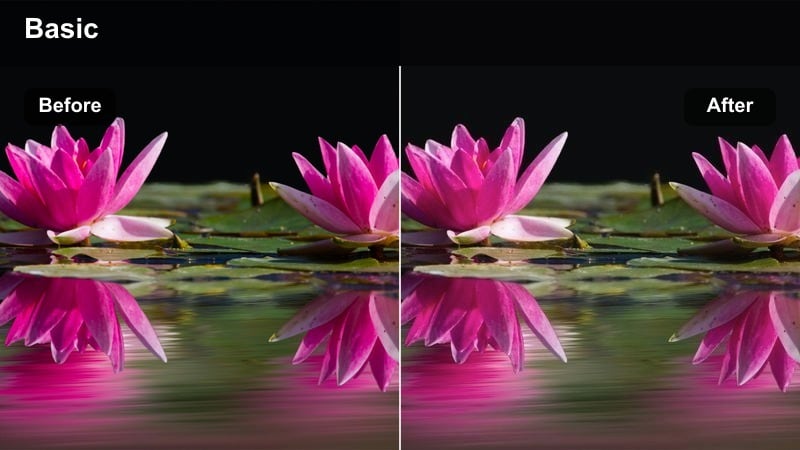
- Effect look: Bright, slightly desaturated filter that focuses on clean skin tones and readable text on street signs.
- Best for: Lifestyle day-in-the-life vlogs, shopping trips, and casual meetups filmed with the Canon R10.
- Editing tip: Reduce saturation in yellows and greens to keep storefronts and trees from distracting behind your subject.
Creator Day Vlog is a light and airy look that gently lifts exposure and pulls back saturation so your face and outfit stay the center of attention. The filter is especially useful in busy shopping streets where colorful signage and foliage can easily overpower your subject in Canon R10 footage.
Inside Filmora, apply this filter to your main talking clips and supplemental b roll, then use HSL to tame strong yellows and greens in the background. Add a subtle vignette or mask based exposure boost around your face if needed so viewers naturally focus on you rather than on competing bright elements in the frame.
Indoor Studio and Desk Setups
Soft Studio Neutral
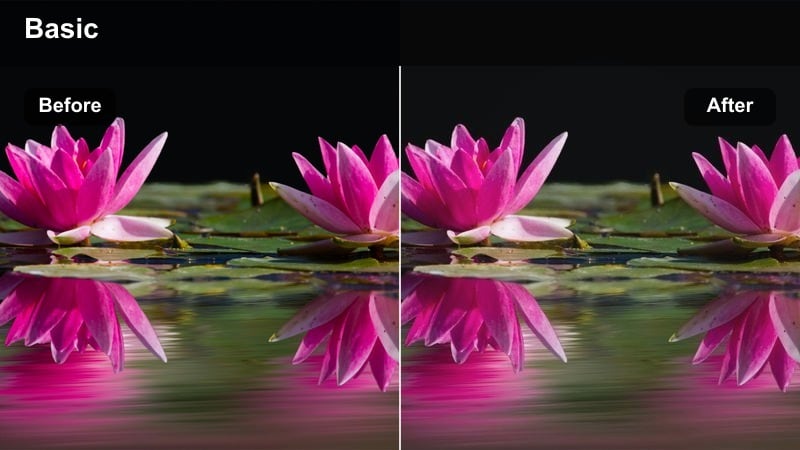
- Effect look: Gentle, low-contrast filter tuned for neutral walls and soft key lights with minimal color shift.
- Best for: Canon R10 talking-head tutorials, unboxings, and desk setups with simple lighting.
- Editing tip: Use Filmora s white balance eyedropper on a grey or white object first, then apply the filter for reliable skin tones.
Soft Studio Neutral is built to keep your studio colors accurate and repeatable, which is crucial for tutorials, reviews, and any content where product colors must look correct. It slightly smooths contrast and maintains a neutral tint, preventing your Canon R10 footage from drifting too warm or cool under soft boxes and LEDs.
In Filmora, start by correcting white balance with the eyedropper tool, then apply this filter to all clips from your studio session. Once you have a look you like, save it as a preset so every new video filmed with the same lighting and camera settings instantly matches without extra grading work.
Desk Setup Focus
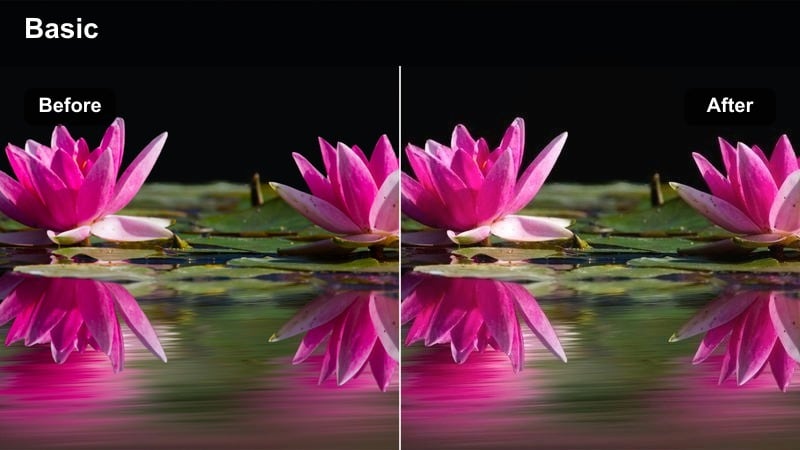
- Effect look: Subtle contrast and a cool-neutral tint designed to make screens, keyboards, and gear details stand out.
- Best for: Desk b-roll, keyboard close-ups, and product shots filmed on the Canon R10 for tech channels.
- Editing tip: Lower saturation in blues if monitor screens become too vivid and distract from the subject.
Desk Setup Focus gives your tech shots a crisp, modern look by nudging tones toward a cool neutral balance and adding a controlled contrast boost. It enhances the perceived sharpness of keyboards, mice, and camera gear captured with the Canon R10 while keeping overall noise and artifacts in check.
Apply this filter in Filmora to your desk b roll and product close ups, then adjust exposure so specular highlights on glossy surfaces do not clip. If your monitors or RGB lighting appear too intense, selectively lower blue or cyan saturation using HSL until the viewer s eye lands on the product you want to highlight.
Cozy Room Vlog
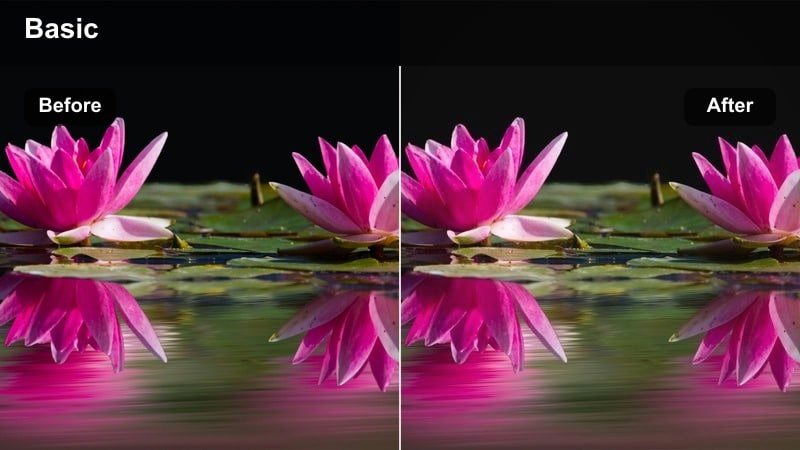
- Effect look: Warm, slightly faded filter that adds a cozy feeling to bedrooms, offices, and creative corners.
- Best for: Canon R10 sit-down vlogs, journaling, and behind-the-scenes clips in small rooms.
- Editing tip: If your room lights are very orange, cool the white balance a bit before using this filter to avoid overly yellow walls.
Cozy Room Vlog adds a gentle warmth and a subtle fade to your indoor footage, creating an inviting, intimate atmosphere perfect for journaling, story time, or behind the scenes content. It keeps contrast soft so fairy lights, lamps, and background decor blend smoothly without pulling focus from your face.
In Filmora, correct extreme orange casts from indoor bulbs by slightly cooling white balance before applying this filter. Then, if needed, use masks to keep your skin tones closer to neutral while letting the background keep its warm, cozy glow, ensuring your Canon R10 room vlogs feel cinematic but still natural.
Night City and Neon Scenes
Neon Beginner Boost
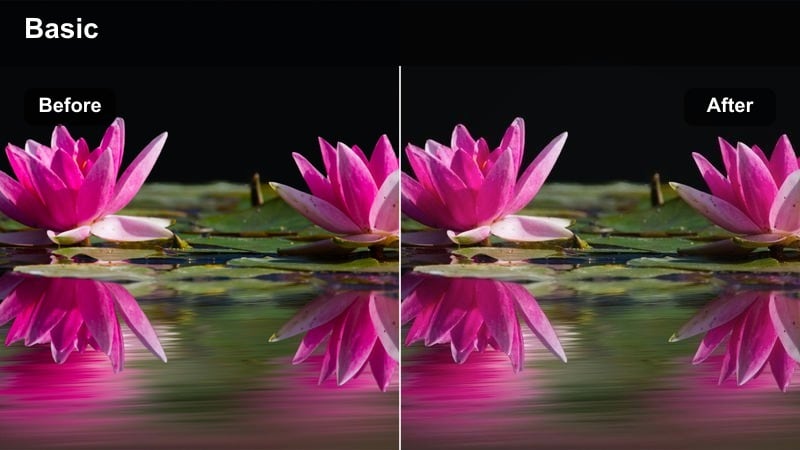
- Effect look: Punchy color boost with softened contrast to keep neon signs vibrant without destroying shadow detail.
- Best for: Canon R10 street b-roll, handheld night walks, and travel clips under neon and city lights.
- Editing tip: Reduce saturation in magentas first if skin turns purple near neon, then re-add color with this filter.
Neon Beginner Boost is built to make city lights and neon signs pop while staying friendly to Canon R10 low light footage. It enhances color intensity but uses a softer contrast curve so your shadows do not collapse into pure black, helping retain detail in streets, sidewalks, and building facades.
In Filmora, apply this filter to night b roll sequences and then correct skin tones by tamping down magenta and purple saturation if faces are catching strong sign reflections. Add a touch of noise reduction only to the darkest areas if needed so the boosted colors look clean without turning the whole frame overly smooth.
Cinematic Night Walk
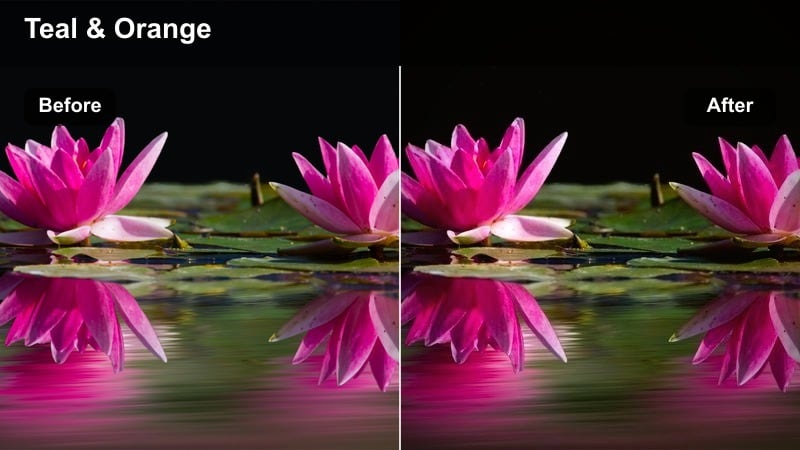
- Effect look: Teal shadows and warm highlights with gentle contrast that adds a filmic color split to night footage.
- Best for: Slow Canon R10 gimbal shots, rainy streets, and atmospheric night city sequences.
- Editing tip: Raise blacks slightly if you see harsh banding in the darkest areas after applying the cinematic split tone.
Cinematic Night Walk gives your Canon R10 night clips a classic teal and orange style by nudging shadows toward teal and highlights toward warm amber. This split tone adds mood and depth to wet streets, reflections, and distant traffic, making simple walking footage feel more like a scene from a film.
When editing in Filmora, apply this filter to your slow moving night sequences, then fine tune black levels so you do not introduce banding in the deepest shadows. Stabilize handheld or gimbal shots first so the stylized color grade enhances, rather than draws attention to, any remaining micro jitters in the footage.
City Lights Vlog Safe
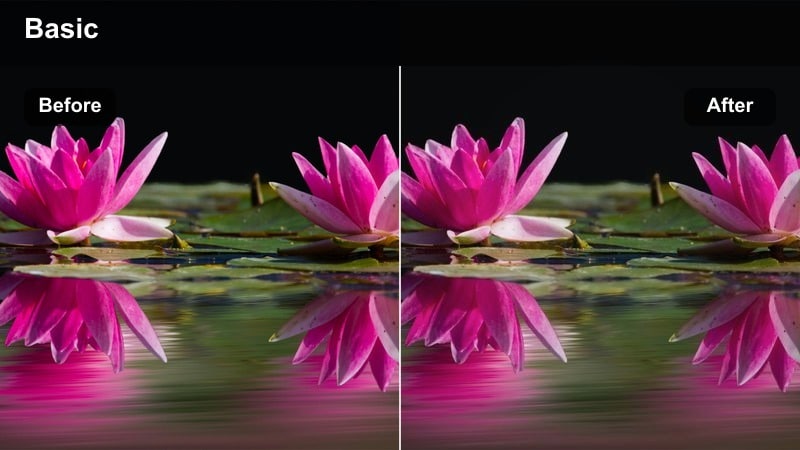
- Effect look: Balanced filter that brightens faces slightly while keeping colorful city lights under control.
- Best for: Night vlogs, food runs, and casual street chats filmed on the Canon R10 under mixed city lighting.
- Editing tip: Use a subtle face mask in Filmora to apply a touch more exposure and less contrast to your face only.
City Lights Vlog Safe is tuned to protect your face from getting lost against bright signs and headlights in busy night scenes. It lifts midtones slightly around skin tones while holding back the brightest highlights, helping Canon R10 vlog shots stay flattering even in harsh mixed lighting.
In Filmora, apply this filter to your night talking clips, then enhance the effect with a gentle mask around your face that adds a bit of extra exposure and reduced contrast. If individual signs or screens still blow out behind you, lower highlights globally and then compensate with a small midtone bump on your subject to maintain visibility.
Tips for Using Canon R10 Beginner Luts Filters in Filmora
- Shoot a short reference clip in each of your usual locations and build one favorite filter setup per scene type so you can reuse it on future Canon R10 projects.
- Set a consistent white balance on your Canon R10 in camera instead of leaving it on auto; this makes Filmora grading faster and prevents color shifts between shots.
- Avoid maxing out saturation with beginner filters; use vibrance for a more natural boost that protects skin tones and subtle gradients.
- When matching multiple cameras, grade your Canon R10 footage first, then copy that look to other cameras and fine tune until they match closely.
- Save your go to filters and adjustments as custom presets or LUT style looks in Filmora to keep your Canon R10 workflow simple and repeatable.
- Export a short test render before a full upload to check for banding, noise, or color issues that may appear differently after compression.
- Keep an eye on scopes in Filmora when pushing contrast or exposure so highlights from city lights or windows do not clip beyond recovery.
- Organize your filters by scene type, such as city day, studio, and night neon, so you can quickly choose the right Canon R10 look for each timeline.
Using Canon R10 beginner LUT style filters inside Filmora helps new videographers and creators get clean, cinematic results without complex grading. With just a few clicks, you can shape your colors, protect skin tones, and create distinct looks for golden hour, daytime, indoor, and night scenes.
Save your favorite scene based presets, keep exposure and white balance consistent in camera, and build a small library of reliable looks for your channel. Over time, your Canon R10 videos will share a professional, recognizable style that viewers associate with your brand, while your editing process stays fast and beginner friendly.
secure downloadNext: Canon Eos Rp LUTS
