

 100% Security Verified | No Subscription Required | No Malware

 ChatGPT
 Perplexity
 Gemini
 Claude
 Grok
Grok
These Sony A6600 travel LUT-style filters are built for videographers and creators who want rich, cinematic color in seconds without a complex grading workflow.
From golden-hour cityscapes to moody night streets, each filter is tuned for common Sony A6600 travel scenarios so you can keep shooting and let Filmora handle the polished look.
In this article
Sunlit City Escapes
Golden City Glow
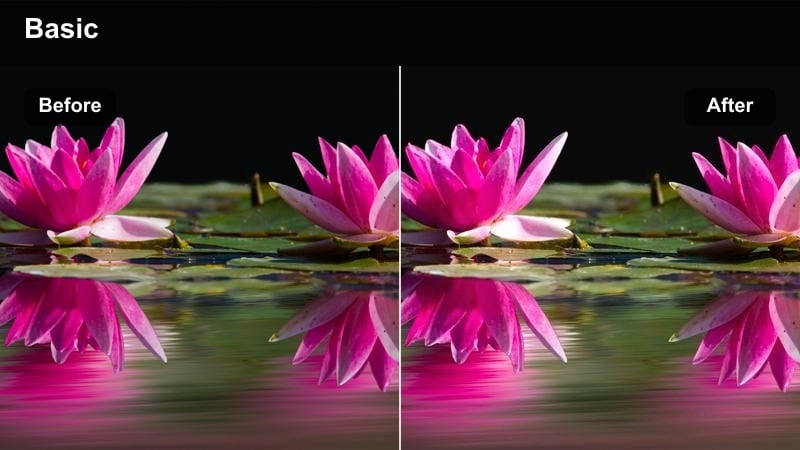
- Effect look: Warm, soft contrast for glowing sunlit streets and rooftops
- Best for: Late afternoon city walks, rooftop views, and sunlit plazas on the Sony A6600
- Editing tip: Lower contrast slightly for harsh midday shots and boost saturation for cooler cityscapes to match the warm mood.
Golden City Glow wraps your Sony A6600 city footage in a warm, inviting tone that makes concrete and glass feel cinematic. It softens contrast just enough to keep details in both shadows and highlights while adding a golden cast that flatters architecture and street scenes.
In Filmora, drop this filter on your city B roll and then fine-tune contrast and saturation to adapt it to different times of day. Combine it with gentle stabilization and subtle vignetting to keep attention on leading lines, while Filmora HSL or skin tone tools help you hold natural-looking faces inside this golden atmosphere.
Match Sony A6600 Travel Clips with AI Color Tools
Filmora's AI-powered color tools help you quickly match Sony A6600 travel clips from different locations, times of day, and lighting conditions to a single cohesive look.
Use AI color matching to take a favorite graded shot and automatically harmonize other clips to that style before you fine-tune with these travel filters.
 secure download

Preview Travel Filters in Real Time
Filmora lets you preview these Sony A6600 travel filters on your footage in real time, so you can quickly compare looks for city walks, transit days, and night scenes.
Toggle filters on and off, then fine-tune exposure, contrast, and saturation without leaving the main editing timeline.
secure download1000+ Video Filters and 3D LUTs
Filmora includes a large library of creative filters and 3D LUTs you can stack with these Sony A6600 travel looks to build a unique visual style.
Start with a LUT that fits your base grade, then fine-tune with Filmora filters and color controls so every travel sequence feels consistent but still has its own mood.
secure downloadCrisp Urban Travel
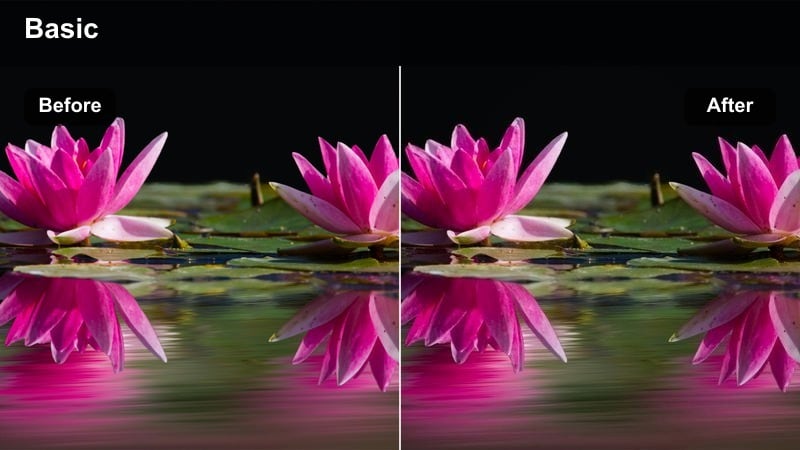
- Effect look: Clean, bright, and slightly cool with punchy details
- Best for: Modern business districts, glass skyscrapers, and fast-paced city travel montages
- Editing tip: Increase sharpness slightly and add a touch of vignette to pull attention toward leading lines in the frame.
Crisp Urban Travel emphasizes clean lines, cool highlights, and tight contrast to make modern architecture stand out. Reflections on glass and metal pop, while the overall cooler palette gives your Sony A6600 city footage a contemporary, travel-film feel.
Apply this look in Filmora for skyline shots, hyperlapses, and dynamic walk-throughs, then nudge sharpness and vignetting to guide the viewer through your frame. Pair it with subtle contrast curves and highlight protection tools in Filmora to keep bright skies and reflective surfaces from clipping while retaining a bold, polished finish.
Vintage Street Roamer
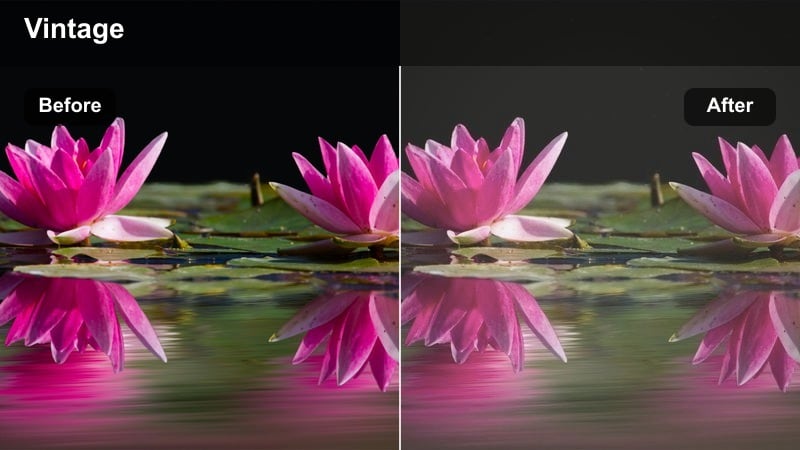
- Effect look: Muted contrast, gentle fade, and a nostalgic tint for old-town alleys
- Best for: Historic quarters, cobblestone streets, and slow-paced travel b-roll
- Editing tip: Pull down clarity for an even softer look and mix the filter opacity if you want a more subtle vintage feel.
Vintage Street Roamer adds a soft fade, reduced contrast, and a nostalgic tint that works beautifully on historic districts and quiet side streets. It smooths harsh edges from the Sony A6600 sensor while preserving enough detail for brick, stone, and worn textures to still tell a story.
Inside Filmora, use this filter on slower-paced sequences where you want a dreamy, memory-like vibe. Adjust clarity and filter intensity to fine-tune the retro character, and layer in a light film grain overlay from Filmora to reinforce the analog mood without overwhelming your travel footage.
Golden Hour Adventures
Sunset Traveler
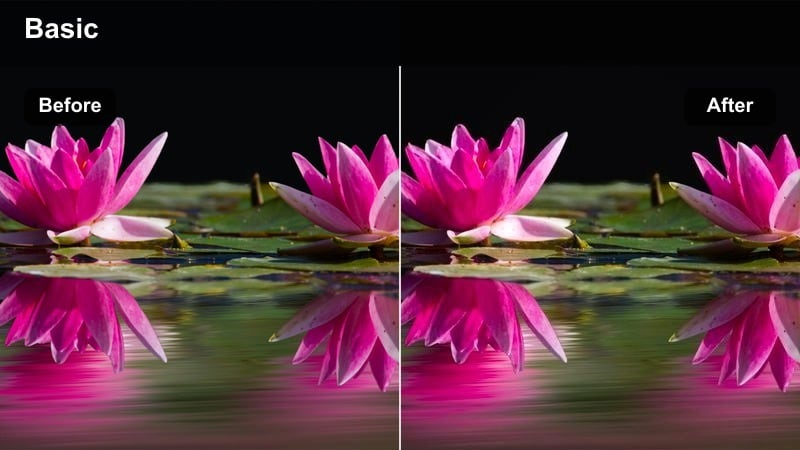
- Effect look: Rich oranges and magentas with balanced contrast for sunsets
- Best for: Harbor sunsets, skyline silhouettes, and golden-hour timelapses on the Sony A6600
- Editing tip: Lower the highlights to protect the sun and clouds, then gently add saturation to emphasize the sky colors.
Sunset Traveler is tuned to amplify warm hues in the sky while keeping foregrounds readable and silhouettes clean. It leans into oranges and magentas, giving your Sony A6600 sunset scenes a cinematic punch without turning them overly saturated or crunchy.
When editing in Filmora, apply this filter to your golden-hour establishing shots and timelapses, then fine-tune highlights and saturation to keep cloud detail intact. Use Filmora shadow and midtone controls to lift darker areas just enough so your viewers can still see people, buildings, or landscapes against the dramatic sky.
Golden Backpacker
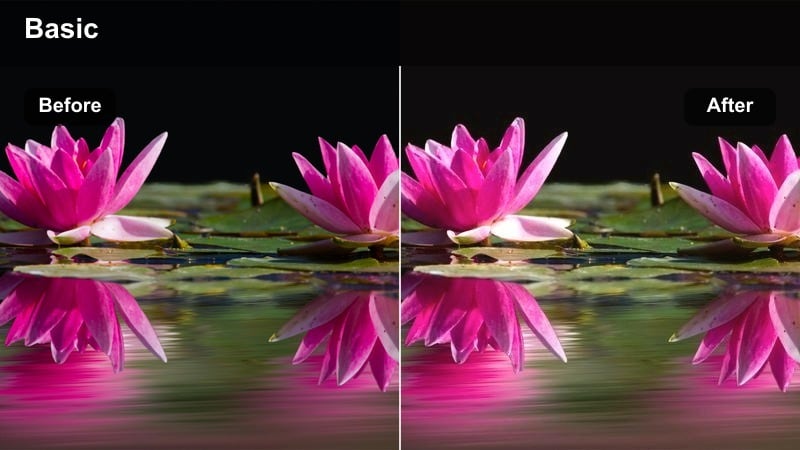
- Effect look: Soft highlights and warm midtones that flatter skin and backlit travel portraits
- Best for: Travel vlogs, walking monologues, and couples portraits against golden-hour backgrounds
- Editing tip: Use a slight blur or reduced clarity on the background to keep attention on the subject's face.
Golden Backpacker is built for creator-focused shots where the storyteller is the hero. It wraps faces in warm, flattering tones, softens high-contrast backlight, and keeps skin tones natural even when the sun is directly behind your subject.
In Filmora, add this filter to talking-head clips, travel intros, and couple portraits shot on the Sony A6600 around sunset. Use Filmora background blur, reduced clarity, or depth-of-field style effects to separate your subject from the scene, while adjusting highlight and white sliders to prevent haloing around hair and shoulders.
Amber City Rush
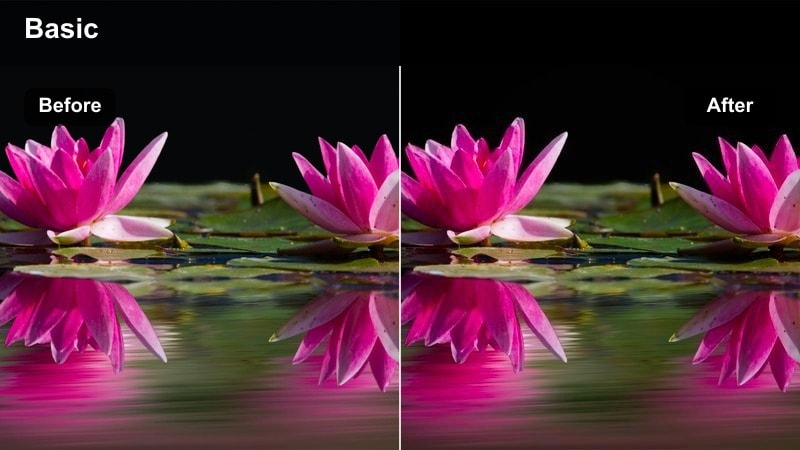
- Effect look: Amber-tinted highlights with slightly lifted shadows for busy evening streets
- Best for: Crowded boulevards, street markets, and evening commute scenes
- Editing tip: Add a subtle motion blur or speed ramp in Filmora to enhance the feeling of movement through the city.
Amber City Rush adds a glowing, golden-amber sheen to highlights while lifting shadows to reveal more detail in bustling evening environments. It works especially well for Sony A6600 footage of markets, traffic, and crowded sidewalks where you want energy without harsh contrast.
Apply this filter in Filmora on your rush-hour montages, then blend in motion blur, speed ramps, or dynamic transitions to intensify the sense of movement. If signage and traffic lights shift too far toward orange, use Filmora HSL controls on the yellow and orange channels to bring them back while preserving the warm city atmosphere.
Moody Nights on the Road
Neon Nomad
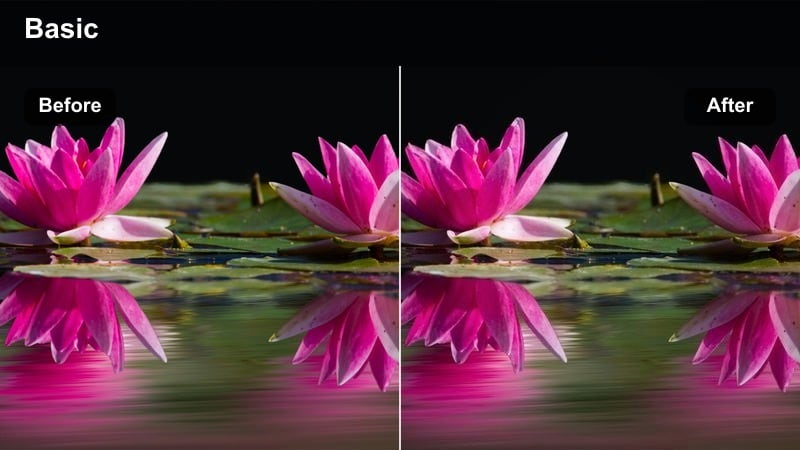
- Effect look: Deep contrast with saturated blues and magentas for neon-lit streets
- Best for: Downtown nightlife, neon signage, and cinematic cyberpunk-style travel shots
- Editing tip: Reduce noise in Filmora before applying strong contrast, especially when shooting at high ISO on the Sony A6600.
Neon Nomad is tuned for night streets washed in colored light, pushing blues and magentas while keeping blacks deep and rich. It turns rainy intersections, alleyways, and sign-filled districts into stylized, cinematic frames that highlight the Sony A6600s low-light capabilities.
In Filmora, run a light pass of noise reduction before you apply this high-contrast look so grain in the shadows does not get exaggerated. After the filter, use masks or skin-tone adjustments to keep faces from inheriting too much neon color, and subtly tweak saturation to keep the vibe bold but not cartoonish.
Midnight Transit
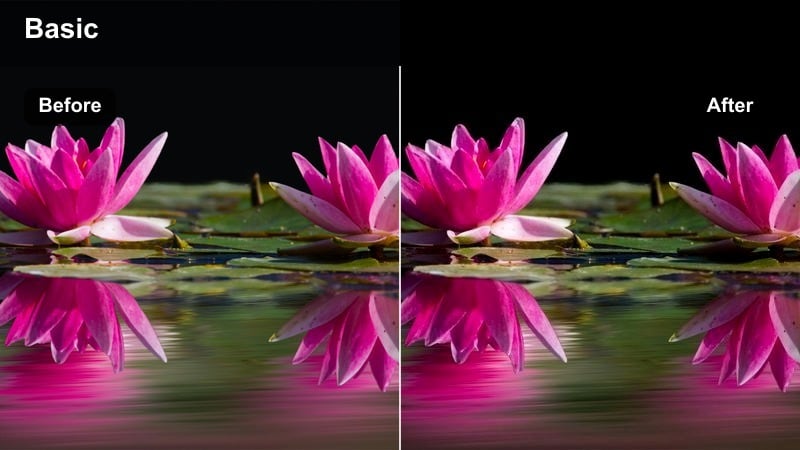
- Effect look: Cool, desaturated shadows with subtle teal highlights for metro and station scenes
- Best for: Subway rides, train platforms, and late-night airport connections
- Editing tip: Increase local contrast on faces and key signage to keep important details visible in low light.
Midnight Transit favors cool, muted tones that give transit hubs a cinematic, slightly detached feel. Teal-leaning highlights and desaturated shadows help unify mixed lighting in stations and terminals, while keeping your Sony A6600 travel footage moody but legible.
When editing in Filmora, apply this filter to metro, train, or airport sequences that bridge your story between locations. Use local contrast and sharpening tools selectively on faces, information boards, and key props so they remain readable, and add light noise reduction to avoid overemphasizing grain in dark corners.
City Rain Noir
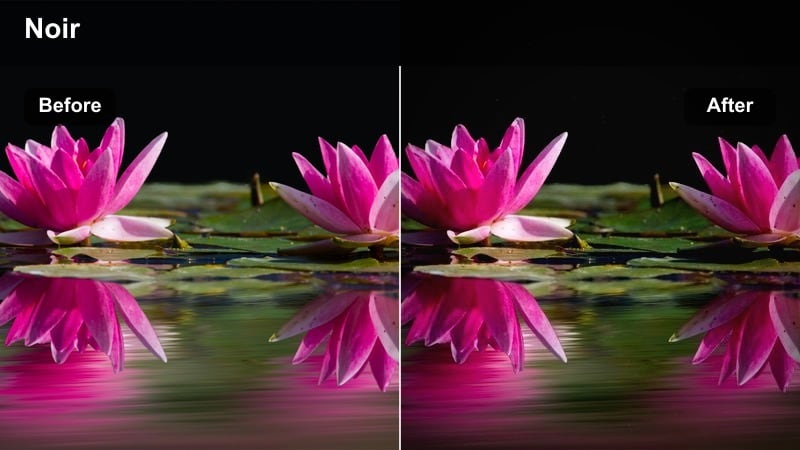
- Effect look: High contrast with muted colors and glossy highlights for rainy nights
- Best for: Rain-soaked streets, reflections in puddles, and umbrella silhouettes
- Editing tip: Push blacks slightly deeper to enhance reflections, and add a slow-motion effect to emphasize raindrops.
City Rain Noir leans into deep blacks, shiny highlights, and restrained color to give your rainy-night footage a classic noir sensibility. Reflections in puddles and on wet pavement become strong compositional elements, while the Sony A6600s dynamic range holds important detail in streetlights and signage.
In Filmora, apply this look to sequences shot in the rain or just after a storm, then deepen blacks and add slow motion to turn everyday drizzle into cinematic atmosphere. Use midtone adjustments to keep your overall exposure from feeling too heavy, and frame shots to capture reflections where the filter can really shine.
On-the-Move Travel Vlogs
Daypack Vlogger
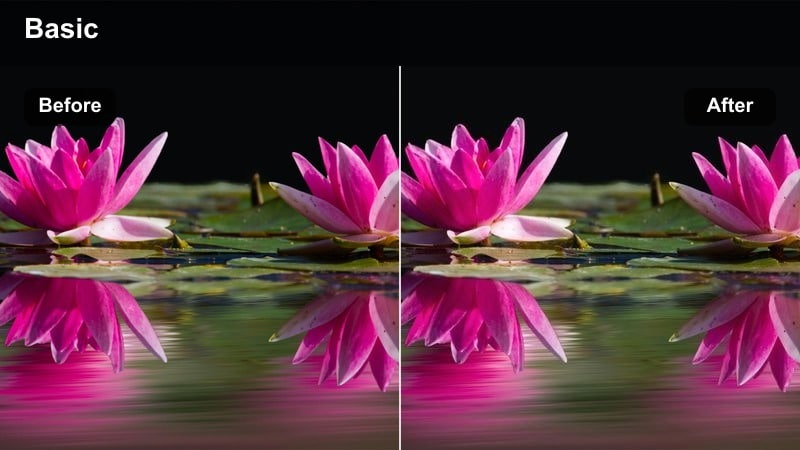
- Effect look: Balanced, natural contrast with gentle vibrance for everyday vlog shots
- Best for: Handheld walking vlogs, quick street updates, and mixed lighting situations
- Editing tip: Stabilize footage in Filmora first, then apply the filter and adjust exposure to keep skin tones consistent shot to shot.
Daypack Vlogger is a clean, versatile look designed to keep your Sony A6600 footage natural but elevated across a whole travel vlog. It adds a touch of vibrance and balanced contrast without pushing colors so far that they become hard to match between scenes.
Use this filter in Filmora as your base grade for talking segments, walking shots, and everyday travel updates. Stabilize handheld clips first, then apply the look and make small exposure and white-balance tweaks per shot to maintain consistent skin tones and a cohesive visual style throughout the episode.
Backstreet Explorer
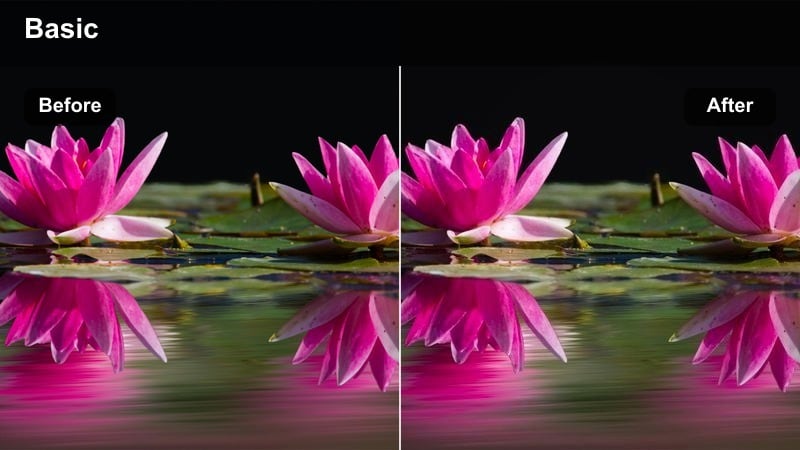
- Effect look: Slightly warm midtones with boosted local contrast for textured alleys and side streets
- Best for: Hidden lanes, stairways, and handheld discovery shots away from tourist hotspots
- Editing tip: Use a gentle zoom or pan effect in Filmora alongside this filter to emphasize depth in narrow spaces.
Backstreet Explorer warms midtones and enhances local contrast to make textures in walls, steps, and signs stand out. It is ideal for Sony A6600 sequences where you wander off the main streets, capturing the feel of lived-in neighborhoods and hidden corners.
In Filmora, combine this filter with subtle zooms, pans, or parallax-style movements to accentuate leading lines and depth in narrow environments. Keep additional sharpening conservative so bricks and stone do not become harsh, and dial back clarity when faces move into the foreground so they stay flattering while the environment remains detailed.
Border Crossing Chronicles
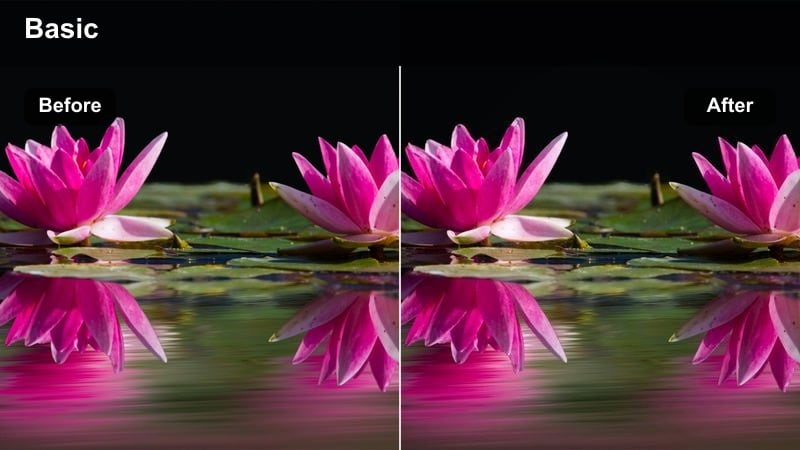
- Effect look: Neutral base with slightly cooled shadows for airports, stations, and checkpoints
- Best for: Check-in queues, boarding gates, and travel transition sequences
- Editing tip: Use this filter as a visual cue between locations, then crossfade or cut to your destination-specific look.
Border Crossing Chronicles gives you a clean, documentary-style base with cool-leaning shadows that work well under fluorescent and mixed artificial lighting. It is perfect for Sony A6600 clips that show the less glamorous but essential parts of travel, like security lines and boarding gates.
Apply this filter consistently in Filmora to all your transit-day shots to create a recognizable visual language for departures and arrivals. If different light sources clash, reduce overall saturation slightly and let the filter unify the scene, then crossfade or cut into your warmer, destination-specific LUTs and filters for a clear narrative shift.
Tips for Using Sony A6600 Travel Luts Filters in Filmora
- Shoot with a slightly flatter picture profile on the Sony A6600 so these travel filters and LUT-style looks have room to add contrast and color without clipping.
- Group clips shot in similar locations or lighting conditions on your Filmora timeline, then apply the same filter to each group to keep those sections visually consistent.
- Correct exposure and white balance in Filmora before adding a LUT or filter so your results are predictable and easy to repeat across multiple projects.
- Use Filmora keyframing to gradually adjust filter intensity as you move between indoor and outdoor scenes, avoiding abrupt shifts in color and contrast.
- Combine Filmora AI color matching with these Sony A6600 travel filters to quickly harmonize clips from different days, cameras, or weather conditions.
- Export a short test sequence with several filters applied and review it on both a phone and a laptop to make sure your color choices look good across devices.
- Save your favorite combinations of filters, LUTs, and basic corrections as custom presets in Filmora to speed up color grading on future travel videos.
- Keep an eye on skin tones after applying strong stylized looks, and use Filmora HSL or masking tools to bring them back to a natural range when needed.
With the right set of Sony A6600 travel filters and LUT-style looks, you can turn everyday journeys into cohesive, cinematic stories while keeping your edit time under control.
Load these presets in Filmora, fine-tune them to match your shooting style, and you will have a reliable toolkit ready for every city, station, and skyline you visit next.
secure download