


 100% Security Verified | No Subscription Required | No Malware

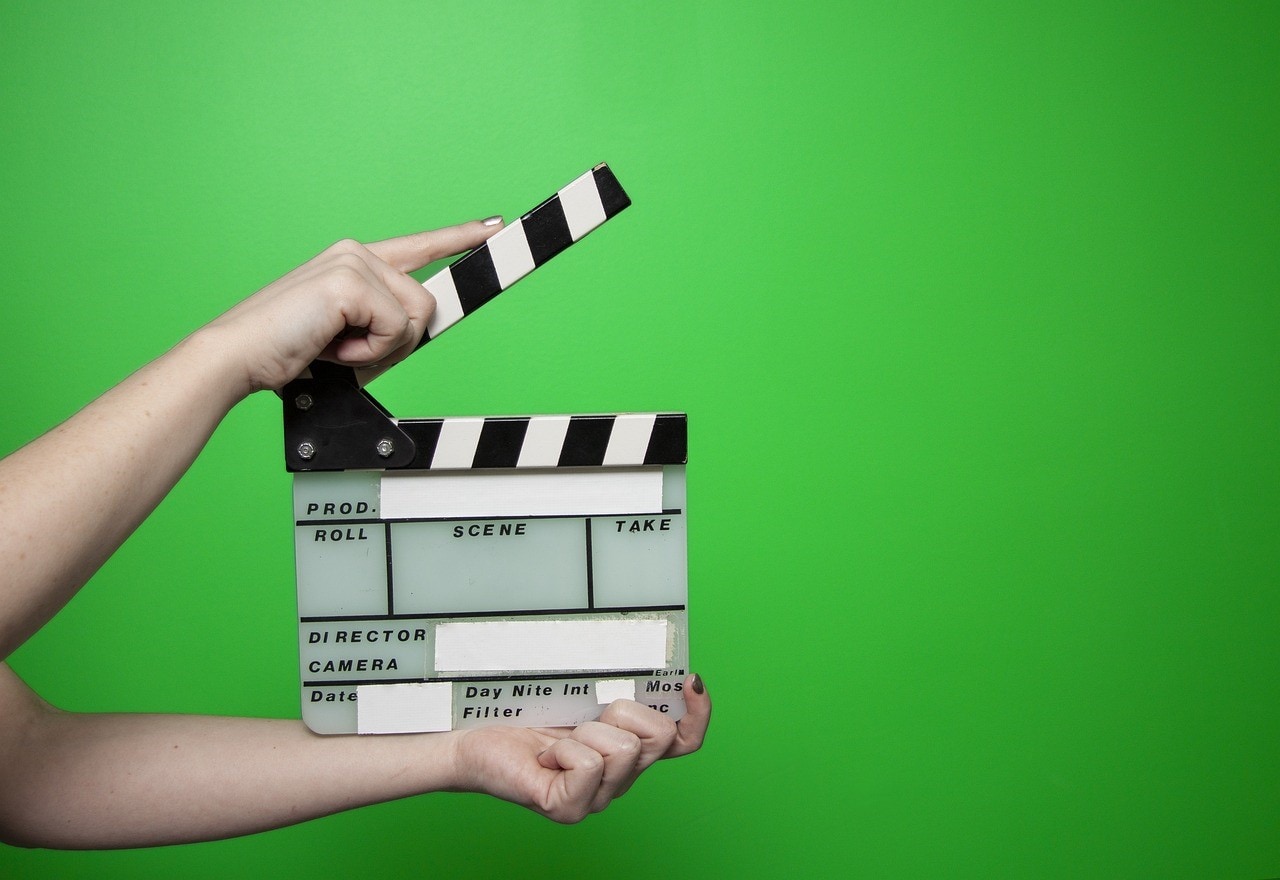
Are you planning to set up a green screen studio on your own? You may be a filmmaker, a vlogger, a social media creator, a marketing person, or someone who wants to dabble in green screen technology from pre- to post-production. While it may take time, effort, and money, creating a green screen studio setup can be worth it. You can have flexibility in filming and the freedom to make unique green-screen content.
If you don’t know how to start, this article covers you. You’ll learn everything from top to bottom, including finding the right equipment and what essential elements are needed, up until post-production. This means finding the best software for editing the green screen footage and tying everything together. Read more to start.
In this article
Part 1. Reasons Why You Should Use a Green Screen
Most video creators use a green screen to incorporate different backgrounds into their videos without traveling to a location or manually putting up the background. This solves many logistical challenges and cost-related implications that come with filming. It’s a huge advantage to be familiar with its concept and application. Here are some reasons why you know how to set up a green screen for your video projects:
- For Businesses:
- Provides a consistent and professional look by incorporating logos and branding materials in virtual meetings, backgrounds in webinars, and presentations.
- Saves cost on money spent on-location shoots.
- For Video Editors:
- Allows creative freedom in filming and unlimited creative options to make unique content.
- Enables shooting in a controlled environment and simplifies post-production editing.
- For Content Creators:
- Gives versatility to make diverse content through different backgrounds while maintaining brand cohesion.
- Provides access to affordable productions by eliminating the need for travel or expensive shooting locations.
Part 2. Equipment You Need for Green Screen Studio Setup
Whether you’re planning your green screen setup at home, in the office, or any other location, it’s essential to know what equipment to prepare first. If you’re a small business or a solo editor, you can start by investing in the basic materials. As your needs grow, you can upgrade to more advanced equipment. The wider your filming needs are, the more equipment you will require. In this example, the focus is on the most basic equipment to start your green screen studio setup.
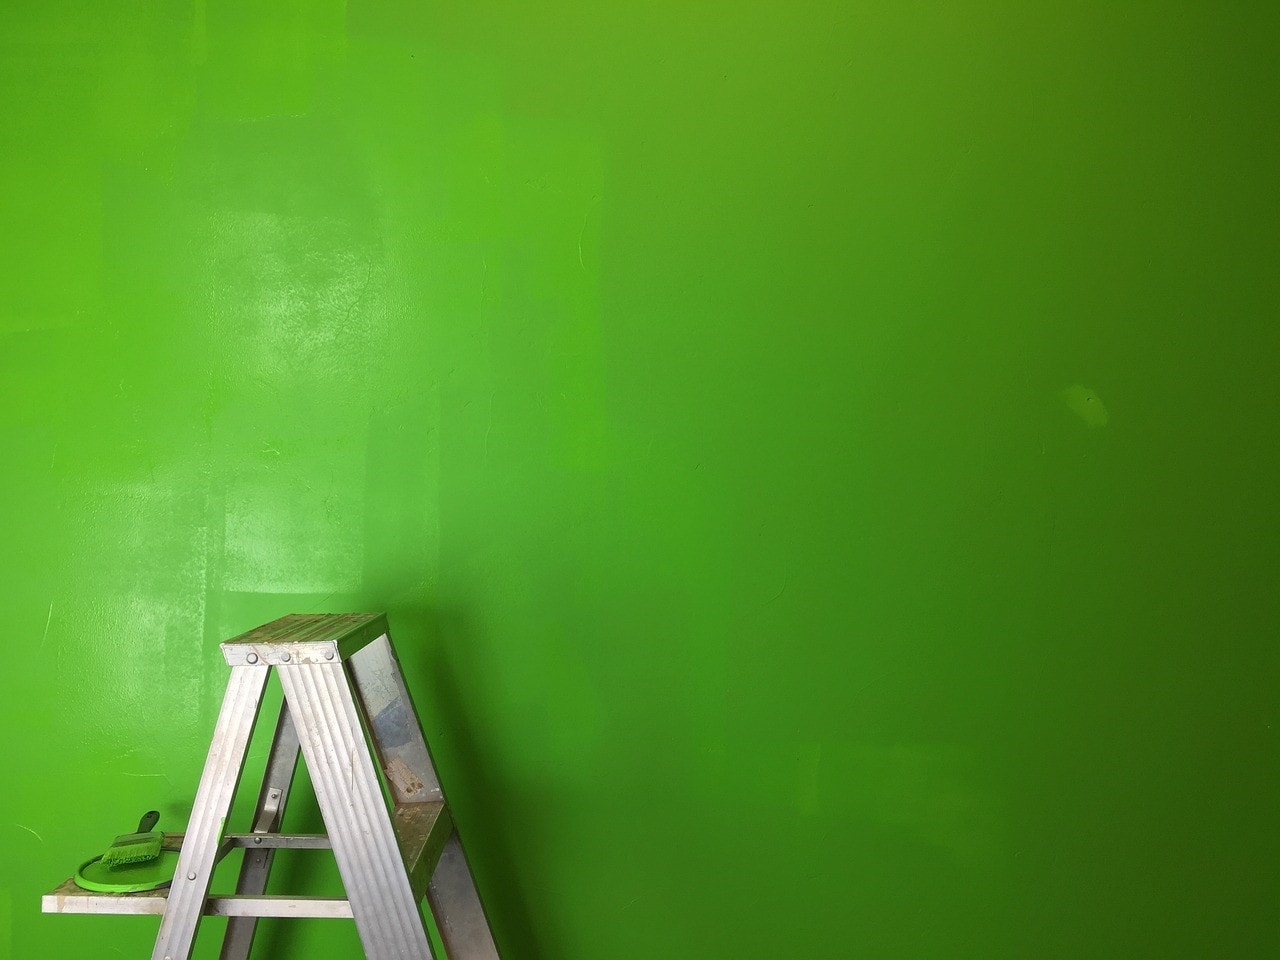
- Green Screen Material:
The type of green screen material you choose will massively affect your green screen footage quality. Knowing the materials and what they bring to the table is critical in discerning which one would likely suit your needs. It’s also worth noting that the material is not reflective as that might cause spills or other problems later on. Some popular materials are:
- Paper: Cheapest option but too reflective, wrinkles-easily, and too fragile to handle.
- Muslin or Cotton: Absorbs light, is not reflective, but can wrinkle easily if not stored properly.
- Nylon or Spandex: Wrinkle-free material but can be reflective of light
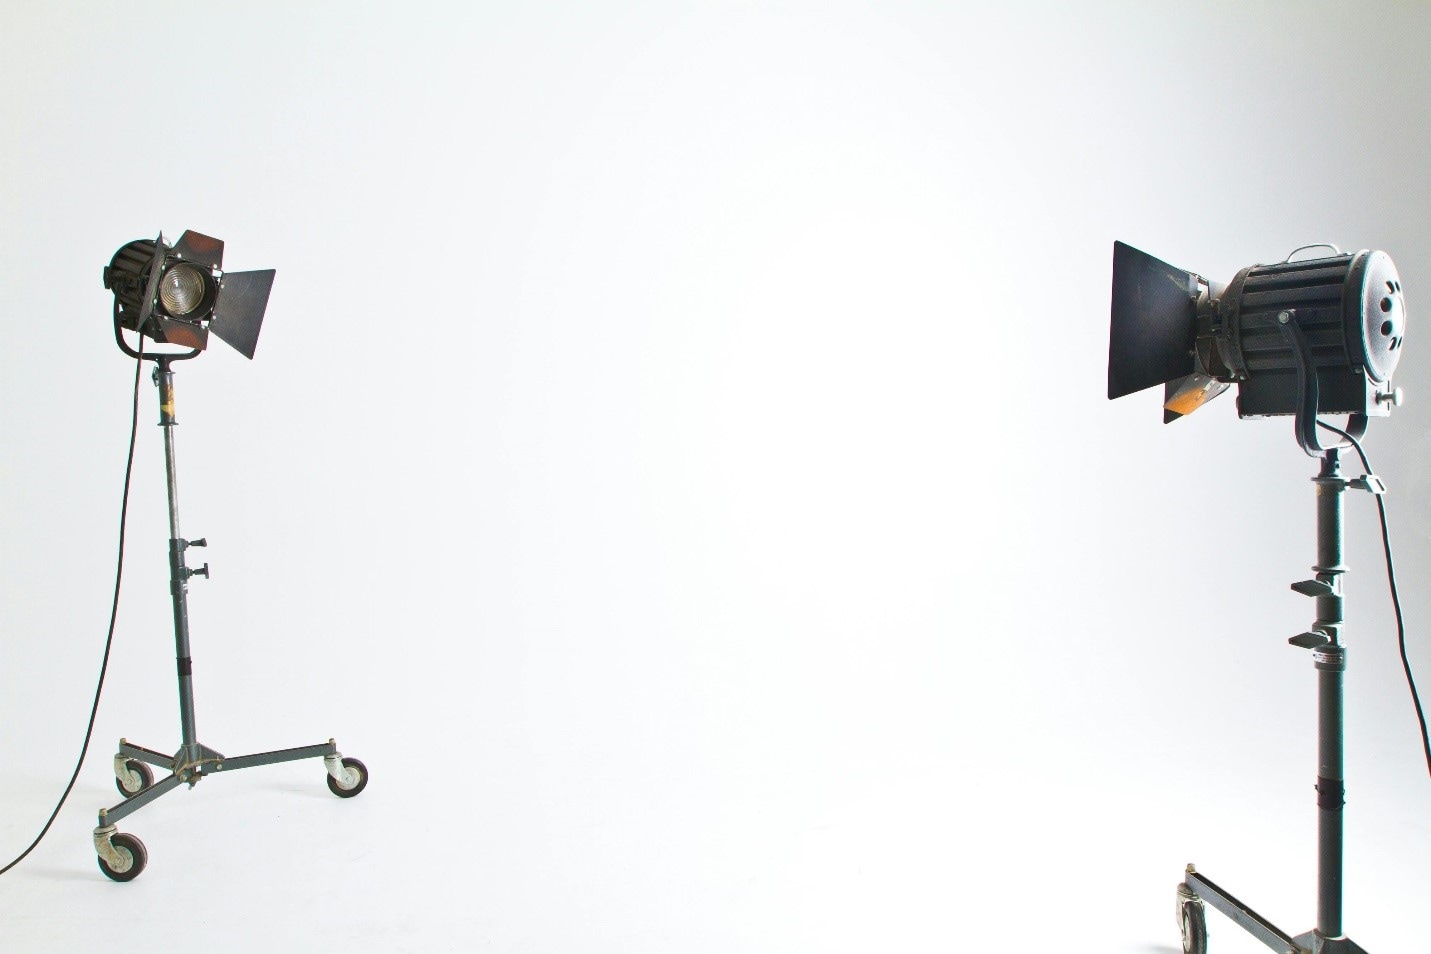
- Lighting:
Shadows and uneven color are a no-no in green screen filming. To avoid this, you need proper lighting when shooting your videos. Lighting equipment can be one of each example or a combination of both such as natural light, ring lights, LED panels, or softbox. It’s also advisable to put lighting on the subject’s side angle to avoid unnecessary shadows.
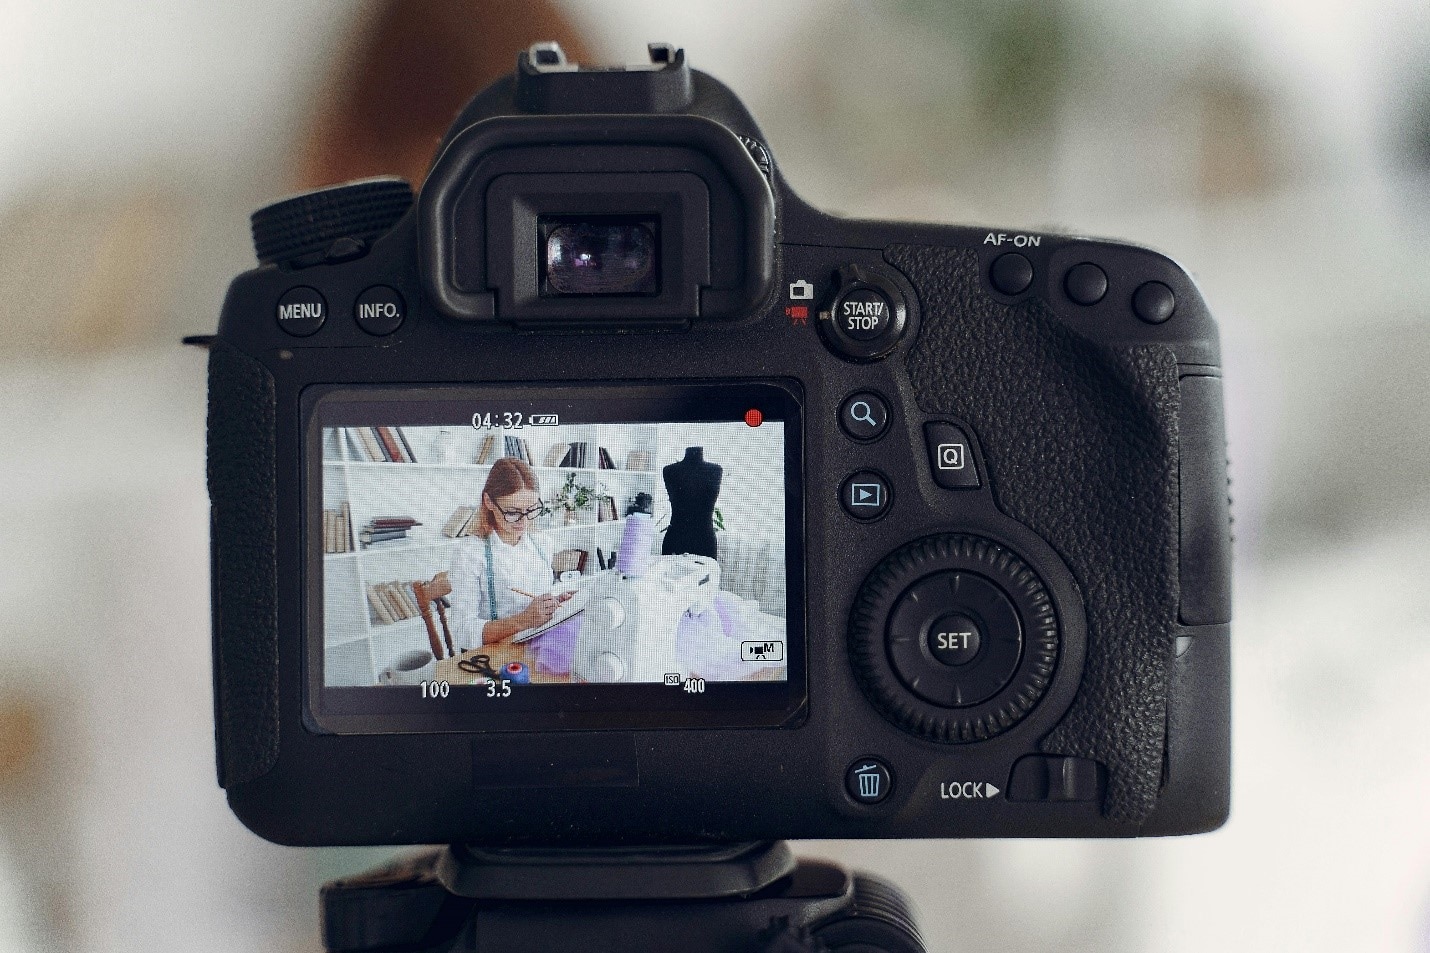
- Camera: This is pretty obvious but still essential to include. Working in hand with your lighting, the type of camera you use will also enhance your footage. See each type below:
- Point and Shoot Camera: Cannot shoot in manual mode. Built-in flash is too harsh. Works best with additional lighting.
- SLR Camera: Best option for shooting. Can shoot in manual mode. Can set white balance.
- Tripod:
Even if you have an assistant, a tripod is still a must-have especially if you want to position your camera in certain angles, get a consistent frame, and reduce blurry movements.
- Editing Software (for post-filming):
Finally, to finish off your green screen content, you’ll need trusted editing software to pack it all in for you. Tools with chroma key editing capabilities like Filmora will make your editing process better and more enhanced.
Part 3. Step-by-Step Guide on How to Set Up Green Screen
Now that you have your equipment ready, follow the steps below on how to set up a green screen and film your content. Remember that these are the basic steps and you can always add more in as your filming needs progress over time.
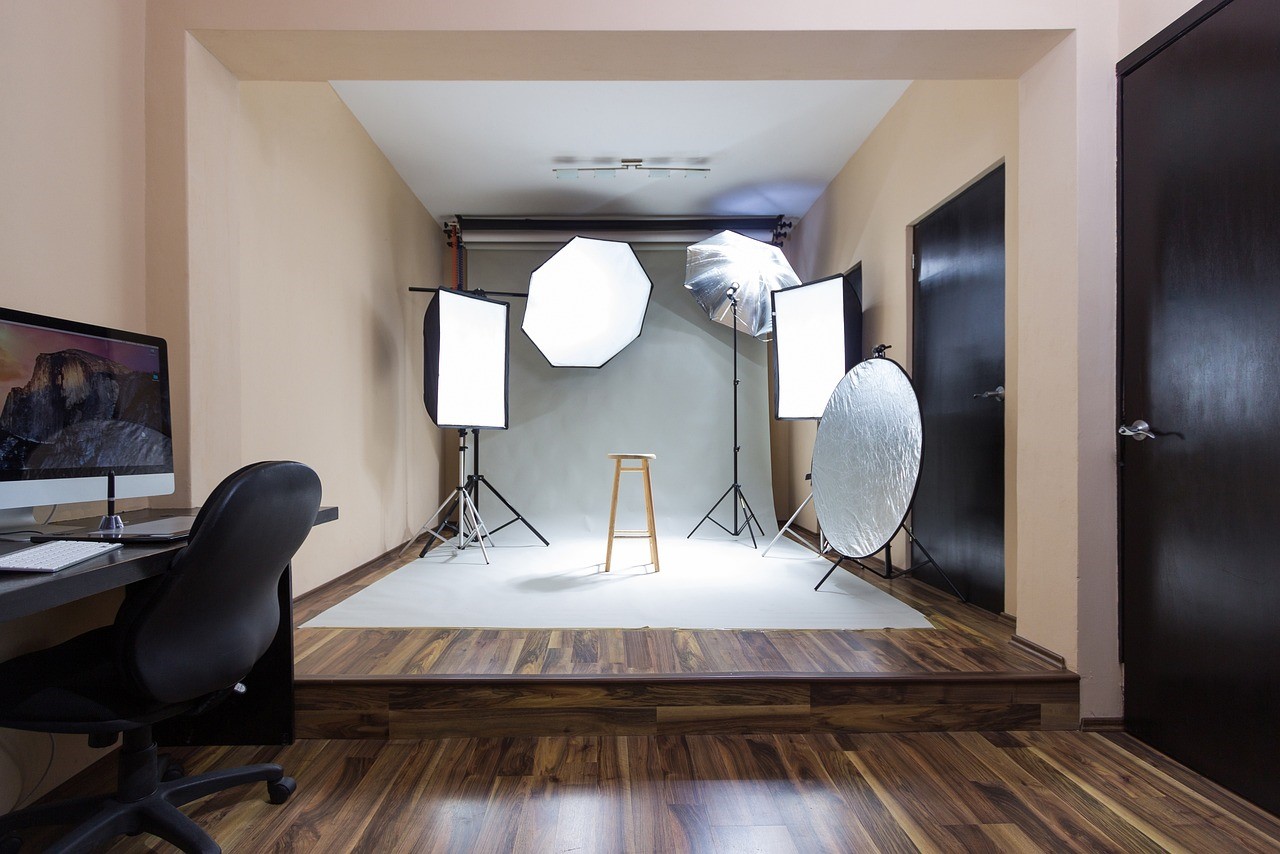
- Shoot in the Right Location:Prepping the right location for your green screen studio set up is the first step because it will set the lighting and audio quality of your shoot. While a professional studio may already have those benefits in place for you, setting up your studio at home can also work as long as you consider those elements mentioned.
Home Studio Pros:
- Cost-effective since you don’t have to rent out space
- Have the luxury of time; More relaxed environment since you’re not constrained on time rented on the studio
Home Studio Cons:
- Additional cost in the setup like soundproofing and buying equipment.
Professional Studio Pros:
- Ready-for-use professional space and equipment (and at times top-of-line, depending on the studio)
- Some studio rent comes with professional sound engineers
Professional Studio Cons:
- Expensive, which is fairly understandable as you will be paying for use of a well-lit space, good acoustics, and professional help
- Set up Green Screen Material: Ideally, you’d want a massive sheet that covers your entire background from floor to ceiling. This gives you a lot of space to perform in front of the camera without worrying about the wall behind you.
You can also find ready-to-use green screens online. This eliminates the need for you to manually set up green screens in your studio. Here are some examples:
- Emart Green Screen Backdrop Muslin Green Curtain (Size: 6 x 9 feet): Best budget green screen with wide background (Size: 6 x 9 feet), has 4 clips for better wall mounting, has good coverage.
- Elgato Green Screen Collapsible Chroma Key Backdrop (58.27 x 70.87 in):Good for small screen footage, Webinars, Streaming, or Video Conference Calls.
- Webaround Portable Webcam Green Screen Backdrop (Size: 52”): Best for Streamers Remote Worker, Digital Meetings.
- Set up Lighting and Subject Position: Here are some points to consider when setting up lighting for green screens:
- Use multiple lights to achieve even lighting. You can use two soft lights on the opposite sides of the green screen backdrop to eliminate shadows.
- Distance your subject from the backdrop at least 5-10 feet away to reduce spills and shadows.
- To diffuse hard lights, you can use softboxes or umbrellas.
- Match your light color to the temperature you desire for your footage.
- Set up Camera Settings: Hand-in-hand with your lighting, you also need to properly set your camera’s shutter speed, aperture, recording format, and ISO.
Part 4. Editing Green Screen Footage Using Software
After completing your green screen set up at home or in a studio and recording your footage, the last step will be post-production. This time, you will need editing software with chroma key capabilities. There are many tools you can choose from, but Wondershare Filmora is the top of the line. Aside from its chroma key feature, you can also take advantage of its rich editing library, AI tools, and vast resources. Filmora lets you remove the green screen and replace your image with different backgrounds without the long learning curve that other software requires.
In the example below, learn how to edit your green screen footage through a detailed guide:
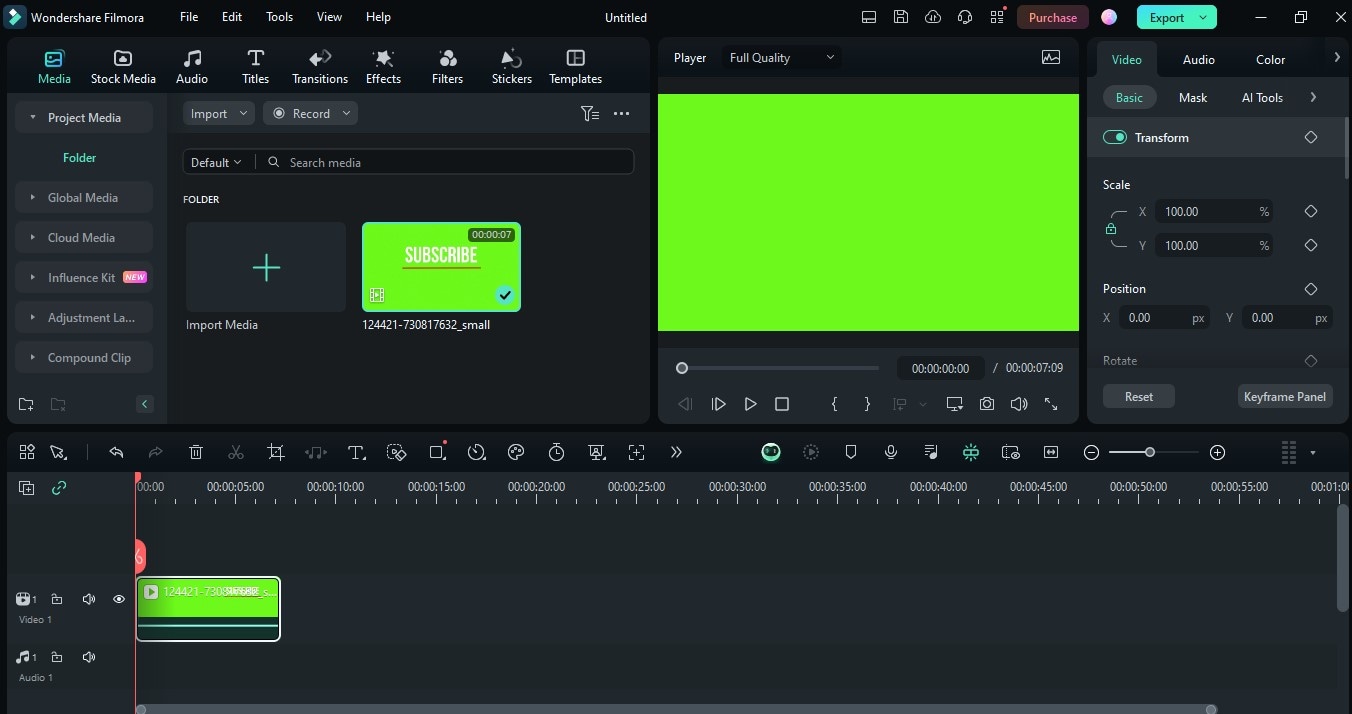
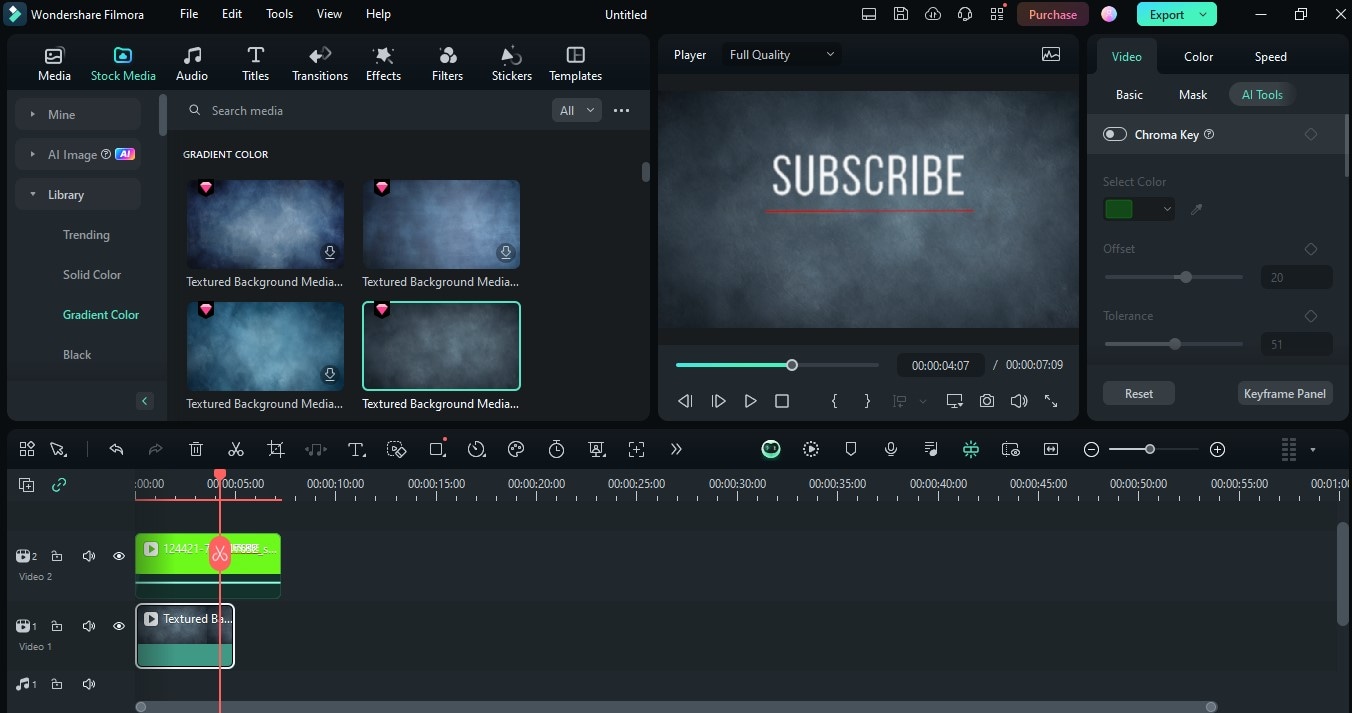
Step 1: In your Filmora tool, click on New Project to start. Import your video by going to Import. Once done, drag your imported file to the timeline to start editing.
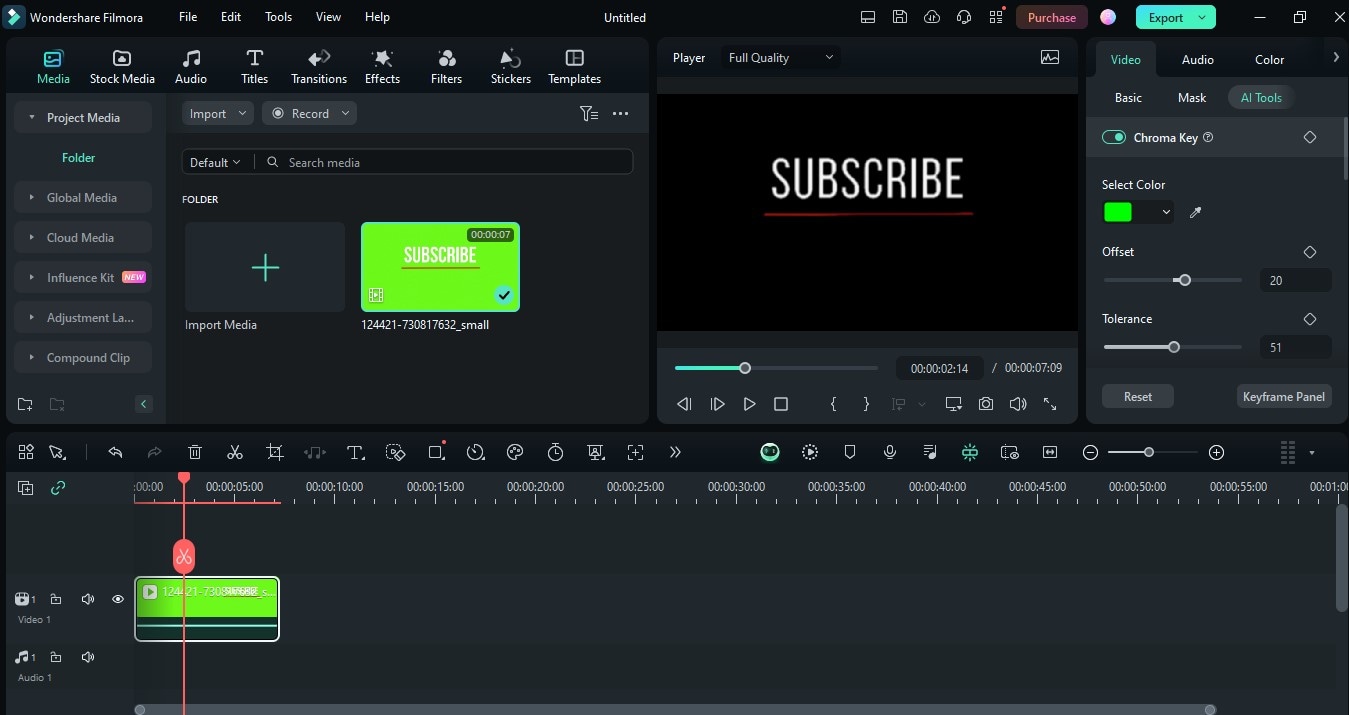
Step 2: Go to AI Tools (right side of the screen), then look for Chroma Key and enable the feature. This will automatically remove the green color in your background. You can also use the eyedropper tool to match the specific shade of green in your background.
Step 3: Bonus Tip: Head over to Stock Media, select your preferred stock footage, and drag it over to the timeline below the green screen video. See your background replaced from the green screen to the stock footage selected.
You can add more elements to your videos such as video transitions, effects, or audio tracks to enhance the overall quality. Head over to Filmora’s website and download its latest version to explore more of this amazing tool.
🤩 Posts You Might Be Interested In:
Conclusion
Whether you’re a hobbyist or a professional video editor, knowing how to set up a green screen is relevant to your editing portfolio. It can bring many benefits, from flexibility, cost-effectiveness, and creativity in your filming. Learn the basics of green screen studio setup to perfect your filming set at home, in a designated location, or in the comfort of your office chair. Finally, bring your green screen footage to life with a trusted software editing tool like Filmora. Try different green screen setups, upgrade your equipment as you go, and don’t be afraid to experiment and be creative.
