

 100% Security Verified | No Subscription Required | No Malware


 ChatGPT
 Perplexity
 Gemini
 Claude
 Grok
Grok
Want to create smooth and eye-catching stroke animations? The after effect trim path lets you animate the start and end of vector paths, making it perfect for logo reveals, motion graphics, UI animations, and creative text effects.
Whether you're a beginner learning the basics or an experienced designer creating advanced animations, trim path animation is an essential technique. With just a few keyframes, you can turn simple shapes into clean, professional-looking animations that make your projects more engaging. Beginners often find it difficult to understand the Start, End, and Offset controls, especially when working with multiple paths. This guide will help you learn how to create smooth and professional stroke animations step by step.
In this article
How Trim Paths Works in After Effects
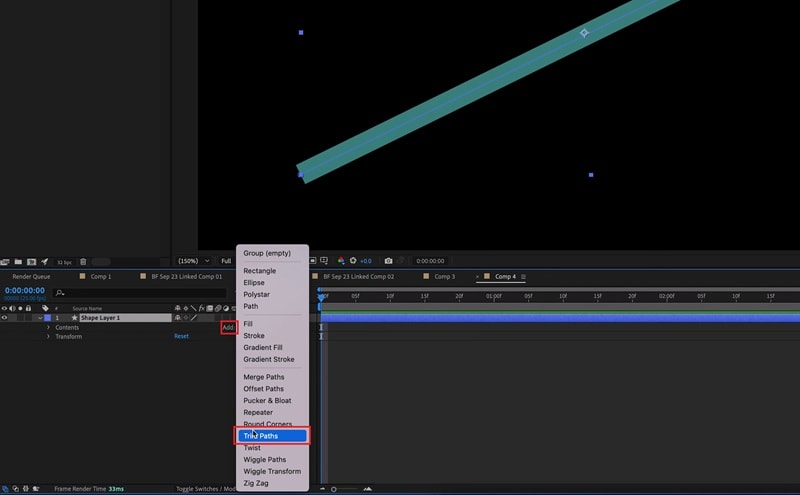
Trim Paths is a feature in Adobe After Effects that lets you animate the stroke of a shape layer. It allows you to control how a line appears, disappears, or moves along a path by adjusting the Start and End values. This makes it easy to create smooth drawing and tracing animations.
How It Works
Trim Paths controls which part of a shape's stroke is visible. By animating the Start, End, or Offset properties with keyframes, you can make a line draw itself, disappear, or move smoothly along its path.
Creators use an after effect trim path whenever they want to add movement to lines and shapes. It is commonly used for logo reveals, explainer videos, UI animations, and handwriting effects. Instead of showing everything at once, Trim Paths helps create smooth, engaging animations that look more professional.
Where to Use After Effect Trim Path
- Logo Reveals: Animate a logo as if it is being drawn.
- Data Visualization: Add motion to charts, graphs, maps, and connecting lines.
- UI/UX Elements: Create loading spinners, progress bars, and button animations.
- Handwriting Effects: Make text or shapes appear as if they are being written or drawn by hand.
Traditional Stroke Animation Techniques
Before the after effect trim path became available, creating stroke animations took more time and effort. Designers had to rely on manual techniques that were harder to edit and update.
Methods Used Before Trim Paths
- Track Mattes and Masks: Designers used masks or mattes to reveal parts of a line or shape. While effective, these animations needed frequent adjustments whenever the design changed.
- Write-on Effect: This effect lets users draw over a layer to reveal it. It worked well for simple animations but could lose quality when the animation was resized.
- Manual Keyframing: Some creators animated each point of a shape by hand. This method gave full control but was slow and required a lot of work.
How the Process Works
The traditional process usually involved:
- Creating extra layers for masks or mattes.
- Linking layers so they moved together.
- Animating the mask instead of the stroke itself.
- Updating multiple layers whenever changes were needed.
Common Struggles with Trim Paths
Even though the after effect trim path is a powerful tool for motion graphics, it can still be challenging to use, especially for beginners.
One of the biggest difficulties is understanding how Start, End, and Offset work together. These settings affect how the line is drawn, and it can take time to fully understand their behavior, especially when working with multiple paths.
Slow Setup Process
Trim Paths is faster than older methods, but complex designs can still take time to build. Animating logos or shapes with many lines requires careful setup and timing to keep everything smooth and organized.
Common Workflow Problems
- Cluttered Layers: Large projects can become messy when there are many Trim Paths controls on one shape layer, making it harder to manage keyframes.
- Wrong Path Direction: If a path is drawn in the wrong direction, the animation may move backward and need to be corrected.
- Group Placement Problems: Trim Paths only works inside the correct shape group, so placing it in the wrong layer structure can make the animation not work as expected.
Best Tools You Can Use
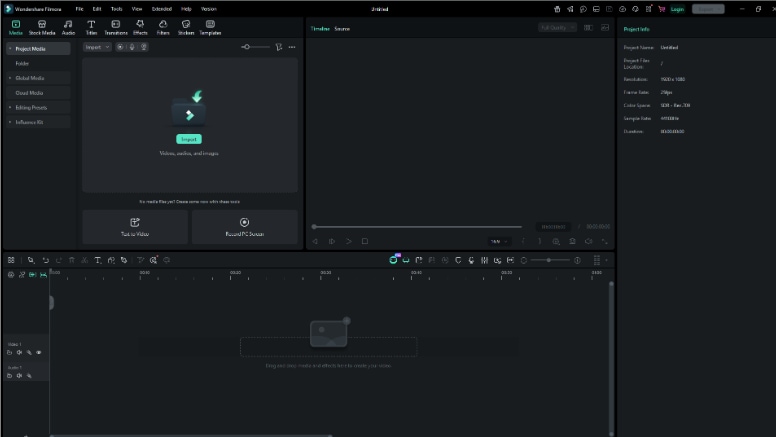
Adobe After Effects is still the main tool used for advanced motion graphics and professional animation work. However, creators now also use easier tools like Wondershare Filmora to create smooth stroke animations faster and with less effort.
How Wondershare Filmora Improves Your Workflow
Filmora does not replace After Effects, but it makes the animation process faster and simpler:
- Easy Path Drawing: You can draw animation paths directly on your video without dealing with complex layer setups.
- Real-Time Preview: You can instantly see how your animation looks while adjusting settings like Start and End points.
- Built-In Effects: It includes ready-made effects such as glow, blur, and textures to quickly improve your animation.
- Simple Workflow: It removes complicated steps so you can focus more on creativity instead of technical setup.
Many creators use Filmora to quickly test ideas and build simple animations. They then switch to After Effects when they need more advanced control or detailed effects. This helps save time while still producing high-quality results for both fast content and professional projects.

 secure download

Step-by-Step Guide
Making smooth stroke animations in Wondershare Filmora is simple. Just follow these easy steps:
Step 1: Create Your Shape
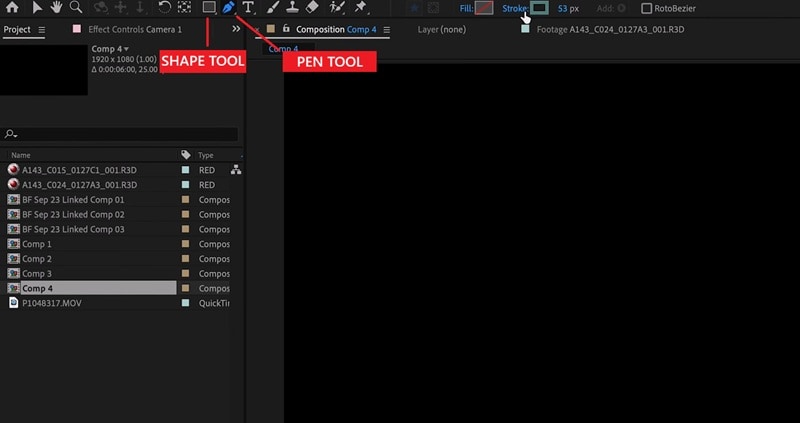
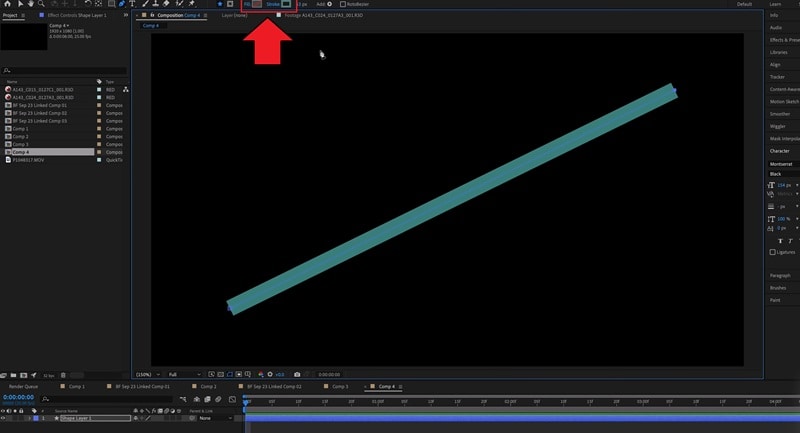
Add your video or graphic to the timeline. Use the Pen Tool to create a line or shape.
Step 2: Open Trim Path
Select your shape, then go to Trim Path on the side panel.
Step 3: Animate the Line
Move the playhead to the beginning of the timeline. Set the End value to 0% and add a keyframe. Then move the playhead to where you want the animation to end, change the End value to 100%, and add another keyframe. Your line will now appear to draw itself.
Step 4: Select the Playback Mode
Choose from Once, Loop, or Ping-pong.
Tips for Better Results
- Keep stroke thickness consistent for a clean look.
- Preview your animation often to check timing and smoothness.
- Make sure the trim path is applied to the correct shape or layer.
Where It’s Used
This workflow is commonly used for:
- Logo animations and brand reveals
- Motion graphics like arrows, maps, and charts
- Social media videos with animated text or highlights
- Educational visuals to explain concepts clearly
Tips and Common Mistakes to Avoid
To create smooth and professional stroke animations using the after effect trim path, it’s important to follow good practices and avoid common errors. These tips apply to both Adobe After Effects and Wondershare Filmora.
Pro Tips for Better Results
- Use Round Stroke Caps: Set your stroke edges to round for a cleaner and more natural look.
- Smooth Your Keyframes: Use easing instead of linear movement to make animations feel more natural.
- Organize Your Layers: Keep different paths on separate layers or groups to stay organized and make editing easier.
- Use Reference Images: Lock a reference image in the background when tracing complex shapes.
Common Mistakes to Avoid
- Too Many Keyframes: Stick to simple keyframes, such as start and end, instead of overcomplicating the animation.
- Wrong Layer Setup: Make sure Trim Paths are applied inside the correct shape group.
- Ignoring Offset: Use the Offset setting instead of redrawing paths when adjusting animation direction or position.
Troubleshooting Tips
- Animation moving the wrong way: Reverse the path direction in settings.
- Stroke not showing: Check stroke width, opacity, and fill settings.
- Stuttering animation: Match your project frame rate with your keyframes.
- All lines animating together: Set Trim Paths to animate shapes individually instead of simultaneously.
Conclusion
Learning the after effect trim path is a valuable skill for creating smooth and professional stroke animations. It helps turn simple lines into dynamic motion graphics used in logo reveals, infographics, and other creative visuals.
Adobe After Effects is the best choice for advanced and detailed animation work, while you can use tools like Wondershare Filmora which is a faster and easier option for beginners or quick projects. Many creators even use both together to save time and improve workflow. Overall, these tools help you create cleaner, more engaging animations by automating the drawing process so you can focus more on timing and creativity.
secure download FAQs About After Effect Trim Path
-
What is After Effect Trim Path and why is it used?
It is a tool that lets you animate lines and shapes so they look like they are being drawn. It is commonly used for motion graphics and simple animation effects. -
How do I fix a trim path animation moving in the wrong direction?
You can fix it by reversing the path direction in the settings. -
Can I use trim path animation on text?
Yes. First, convert the text into shapes, then apply Trim Paths to the shape layer. -
What is the difference between “Simultaneously” and “Individually”?
“Simultaneously” animates all paths together, while “Individually” animates each path separately. -
Is Filmora better than After Effects for trim path projects?
Not better or worse, just different. Filmora is faster and easier, while After Effects is more advanced and detailed. -
Why is my trim path not working?
It is usually because the Trim Paths effect is not placed inside the correct shape group. -
How can I make my animation look better?
Use smooth easing and round stroke caps for a cleaner, more natural look. -
Do I need to be a professional to use Trim Paths?
No. Beginners can learn it easily, especially with simple tools like Filmora before moving to After Effects.
