

 100% Security Verified | No Subscription Required | No Malware
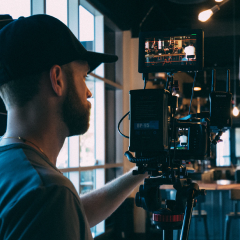
Give Canon R5 Mark II footage a polished starting point with the Free Canon R5 Mark II LUT Pack, a practical collection designed for professional hybrid creators and filmmakers. These looks help shape 8K footage into clean commercial images, cinematic action scenes, and consistent campaign visuals without forcing every clip into the same style.
Use the filters as creative finishing tools after exposure and white balance are corrected. The collection includes controlled contrast, film-inspired color, highlight shaping, and energetic motion looks that can support Canon R5 Mark II color grading in Filmora and other compatible editing workflows.
In this article
Sunlit Commercials and High-Key Product Scenes
Clean Daylight
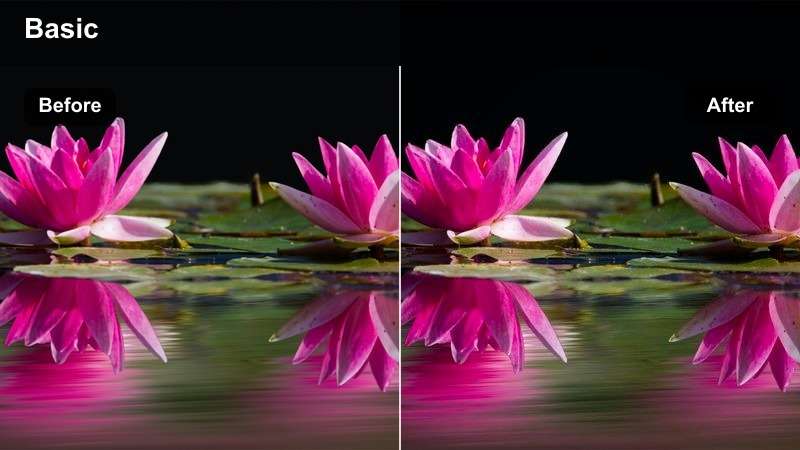
- Effect look: Bright neutral contrast with accurate whites and restrained saturation
- Best for: Outdoor commercials, lifestyle campaigns, and polished 8K daylight footage
- Editing tip: Apply after correcting exposure, then reduce intensity slightly on reflective highlights
Clean Daylight gives Canon R5 Mark II footage a crisp, balanced appearance with dependable whites, controlled contrast, and natural skin tones. It works as a reliable base for commercial images that need clarity without an exaggerated color treatment.
In Filmora, apply the filter after correcting exposure and white balance, then fine-tune its strength for reflective surfaces. It preserves the natural color relationships that make product packaging, wardrobe, and skin tones easier to refine.
Build a Consistent Canon R5 Mark II Color Palette
Start with corrected exposure and white balance, then use the filter collection to establish a repeatable palette for commercials, action scenes, and narrative footage. A consistent palette makes mixed lighting and multi-camera timelines easier to manage.
For professional hybrid creators, the best results usually come from combining a clean base look with targeted adjustments to skin tones, skies, signage, and reflective surfaces.
 secure download

Warm Brand Glow
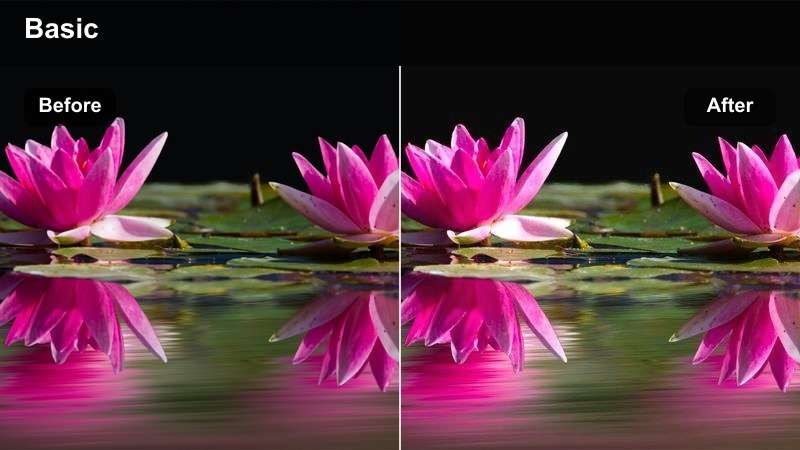
- Effect look: Soft golden warmth with gentle contrast and inviting midtones
- Best for: Hospitality commercials, fashion reels, and aspirational brand stories
- Editing tip: Lower the filter strength on already warm footage to keep skin tones natural
Warm Brand Glow adds soft golden warmth, gentle contrast, and inviting midtones to footage designed to feel premium and approachable. It complements amber lighting, wood, leather, gold design elements, and other warm production details.
Use it in Filmora at a moderate strength when the source footage is already warm. If the frame begins to look too orange, add a subtle cool adjustment in the shadows while keeping the strongest warmth in the midtones.
Bright Editorial
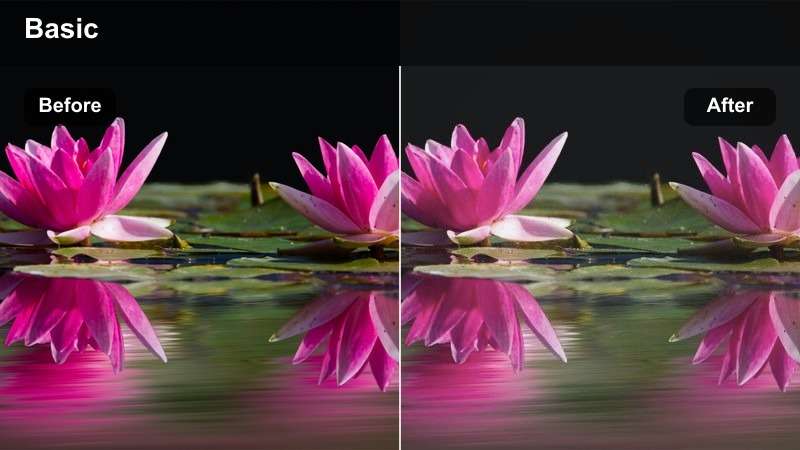
- Effect look: Airy exposure, lifted shadows, and clean editorial saturation
- Best for: Fashion campaigns, creator portfolios, and bright studio productions
- Editing tip: Recover highlights before applying the filter and add modest sharpening only at the final export
Bright Editorial creates an airy, polished appearance with lifted shadows and modern saturation. Its open contrast is useful for bright fashion, studio, and creator footage that needs a spacious visual character.
In Filmora, recover highlights before applying the filter and add only modest sharpening at the final export. If the source profile is very flat, use a gentle contrast curve instead of pushing saturation aggressively.
Cinematic Urban Motion and Street Sequences
Steel Cyan
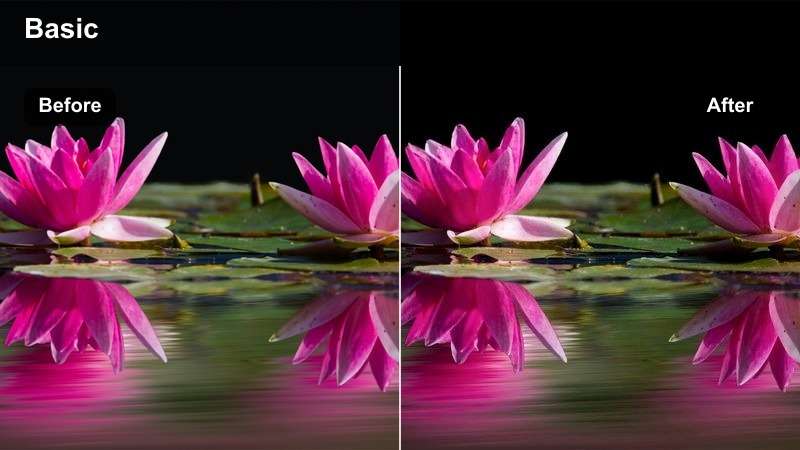
- Effect look: Cool cyan shadows, firm contrast, and subdued urban color
- Best for: Night streets, architectural films, and dramatic city-based sequences
- Editing tip: Protect blue channels in LED signs and reduce intensity when mixed lighting is already strong
Steel Cyan gives urban footage cool cyan shadows, firm contrast, and a restrained modern palette. The color separation can help distinguish subjects from warm storefronts, streetlights, and practical sources.
Use the filter in Filmora for night streets, architecture films, and dramatic city sequences. Check skin tones shot by shot because mixed urban lighting can make cyan shadows appear stronger after compression.
Neon Night
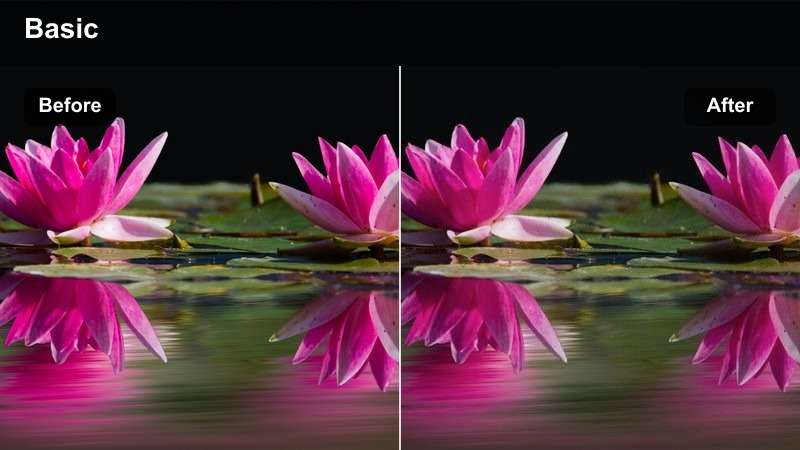
- Effect look: Deep blacks, vivid colored lights, and heightened nighttime atmosphere
- Best for: Music videos, nightlife promos, car commercials, and handheld city footage
- Editing tip: Use a moderate strength and monitor saturated signage to avoid clipped color channels
Neon Night deepens blacks and makes colored practical lights feel more vivid and expressive. It is designed for energetic footage where signage, light trails, and reflections create visual rhythm.
Apply it in Filmora at a moderate strength and monitor saturated signs carefully. Before export, compare the result on a calibrated display and a standard monitor so the darkest areas retain useful texture.
Desaturated Concrete
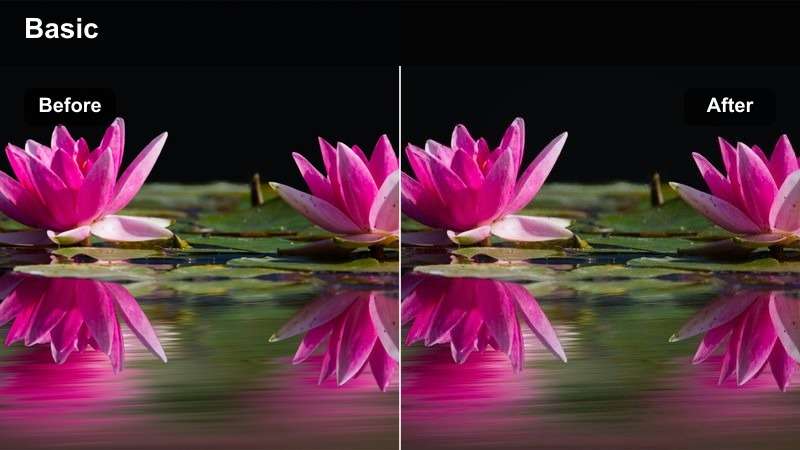
- Effect look: Muted saturation, textured contrast, and cool neutral highlights
- Best for: Architecture films, street documentaries, and gritty commercial transitions
- Editing tip: Add a small amount of midtone contrast after the filter when the source image looks overly soft
Desaturated Concrete reduces bright color while retaining textured contrast and cool neutral highlights. The restrained palette emphasizes structure, motion, and atmosphere in busy city scenes.
Use it in Filmora to create continuity between wide shots, tracking shots, and close details. Keep some color in skin tones and important production elements so the sequence maintains a clear visual hierarchy.
Action Scenes and High-Speed Performance Footage
Punchy Action
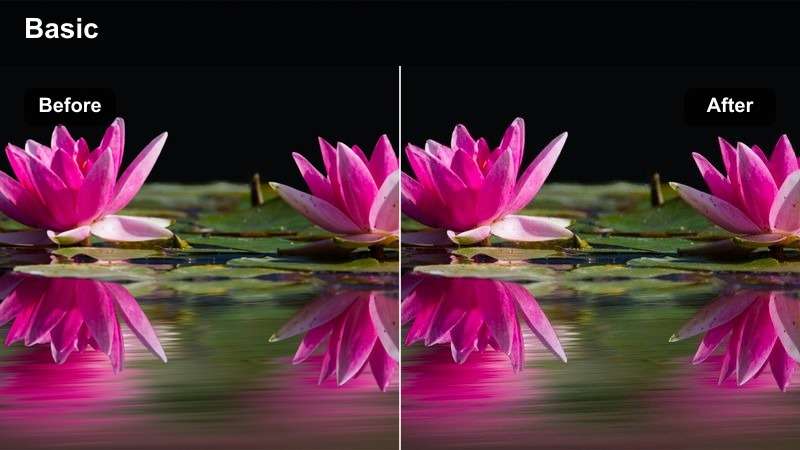
- Effect look: Bold contrast, crisp detail, and energetic primary colors
- Best for: Sports commercials, stunts, action reels, and fast camera movement
- Editing tip: Apply before final sharpening and keep the intensity consistent across speed-ramped clips
Punchy Action adds bold contrast, crisp detail, and energetic primary colors to movement-heavy footage. It helps fast cuts and varied camera angles feel connected through a shared visual profile.
In Filmora, apply the filter before final sharpening and keep its intensity consistent across speed-ramped clips. Watch bright jerseys, painted surfaces, and colored props for clipping in direct sunlight.
Cool Speed
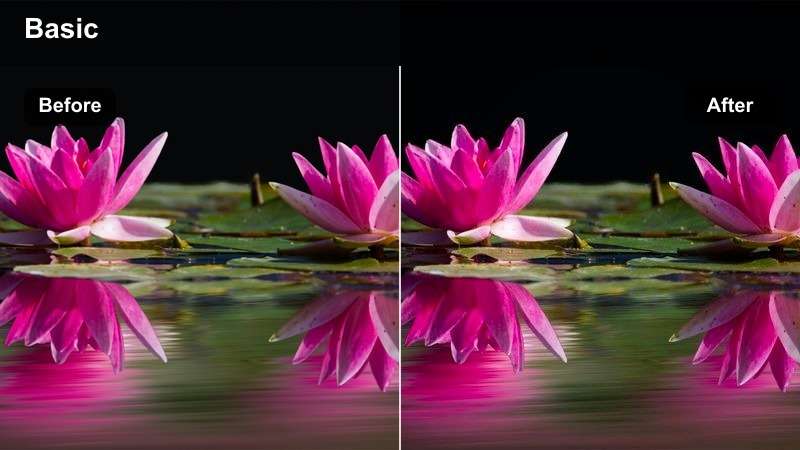
- Effect look: Cooler overall balance, defined blacks, and clean motion contrast
- Best for: Motorsport, cycling, sports documentaries, and outdoor action coverage
- Editing tip: Pair with subtle motion blur and reduce blue saturation if the sky becomes too dominant
Cool Speed gives outdoor action footage a cooler balance, defined blacks, and clean motion contrast. Its focused color treatment can make sports, motorsport, and cycling scenes feel sharper and more competitive.
Use it in Filmora with subtle motion blur when appropriate, and reduce blue saturation if the sky becomes too dominant. Masks or local corrections can protect faces when the environment is heavily blue.
Impact Contrast
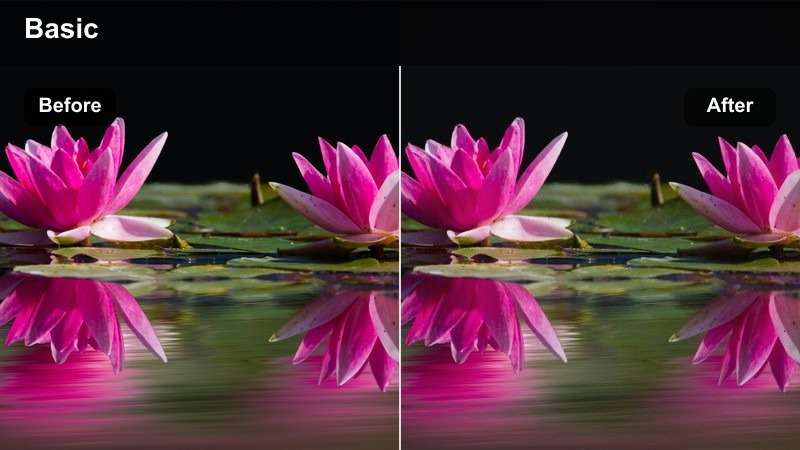
- Effect look: Strong tonal separation, rich blacks, and dramatic highlight control
- Best for: Trailer edits, fight choreography, stunt reveals, and intense performance scenes
- Editing tip: Use lower opacity on shadow-heavy clips and check facial detail before finalizing the grade
Impact Contrast creates strong tonal separation, rich blacks, and dramatic highlight control for moments that need tension and visual impact. It is especially effective for entrances, hits, reveals, and transitions.
Use it selectively in Filmora rather than applying it uniformly to an entire project. For 8K masters, preserve shadow texture by adjusting the black point gently instead of crushing the lowest tones.
Film-Inspired Finishing for Narrative and Brand Stories
Soft Film
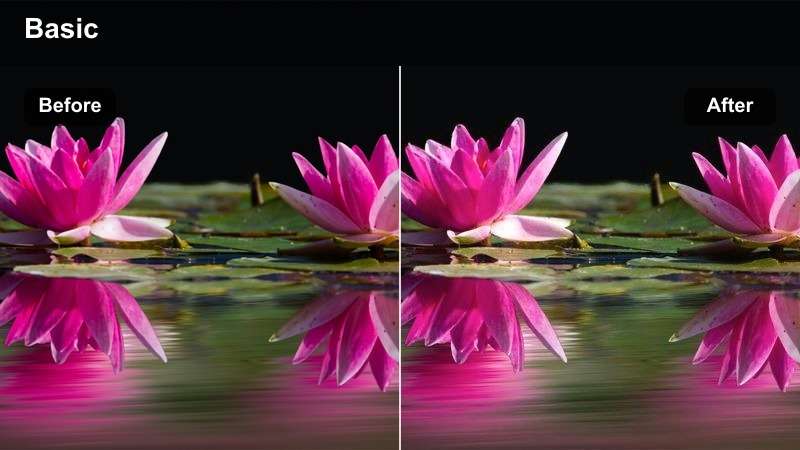
- Effect look: Gentle contrast, softened highlights, and natural film-like color
- Best for: Interviews, narrative scenes, documentary portraits, and premium brand films
- Editing tip: Add subtle grain separately so the filter strength remains easy to adjust during revisions
Soft Film adds gentle contrast, softened highlights, and natural film-inspired color without overpowering the original image. It is a flexible choice for portraits, interviews, documentary scenes, and premium brand films.
In Filmora, match exposure and white balance across camera angles before applying the filter. Add subtle grain separately so the creative look remains easy to revise during finishing.
Faded Memory
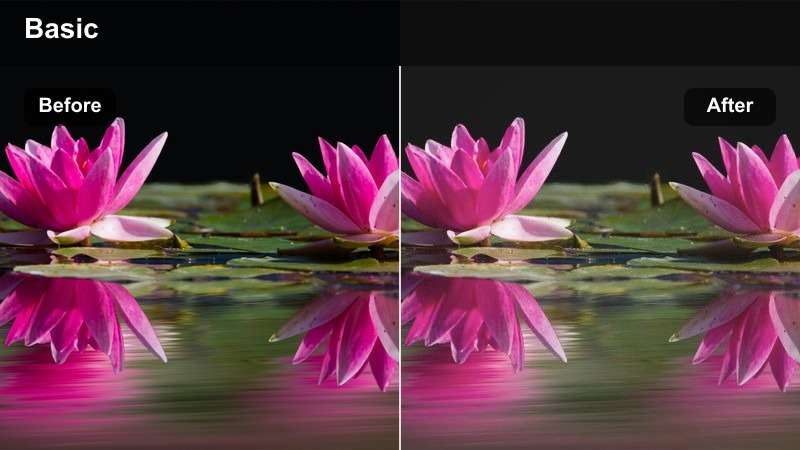
- Effect look: Low-contrast fade, muted color, and nostalgic highlight rolloff
- Best for: Memory sequences, documentary montages, personal films, and reflective campaigns
- Editing tip: Use it selectively on flashbacks or montage sections to create a clear visual shift
Faded Memory uses low-contrast fade, muted color, and nostalgic highlight rolloff to separate reflective moments from the main timeline. It gives personal films and documentary montages an understated emotional character.
Use the look selectively in Filmora on flashbacks or montage sections. Restore a small amount of midtone contrast when needed so faces and important story details remain readable.
Premium Cinema
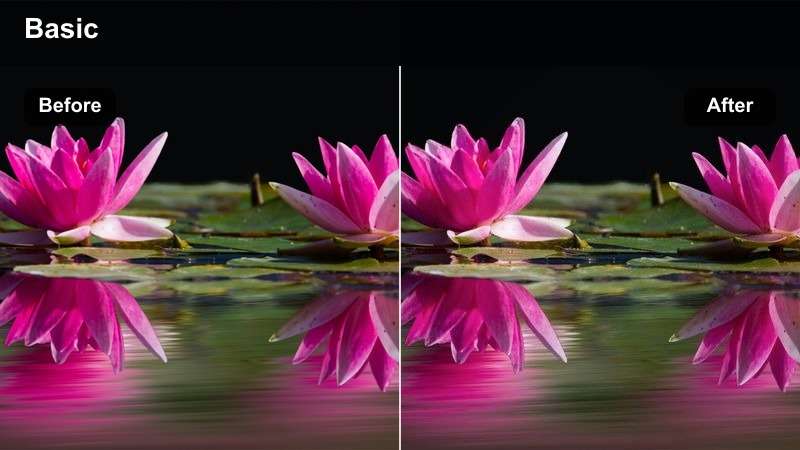
- Effect look: Rich but controlled color, dimensional contrast, and polished cinematic balance
- Best for: Luxury commercials, short films, launch videos, and high-end client deliverables
- Editing tip: Use as a finishing look after shot matching and keep the final intensity consistent across the sequence
Premium Cinema combines rich but controlled color with dimensional contrast and polished cinematic balance. It is designed for luxury commercials, short films, launch videos, and high-end client deliverables.
Apply it in Filmora after shot matching and keep the final intensity consistent across the sequence. Review the look at the intended delivery resolution because dense 8K detail can make contrast appear stronger in smaller previews.
Preview Canon R5 Mark II Video Filters Before the Final Grade
Use Filmora previews to compare filter strength across wide shots, close-ups, and fast-moving footage. This makes it easier to identify which looks preserve detail in 8K files and which ones need a lighter touch.
Previewing the same clip with several options can also speed up client approvals, especially when a commercial or action sequence needs a clear visual treatment before final finishing.
secure downloadCombine Filters and LUTs for Flexible Finishing
The Free Canon R5 Mark II LUT Pack can serve as a creative starting point after technical corrections. Apply a controlled filter first, then adjust contrast, saturation, and skin tones to keep the result aligned with the original lighting.
For demanding 8K camera color grading, work non-destructively and keep the creative look separate from exposure corrections. This gives you more flexibility when footage is repurposed for widescreen, vertical, or social deliverables.
secure downloadTips for Using Canon R5 Mark Ii Lut Download Filters in Filmora
- Correct exposure and white balance before applying any Canon R5 Mark II video filter.
- Use lower filter intensity on high-contrast action scenes with direct sunlight or bright practical lights.
- Check skin tones separately when using cyan, teal, or heavily desaturated looks.
- Keep a clean reference version of each clip so creative changes remain easy to compare.
- Review 8K footage at full resolution before adding sharpening, grain, or strong contrast.
- Match the filter across camera angles before making shot-specific secondary corrections.
- Use masks or local adjustments to protect faces, logos, product colors, and important highlights.
- Export a short test section before rendering the complete commercial or film sequence.
The Free Canon R5 Mark II LUT Pack gives professional hybrid creators and filmmakers a flexible set of starting points for 8K camera color grading. From clean daylight commercials to neon city sequences and dramatic action scenes, each filter is designed to support a specific visual direction while leaving room for precise finishing.
Download the collection, test each look on representative Canon R5 Mark II footage, and refine the intensity to match your lighting, delivery format, and creative brief.
secure download