

 100% Security Verified | No Subscription Required | No Malware

 ChatGPT
 Perplexity
 Gemini
 Claude
 Grok
Grok
If you are a creator or editor building a travel vlog, LUT-style filters are the fastest way to give your footage a consistent, cinematic look without heavy color grading skills.
Below are 12 free Filmora filters that behave like LUTs for travel vlogs, organized by scene type so you can quickly match the right look to beaches, cities, mountains, and more.
In this article
Warm Golden Hour and Beach Sunsets
Sunset Glow
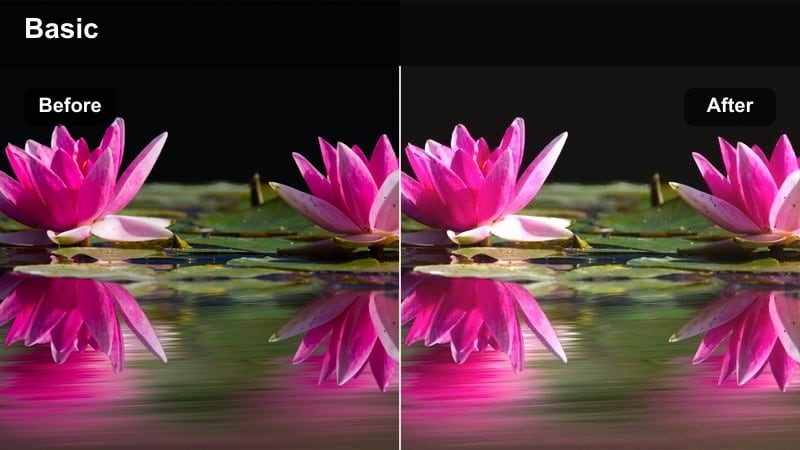
- Effect look: Soft golden warmth that deepens oranges and pinks for dreamy sunset shores.
- Best for: Beach sunsets, pier walks, and slow-motion ocean B-roll near dusk.
- Editing tip: Lower contrast slightly and add a subtle vignette to keep faces readable against bright horizons.
Sunset Glow wraps your travel footage in a gentle golden cast, pushing oranges and pinks so skies look richer while keeping shadows soft. It is ideal when you want quick, cinematic color at golden hour without manual grading and works especially well on clips where the sun is low but not fully set.
In Filmora, apply Sunset Glow as a base look to all your shoreline and pier sequences, then fine-tune exposure so silhouettes do not turn into pure black. If faces are close to the camera, dial back contrast and add a slight vignette so viewers stay focused on the subject while still enjoying the dramatic sky.
Match Travel LUT-Style Filters With AI Color Tools
Filmora's AI-powered color tools help you keep your travel vlog looking consistent, even when you shoot in changing light or on different cameras. You can quickly match clips so your best-looking shot becomes the reference for the rest of the sequence.
Use automatic color matching on your A-roll and B-roll first, then layer a travel LUT-style filter like Sunset Glow to lock in a cohesive style across your entire episode.
 secure download

Fine-Tune LUT-Style Looks With HSL and Color Controls
After you add a free LUT-style filter, Filmora's color tools and HSL controls let you refine specific ranges such as skies, foliage, or skin tones. That way, your sunset or city look stays stylish without pushing faces or important details too far.
Adjust hue, saturation, and luminance per color channel to keep your travel destinations vivid while avoiding unnatural color shifts in your vlogs.
secure downloadPreview Filters on Your Travel Clips Instantly
Filmora includes 1000+ video filters and 3D LUTs you can drag onto your footage to preview different moods in seconds. Testing several looks on the same clip helps you quickly find a signature style for your travel vlog.
Use split view or toggle the filter on and off to compare your original capture with the stylized version, so you can decide how strong or subtle your final grade should be.
secure downloadTropical Escape
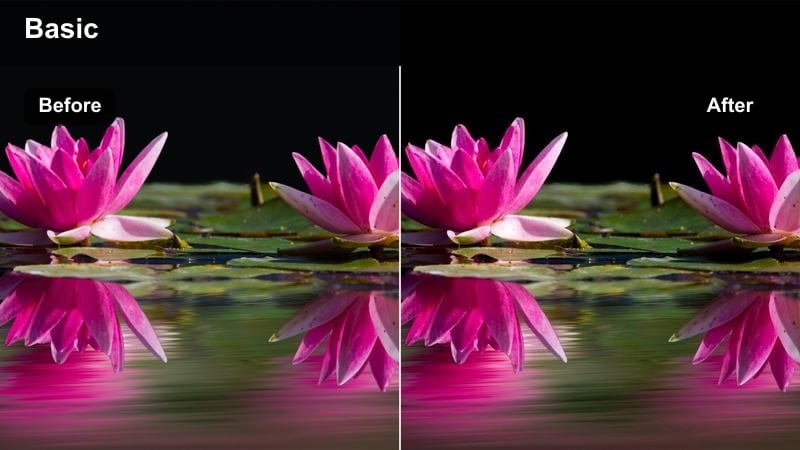
- Effect look: Punchy turquoises and lush teals for crystal-clear water and tropical islands.
- Best for: Drone shots over islands, snorkeling clips, and poolside resort scenes.
- Editing tip: Increase saturation slightly and add slow zooms to B-roll for a more luxurious travel vibe.
Tropical Escape pushes blues and teals to make oceans, pools, and lagoons look impossibly clear and inviting. It emphasizes water clarity and shoreline contrast, perfect for drone flyovers, island arrivals, and underwater snippets.
In Filmora, add Tropical Escape to your ocean-focused B-roll, then adjust saturation to taste depending on how bold you want the color. If your mid-day sky is too bright, lower highlights before or after applying the filter so the teals stay rich and do not wash out.
Sun-Kissed Roads
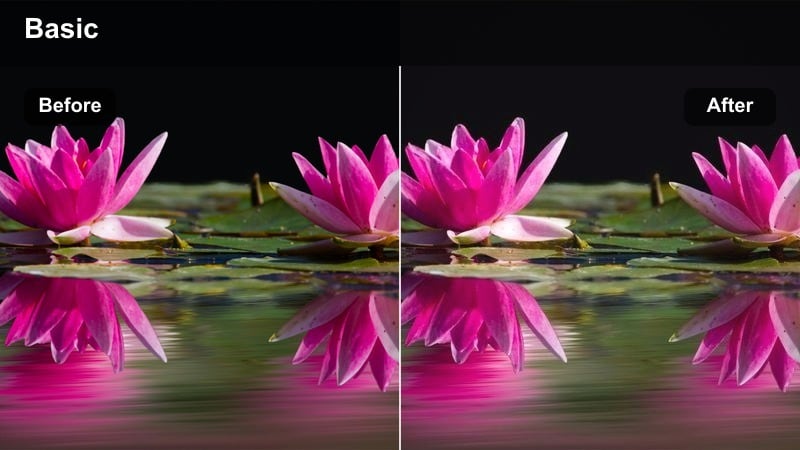
- Effect look: Golden contrast with subtle fade, perfect for road trips and open highways.
- Best for: Car window shots, desert drives, and handheld walk-and-talk by the coast.
- Editing tip: Add a tiny bit of film grain and a slower shutter-style blur to sell the nostalgic road-trip mood.
Sun-Kissed Roads adds warm contrast and a gentle fade to highlights, giving your highways and byways a nostalgic, slightly vintage feel. It works well on footage shot through windows, in deserts, or along coastal routes where sun and asphalt dominate the frame.
Inside Filmora, use this filter on montages of driving shots, road-side stops, and time-lapse journeys between destinations. Combine it with subtle film grain and a few speed ramps to turn simple travel transitions into storytelling sequences that feel cohesive and cinematic.
Electric City Nights and Urban Neon
Neon Trails
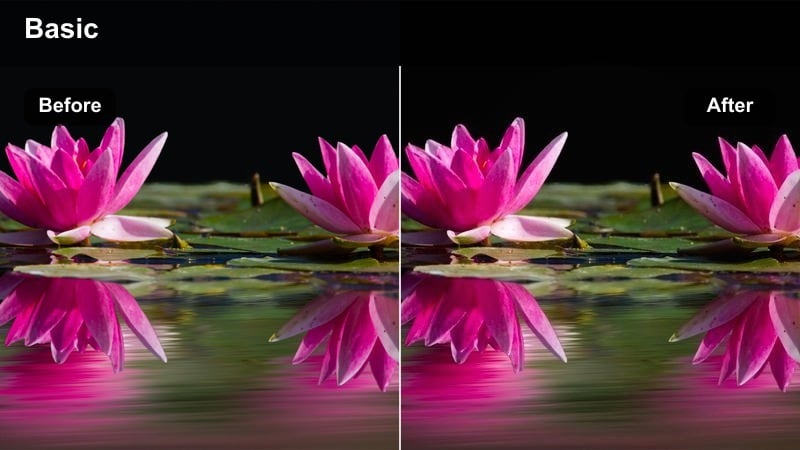
- Effect look: High-contrast neon with boosted reds and blues for energetic night streets.
- Best for: Time-lapses of traffic, walking through busy shopping districts, and handheld city B-roll.
- Editing tip: Reduce noise first with Filmora's tools, then add this filter so the neon pops without amplifying grain.
Neon Trails is built to make city lights explode with color, pushing reds, blues, and purples while holding deep, inky shadows. It is ideal for downtown time-lapses, night markets, and fast-paced street walks where motion and color are the main story.
In Filmora, clean up noisy night footage using the built-in tools, then drop Neon Trails on top to avoid emphasizing grain. Use it heavily on B-roll sequences and transition shots, while keeping talking-head scenes slightly toned down for skin-tone-friendly results.
Urban Filmic
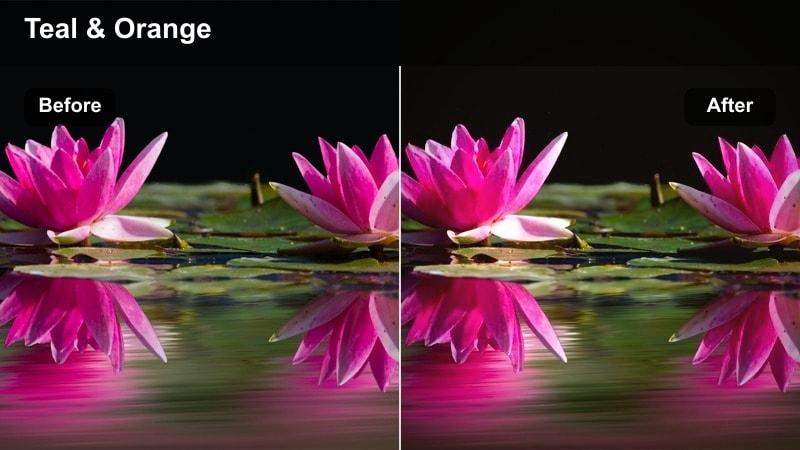
- Effect look: Muted shadows with teal shadows and warm skin tones for modern cinematic city vibes.
- Best for: Cafe intros, subway rides, city walking monologues, and handheld establishing shots.
- Editing tip: Use this on A-roll and matching B-roll to keep your entire city episode feeling like one unified film.
Urban Filmic applies a teal-and-warm-skin aesthetic that feels like a modern feature film set in the city. Shadows lean blue-green while faces stay inviting and natural, making it a perfect go-to filter for intros, walking monologues, and character-driven city stories.
Apply Urban Filmic in Filmora to both your A-roll and supporting B-roll whenever an episode is centered around one city. By using the same look across subway rides, cafes, and street shots, you keep your episode visually unified, even if scenes were captured on different days or cameras.
Rainy Street Glow
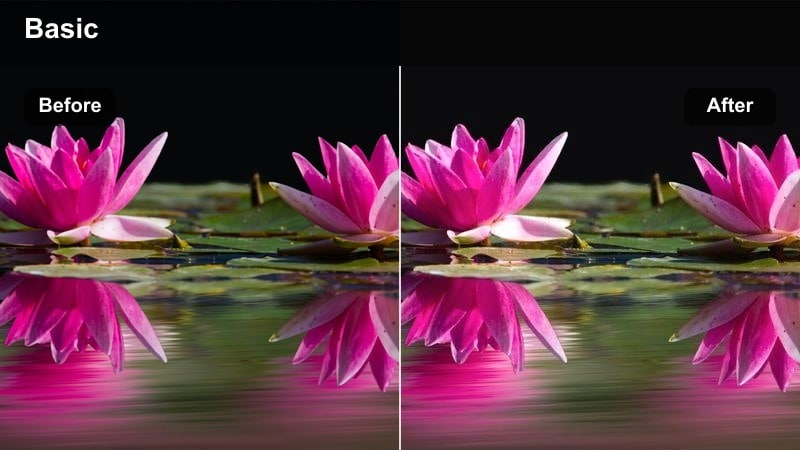
- Effect look: Soft contrast and reflective highlights that emphasize wet streets and colorful reflections.
- Best for: Night rain walks, reflections in puddles, and moody umbrella scenes in foreign cities.
- Editing tip: Slow down your wet-street B-roll slightly and add subtle music beats to match the reflective atmosphere.
Rainy Street Glow is designed to turn bad weather into a cinematic opportunity by highlighting reflections and softening overall contrast. Neon and streetlights bounce off pavement and puddles, giving your city night sequences a moody, atmospheric character.
In Filmora, slow down your best rain clips and apply Rainy Street Glow to emphasize the shimmering surfaces. Pair the look with gentle camera moves, ambient rain sounds, and sparse music so the visuals breathe and the city feels intimate instead of chaotic.
Mountains, Forest Trails, and Hikes
Alpine Clear
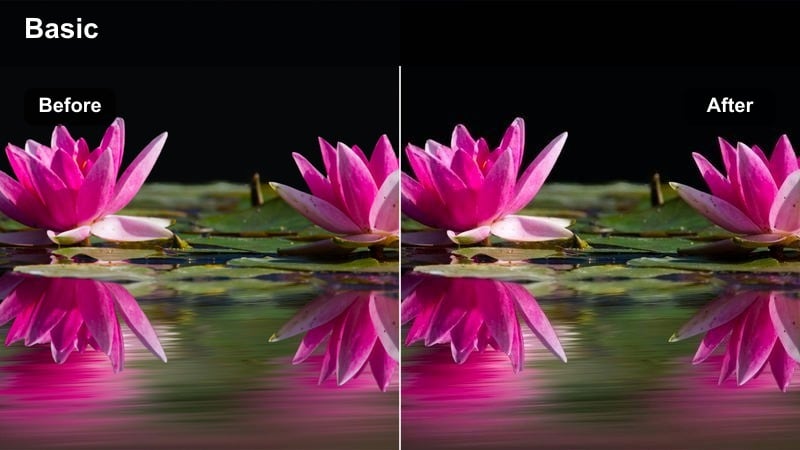
- Effect look: Cool, crisp tones with clean whites and deep blues for mountain vistas.
- Best for: Snowy peaks, aerial mountain views, and wide scenic landscapes.
- Editing tip: Slightly lower saturation for a premium documentary feel, or boost it for more YouTube-friendly thumbnails.
Alpine Clear cools down your footage and sharpens contrast to make mountain skylines, glaciers, and high-altitude lakes feel crisp and expansive. Whites stay clean and blues deepen, which works particularly well on clear-sky days or snowy ridgelines.
In Filmora, use Alpine Clear as your default look for wide landscape shots and drone passes in the mountains. Dial saturation up for eye-catching YouTube visuals, or pull it back a bit for a cinematic, documentary-style mood that still feels striking without being overly punchy.
Forest Trail Matte
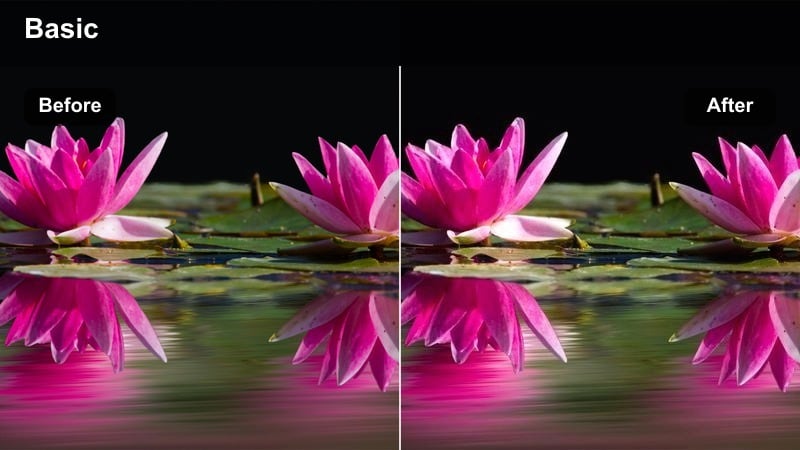
- Effect look: Soft matte contrast with rich greens and warm midtones for woodland hikes.
- Best for: Hiking trails, camping intros, and slow pans of tree canopies.
- Editing tip: Stabilize walking clips first, then apply this filter to keep the mood calm and cinematic.
Forest Trail Matte lowers overall contrast and slightly lifts blacks, giving your forest walks a soft, storybook look. Greens become deep and inviting, while midtones stay warm enough that skin does not feel cold under dense tree cover.
Inside Filmora, run stabilization on shaky hiking footage, then add Forest Trail Matte to create peaceful sequences out of otherwise rough clips. Use the filter across all shots from the same trail or campsite so the entire section of your vlog feels like one cohesive chapter.
Sunrise Summit
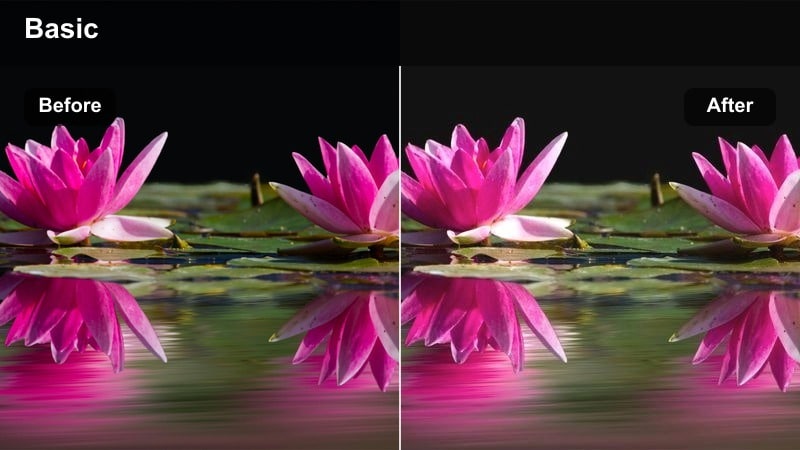
- Effect look: Gentle pastel highlights and warm sun flares that flatter early-morning hikes.
- Best for: Summit reveals, time-lapse sunrises, and tent-opening shots overlooking valleys.
- Editing tip: Use slow fades and long cross dissolves with this filter to emphasize calm, rewarding moments at the top.
Sunrise Summit enhances soft morning light and pastel skies, ideal for big reveal moments when you reach the peak or unzip your tent to a new view. It keeps contrast gentle so haze and low clouds feel dreamy instead of dull.
In Filmora, apply Sunrise Summit to your early-morning sequences, then use longer dissolves and fewer cuts so the calm mood sinks in. Combine with a touch of film grain to reduce banding in smooth gradients, especially when exporting for platforms that compress heavily.
Cafes, Local Markets, and Lifestyle Moments
City Espresso Warmth
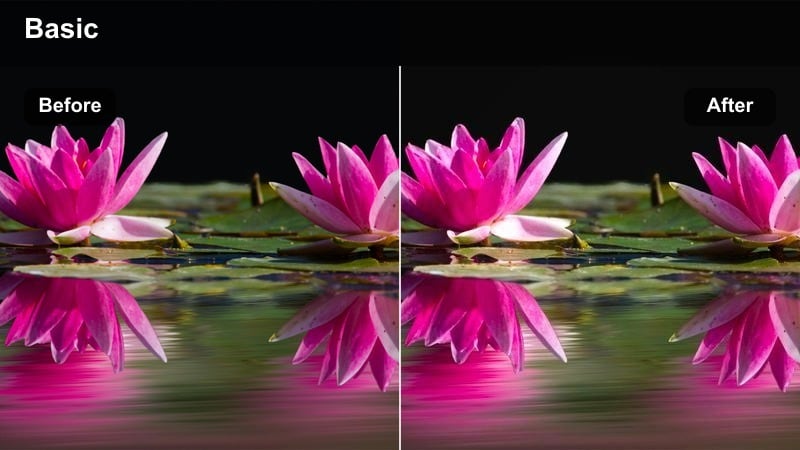
- Effect look: Cozy warm tones with gentle contrast, ideal for indoor and street-side cafes.
- Best for: Cafe talking segments, laptop-on-the-road shots, and relaxed meetups.
- Editing tip: Match your white balance across all cafe shots first, then use this filter as a finishing style layer.
City Espresso Warmth leans into amber and brown tones to give cafes, bakeries, and coworking spaces a welcoming, intimate mood. It keeps contrast soft so window light feels flattering on faces while still preserving detail in the background.
In Filmora, use this filter on A-roll where you talk about your plans, budget, or reflections from a cafe table. Once your white balance is consistent clip to clip, layer City Espresso Warmth as the final style pass so every coffee stop in your vlog feels like part of the same cozy story.
Market Vivid Day
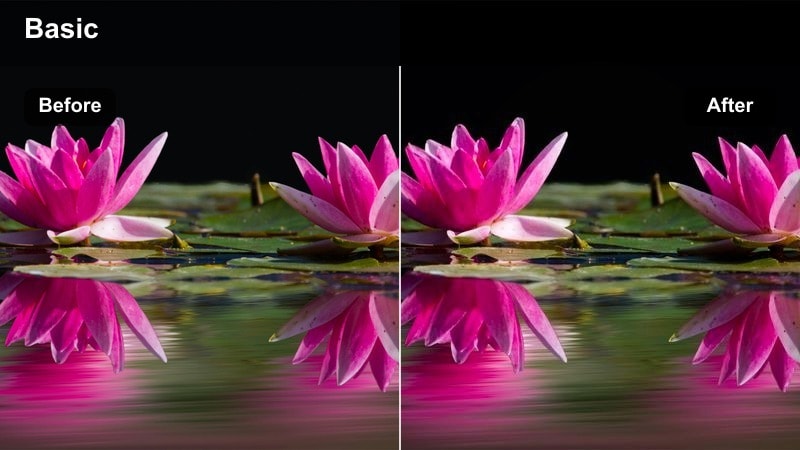
- Effect look: Bright, clean, and vibrant with punchy colors that showcase busy street markets.
- Best for: Local markets, busy plazas, and handheld street lifestyle scenes in daylight.
- Editing tip: Trim your clips tightly to the beat and use this filter on all shots to keep chaotic scenes visually coherent.
Market Vivid Day is built to make vendors, produce, textiles, and crowds pop with life. It brightens the scene, adds contrast, and slightly boosts saturation so stalls and signage stand out without turning into a noisy mess.
In Filmora, apply Market Vivid Day across all your market B-roll and then cut on music beats to keep the energy high but controlled. If the footage starts to feel overwhelming, reduce global saturation a touch while keeping the filter so your sequence remains colorful yet watchable.
Minimal Travel Diary
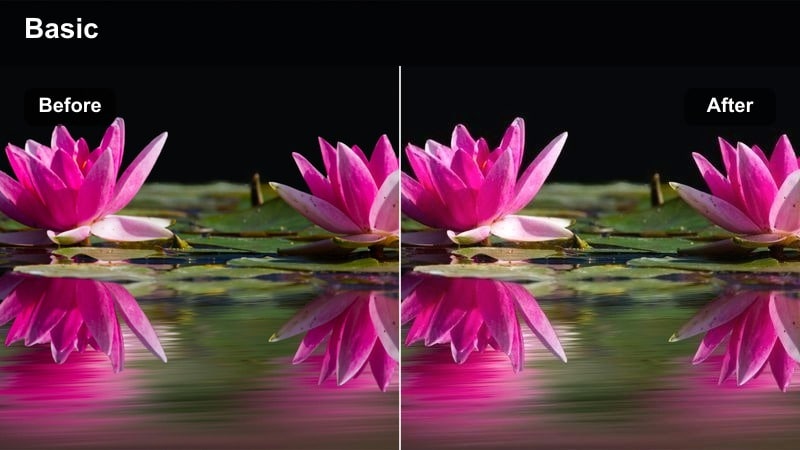
- Effect look: Softly desaturated neutrals with clean skin tones for a modern, minimal vlog aesthetic.
- Best for: Day-in-the-life travel diaries, packing scenes, and apartment or hostel intros.
- Editing tip: Pair with simple jump cuts and minimal text overlays to keep focus on your story rather than flashy visuals.
Minimal Travel Diary gently desaturates your footage while preserving natural skin tones, giving everything a modern, uncluttered feel. It works especially well in apartments, hostels, and airports where the background is simple and the story is more about you than the location.
In Filmora, use this filter on packing sequences, voiceover segments, and travel days where you want a calmer, diary-style look. Keep graphics and transitions minimal so the understated color grade supports your narrative instead of competing for attention.
Tips for Using Free Luts For Travel Vlog Filters in Filmora
- Shoot a short test sequence at each new location so you can audition several filters and quickly pick a consistent look for that part of your vlog.
- Choose one or two hero filters that match your overall brand and re-use them across episodes so returning viewers instantly recognize your channel style.
- Always correct exposure and white balance in Filmora before applying any LUT-style filter to avoid blown highlights or strange color casts.
- Use stronger, more stylized filters on B-roll while keeping a softer version or lighter adjustments on talking-head A-roll to maintain natural skin tones.
- Preview filters with Filmora's split-screen comparison so you can see exactly how much the look changes skies, foliage, and faces.
- Export a short sample and watch it on both your phone and laptop to confirm the filter looks good on different screens and brightness levels.
- Group clips by location or time of day on your timeline, then apply the same filter to each group to keep scenes visually unified.
- Save your favorite filter and color adjustments as custom presets in Filmora so you can apply your travel look to future projects in one click.
For a portable version of the color grade, Filmora can also export compatible color adjustments from a selected clip as a standard .cube LUT for reuse in Filmora, DaVinci Resolve, Adobe Premiere Pro, or Final Cut Pro.
Free LUT-style filters in Filmora make it easy for creators and editors to give travel vlogs a cinematic, consistent look without deep color grading skills. You can match filters to beaches, cities, mountains, and everyday lifestyle scenes so every destination feels intentional on screen.
Pick a few filters that match your destinations, save them as presets, and you will spend less time tweaking color and more time telling memorable travel stories on screen. Over time, your audience will associate these looks with your channel, helping you stand out in a crowded travel vlog feed.
secure download