

 100% Security Verified | No Subscription Required | No Malware

 ChatGPT
 Perplexity
 Gemini
 Claude
 Grok
Grok
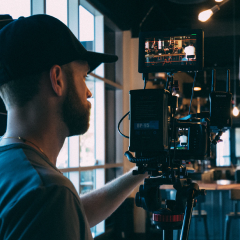
These Panasonic GH6 V-Log LUT-style filters are designed for videographers and creators who want fast, cinematic color without getting lost in complex grading nodes.
Use these Filmora filters as starting points that emulate popular GH6 V-Log LUT looks, then fine-tune exposure, contrast, and saturation to match your project and camera profile.
In this article
Daylight Street and Travel Scenes
GH6 Clean Daylight Neutral
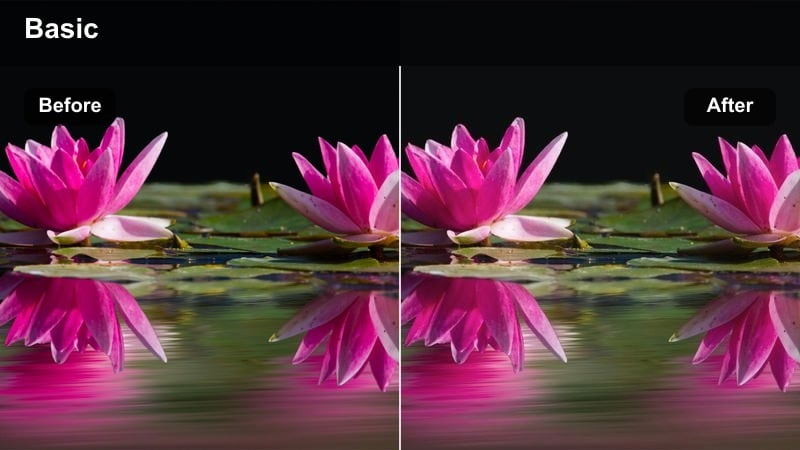
- Effect look: Balanced, low-contrast daylight grade that preserves V-Log dynamic range and natural colors.
- Best for: Street walks, travel vlogs, handheld GH6 footage in soft daylight.
- Editing tip: Expose V-Log about one stop brighter in-camera, then pull back highlights with curves for the cleanest result.
This neutral GH6 daylight style works like a clean V-Log to Rec.709 conversion with a subtle cinematic touch, ideal when you want realistic yet polished color. In Filmora, it gives you a dependable base grade that keeps skies, concrete, and foliage accurate while still softening contrast for a more filmic feel.
After applying the filter, fine-tune highlight and shadow points with Filmora curves to protect bright clouds and white buildings. Keep an eye on scopes while adjusting exposure so your GH6 V-Log footage retains maximum detail, then add small boosts to saturation only where needed for street signs, storefronts, or key travel landmarks.
Match Panasonic GH6 V-Log Colors with AI Color Tools
Filmora's AI-powered color tools help you quickly match your Panasonic GH6 V-Log clips so every scene shares a consistent look. Starting from this neutral daylight style, you can let AI handle tricky shot-to-shot variations in exposure or white balance.
Use these GH6 V-Log LUT-style filters as a base, then rely on AI color match and auto enhance to balance exposure and color between different locations and lighting conditions. This keeps your travel sequences looking cohesive without manual grading on every clip.
 secure download

Preview GH6 V-Log Filters on Real City Footage
To see how these styles respond to the flat GH6 V-Log profile, bring a short test clip into Filmora and quickly toggle between filters. You will instantly notice differences in how each preset treats highlights, midtones, and saturation levels.
Pay close attention to skin tones, skies, and reflective surfaces as you preview. This helps you narrow down two or three favorites that match your channel or brand identity, so you can apply them faster on future projects.
secure download1000+ Video Filters and 3D LUTs
Beyond these GH6-focused looks, Filmora includes a large library of creative filters and 3D LUTs you can stack for unique combinations. This makes it easy to push your Panasonic GH6 V-Log footage toward stylized film, vintage, or modern commercial aesthetics.
Apply a technical V-Log conversion first, then mix Filmora filters and LUTs at different opacities to refine contrast, color bias, and mood. Saving your favorite stacks as presets builds a fast, repeatable color workflow for any production.
secure downloadGH6 Travel Warm Rec709
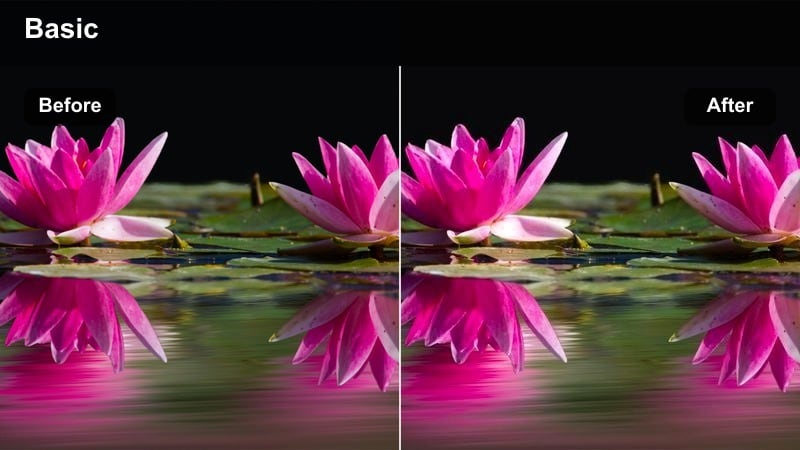
- Effect look: Soft Rec.709 contrast with a subtle warm push in mids and highlights for inviting travel imagery.
- Best for: GH6 travel montages, handheld city roaming, lifestyle b-roll in golden daylight.
- Editing tip: Use keyframed color temperature to smoothly transition warmth as you move between shade and sun.
This warm Rec.709-inspired style adds a friendly glow to streets, architecture, and skin, making GH6 travel logs feel more cinematic and approachable. It gently boosts midtone warmth while keeping contrast moderate, so details in buildings and sidewalks do not disappear.
In Filmora, combine the filter with keyframed white balance adjustments to keep shots consistent as you move between open sun and cooler shade. You can also nudge overall saturation slightly higher for food, markets, and signage while leaving skin tones natural with HSL skin-tone preservation.
GH6 Punchy Urban Pop
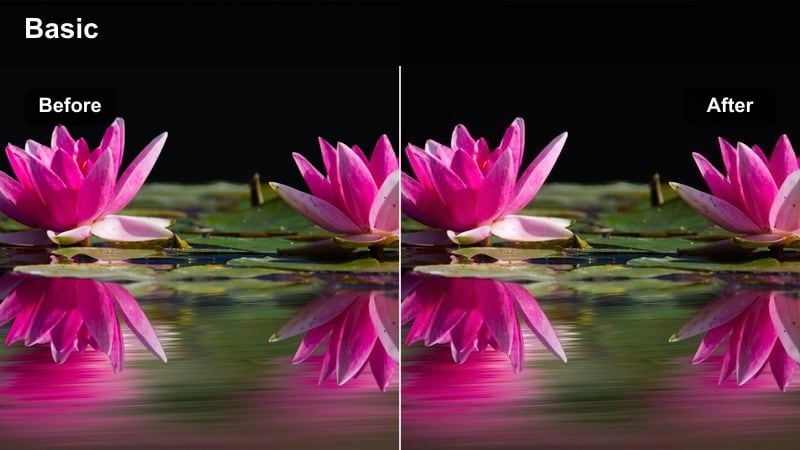
- Effect look: High-saturation, crisp contrast with cool shadows that make city colors and signage pop.
- Best for: Urban street b-roll, GH6 gimbal moves, colorful storefronts and murals.
- Editing tip: Reduce saturation slightly on skin-tone hues to prevent faces from looking overly intense next to bright city colors.
GH6 Punchy Urban Pop is designed to push color separation and impact for fast-paced city edits. Cool shadows and vivid hues make graffiti, traffic lights, and store fronts leap off the screen while still preserving overall clarity.
After applying the filter in Filmora, fine-tune individual color channels with HSL so reds, oranges, and yellows do not overpower faces. Dial back sharpening on high-ISO GH6 clips to keep noise under control, and consider adding a slight vignette to center attention on moving subjects or key details.
Cinematic Portraits and Interviews
GH6 Soft Skin Tone Priority
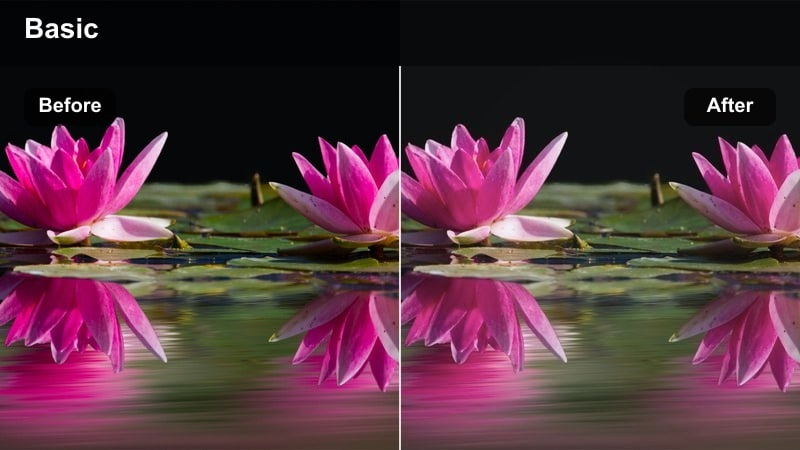
- Effect look: Gentle contrast with slightly lifted blacks and carefully shaped skin tones.
- Best for: GH6 talking head interviews, portrait b-roll, YouTube sit-down videos.
- Editing tip: Use a subtle vignette and reduce clarity or sharpness just on faces to enhance the soft cinematic feel.
This portrait-focused style treats skin as the priority, smoothing transitions in midtones so faces look flattering and natural. It slightly lifts blacks to avoid harsh shadows under eyes and around the jawline, helping interview content feel relaxed and cinematic.
In Filmora, pair the filter with a mild vignette and a mask over the subject's face to gently lower sharpness or clarity. Fine-tune exposure so the face sits comfortably in midtones, then let the background fall a bit darker for a professional, subject-first look in your GH6 interviews.
GH6 Studio Neutral Pro
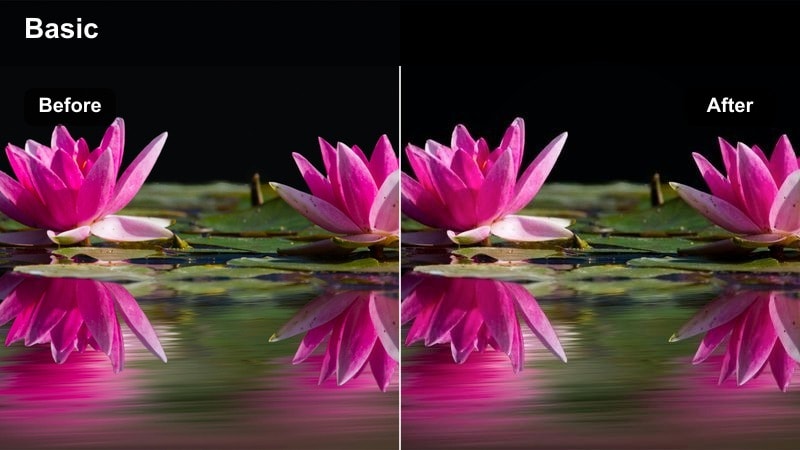
- Effect look: Clean studio broadcast look with neutral white balance and controlled contrast.
- Best for: Studio interviews, product explainers, educational videos shot on the GH6.
- Editing tip: Lock exposure across clips using Filmora's color match so your studio background never distracts viewers.
GH6 Studio Neutral Pro aims for a polished, broadcast-ready appearance that keeps colors accurate and distraction-free. It balances contrast and saturation for clear product shots, text overlays, and on-camera hosts without leaning too warm or cool.
Use Filmora's color match on a reference clip once you like the grade, then apply the match to all shots from your studio setup. Check key brand colors, such as logos or product packaging, and make small midtone temperature adjustments if necessary to maintain brand consistency across episodes.
GH6 Cinematic Window Light
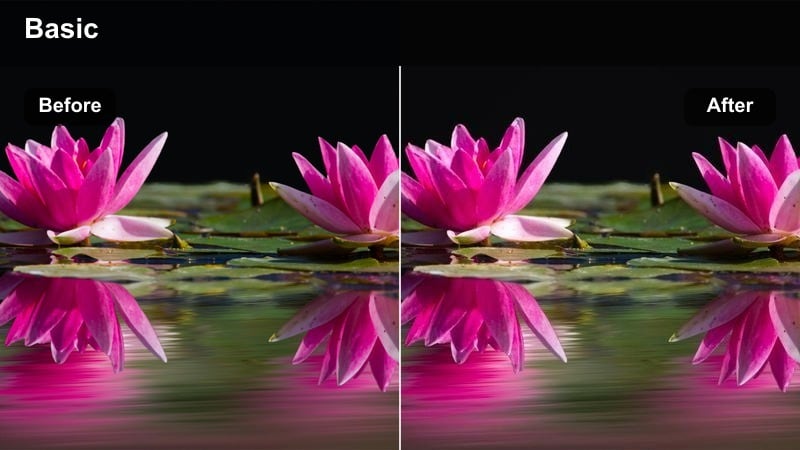
- Effect look: Soft roll-off in highlights with a slightly cooler background and warm subject tones.
- Best for: Window-lit interviews, moody portraits, documentary sequences on the GH6.
- Editing tip: Use masks in Filmora to warm the subject and keep the background slightly cooler for depth.
This filter is built for natural light portraits where windows and practical lamps shape the scene. Warm tones on the subject combined with a slightly cooler environment create depth and a cinematic separation without requiring complex grading.
In Filmora, apply the filter, then add a mask around your subject to increase warmth or brightness just on skin while leaving the background cooler. Adjust highlight roll-off with curves so window areas stay detailed and soft, avoiding harsh clipping even when shooting GH6 V-Log in bright interiors.
Golden Hour and Sunset Cityscapes
GH6 Golden Hour Glow
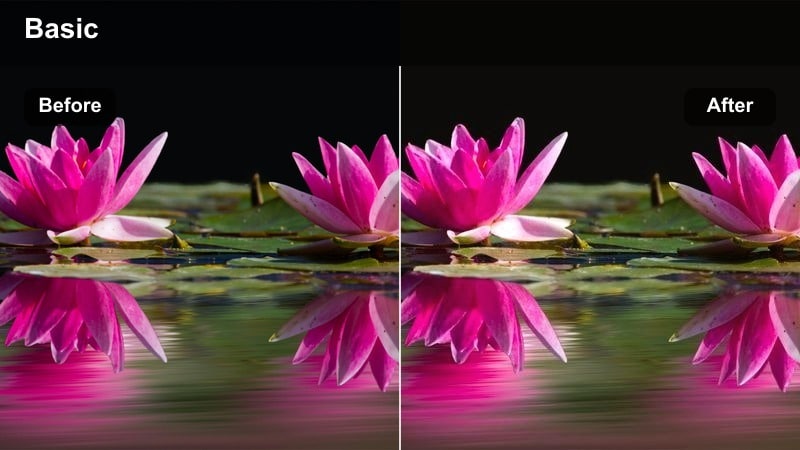
- Effect look: Rich warm highlights, soft halation feel, and gently lifted shadows.
- Best for: City rooftops, skyline shots, late-afternoon GH6 b-roll.
- Editing tip: Slightly lower global contrast before applying this filter if your V-Log capture is already high contrast.
GH6 Golden Hour Glow enhances sunset footage with warm, radiant highlights and soft shadows, giving skylines a nostalgic, cinematic feel. It is ideal when you want to emphasize the magic-hour atmosphere without losing architectural detail.
Before applying the filter in Filmora, tame any extreme contrast from in-camera settings so the effect has room to breathe. Afterward, fine-tune highlight roll-off to protect the brightest parts of the sky, then delicately raise saturation in oranges and yellows for glowing reflections on glass and water.
GH6 Sunset Contrast City
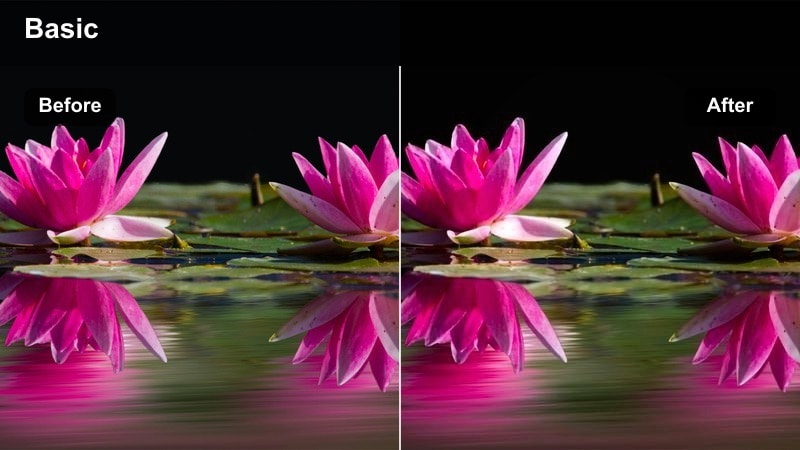
- Effect look: Deep contrast with rich oranges and reds while keeping shadows slightly cool.
- Best for: Silhouettes against skyscrapers, city bridges at dusk, GH6 gimbal moves at sunset.
- Editing tip: Use Filmora's curves to anchor black levels so dark areas stay punchy even after adding warm saturation.
This style leans into bold contrast and dramatic color separation for powerful sunset cityscapes. Warm skies and cool shadows create a strong visual tension that works well for timelapses, intros, and skyline b-roll.
In Filmora, apply the filter, then use the curves editor to set a firm black point so buildings and bridges stay punchy silhouettes. Gradually increase saturation in the warm spectrum while monitoring scopes, ensuring the sunset glow remains vibrant without clipping or banding in your GH6 V-Log footage.
GH6 Dusk Soft Filmic
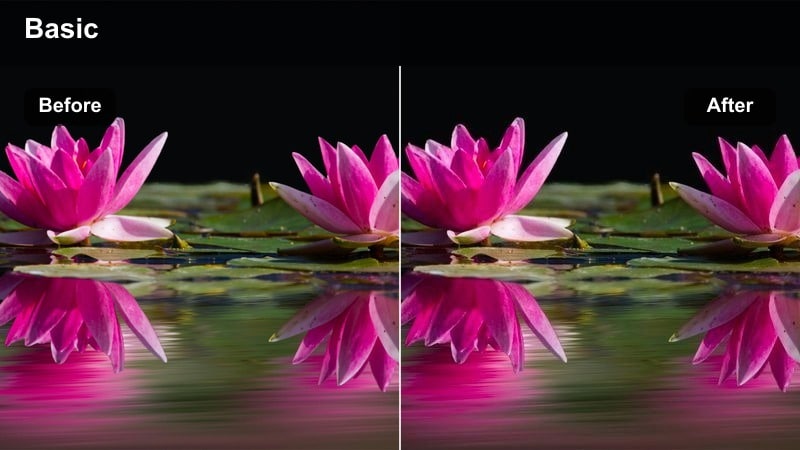
- Effect look: Muted saturation with gentle contrast and a slight teal-magenta filmic shift.
- Best for: Blue hour city streets, riverfront paths, reflective buildings at dusk.
- Editing tip: Reduce saturation in blues selectively so dusk skies stay cinematic instead of neon.
GH6 Dusk Soft Filmic is tuned for quiet blue hour scenes where ambient light and reflections dominate. It slightly mutes saturation and introduces a subtle teal-magenta shift that echoes classic film stocks, creating a contemplative mood.
After applying the filter in Filmora, use HSL to pull down excessive blue saturation so skies and water remain gentle instead of electric. Add a soft grain overlay if desired, especially on higher-ISO GH6 clips, to blend noise into a more intentional, filmic texture.
Night, Neon, and Low-Light City Vibes
GH6 Neon City Chrome
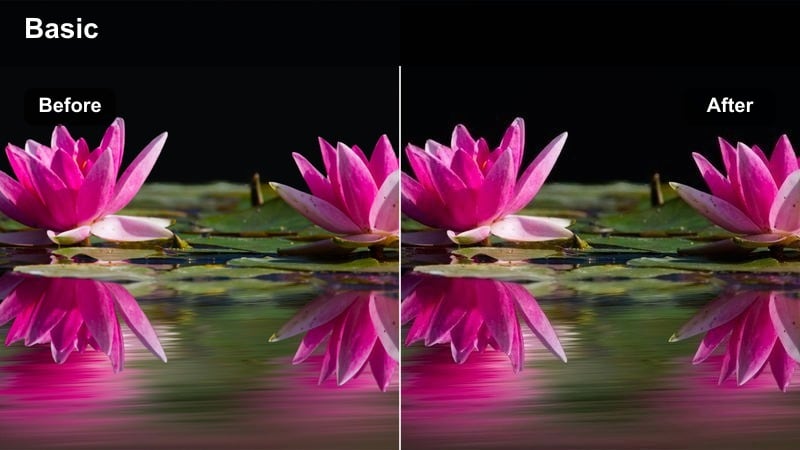
- Effect look: Crunchy contrast, cool cyan shadows, and intense neon highlights for cyberpunk city streets.
- Best for: Night markets, neon signs, reflective wet streets shot on the GH6.
- Editing tip: Use HSL to push greens toward teal and magenta for a cohesive neon palette.
GH6 Neon City Chrome turns your night city footage into a stylized cyberpunk frame with bold cyan shadows and vivid neon signs. It embraces high contrast and saturated highlights, making reflections on wet streets and glass surfaces particularly striking.
In Filmora, consider light noise reduction on midtones before using this filter so extra contrast does not exaggerate grain in your V-Log footage. Then, shape the neon palette using HSL, nudging greens toward teal and pinks toward magenta to keep all signs and billboards feeling cohesive within the scene.
GH6 Night Soft Street
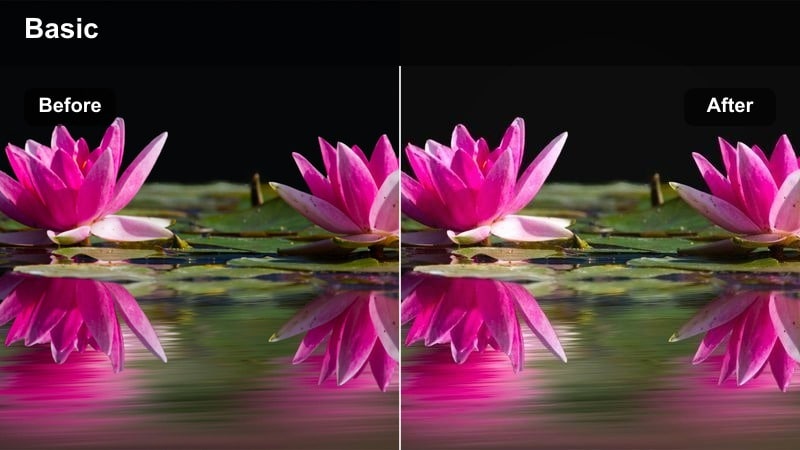
- Effect look: Lifted blacks, low contrast, and warm streetlight glow for a documentary night feel.
- Best for: Run-and-gun night vlogs, handheld GH6 street documentaries, ambient city walks.
- Editing tip: Avoid pushing saturation too high; lean on contrast and glow to create atmosphere instead.
This low-light style aims to keep night scenes soft, warm, and watchable, especially for handheld GH6 vlogs. By lifting blacks and reducing contrast, it preserves more detail in shadows and prevents noisy areas from becoming harsh.
Apply the filter in Filmora, then adjust exposure so important faces or objects sit in safe midtones. Add a touch of glow or blur to bright streetlights to create a gentle halo, and rely on contrast and luminance rather than heavy saturation increases to build atmosphere in dimly lit environments.
GH6 City Noir Contrast
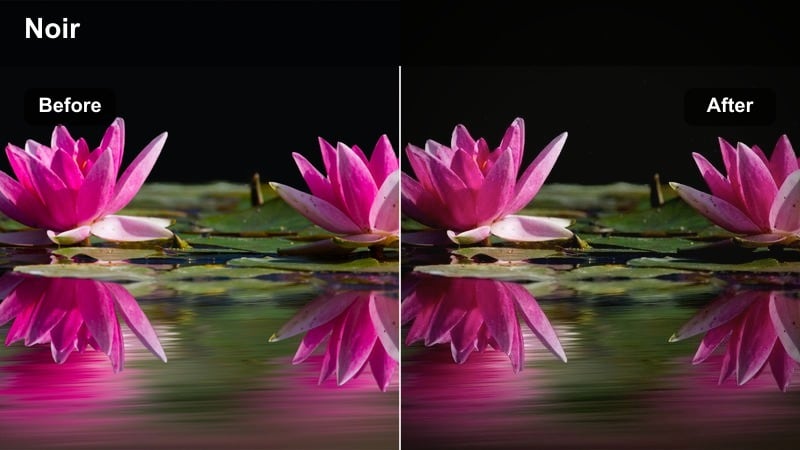
- Effect look: High-contrast, desaturated tones with deep blacks and selective color accents.
- Best for: Moody alleys, silhouetted figures, dramatic night storytelling with the GH6.
- Editing tip: Lower global saturation then bring back just one accent color to guide viewer attention.
GH6 City Noir Contrast is built for story-driven night sequences that feel graphic and dramatic. It crushes overall saturation and deepens blacks, letting a single accent color act as a visual anchor in each shot.
In Filmora, start by applying the filter, then lower global saturation slightly more if needed. Use HSL to reintroduce just one color, such as a red sign or yellow taxi, while keeping everything else near monochrome. Add subtle vignettes and masked light pools to shape the scene and direct the viewer's eye through your nocturnal compositions.
Tips for Using Panasonic Gh6 V-Log Luts Filters in Filmora
- Always white-balance your GH6 V-Log footage in-camera or in Filmora before applying these filters for predictable results.
- Expose V-Log footage slightly brighter than standard profiles so these filters have clean midtones to work with.
- Use Filmora's scopes when grading to keep highlights and shadows within range, especially for high-contrast city nights.
- Duplicate your clip on multiple tracks and try different filters to quickly choose a direction before fine-tuning.
- Combine masks, vignettes, and these filters to separate your subject from busy city backgrounds.
- Reduce sharpening on high-ISO GH6 clips before applying punchy or high-contrast filters to avoid harsh noise.
- Save your favorite filter and adjustment combinations as custom presets to speed up future GH6 workflows.
- Render a short test export whenever you create a new GH6 look to verify it holds up on different displays.
These Panasonic GH6 V-Log LUT-style filters in Filmora give videographers and creators a fast path to cinematic city, portrait, and night looks without deep color-grading knowledge. You can quickly move from flat V-Log captures to finished edits that match the mood and pacing of your story.
Treat each filter as a creative starting point, then adjust exposure, contrast, and color to match your story, and you will build a reliable GH6 V-Log workflow that stays consistent from project to project.
secure download