
 100% Security Verified | No Subscription Required | No Malware

Recording gameplay has become an essential tool for gamers who want to share their skills or build a content channel. For Nintendo Switch users, capturing gameplay can be done through various methods depending on the quality, length, and complexity of the footage desired. However, many gamers do not know how to capture their win or interesting moments while playing the game on Switch.
In this article, we will discuss various methods on how to record your screen on Nintendo Switch for more than 30 seconds effectively. Read the article till the end to learn all about capturing screens for your gameplay.
In this article
Part 1. Record Switch Gameplay with Built-in Method
Nintendo Switch provides an easy and comfortable mechanism of recording gameplay through its internal capture button. Although it is short-term and lacks functionality, this technique is ideal when it comes to saving highlights and sharing memorable moments in a short amount of time without additional hardware. The following is a step by step guide on how to record Switch gameplay via its inbuilt recording feature:
Step 1. Launch the game you want to record on your Nintendo Switch console and start playing. The capture button is a small square button located on the left Joy-Con below the directional buttons. Press and hold it for about 3 seconds to save the last 30 seconds of gameplay to the system memory.

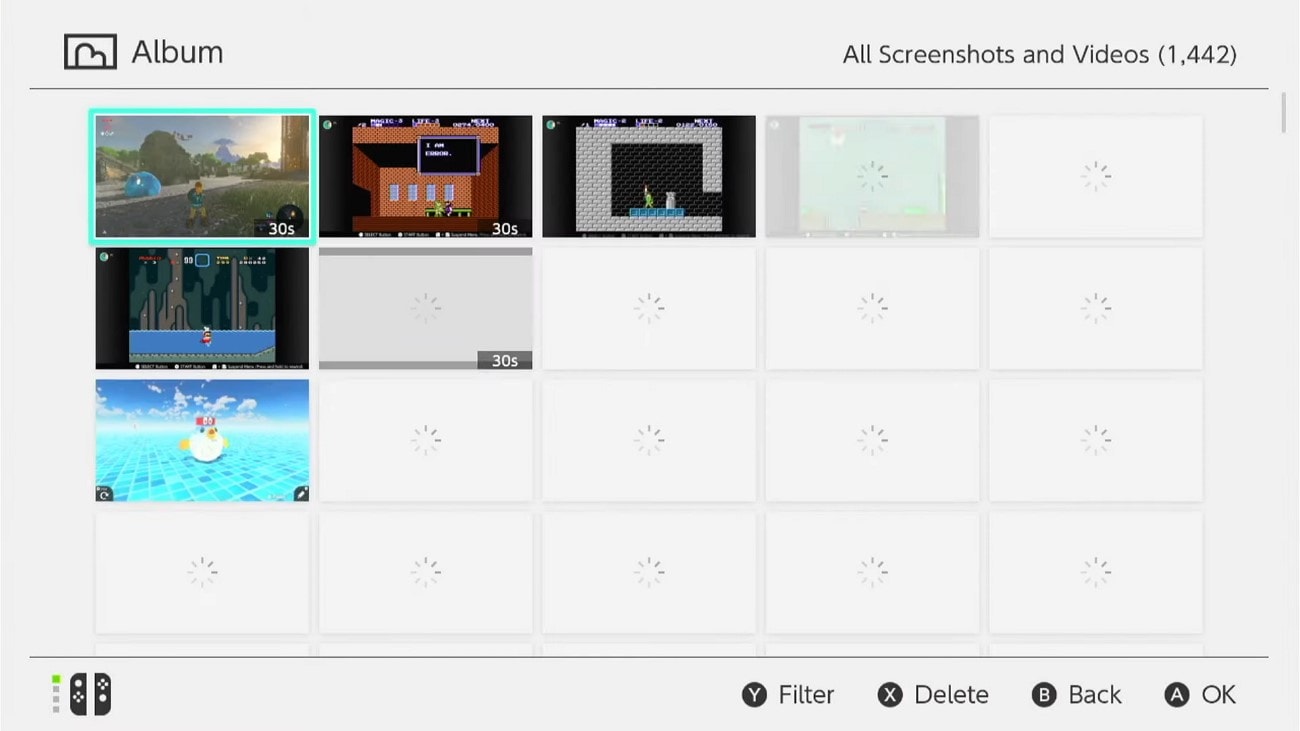
Step 2. Exit to the “Home” menu and select the “Album” option, where you will find all saved screenshots and video clips.
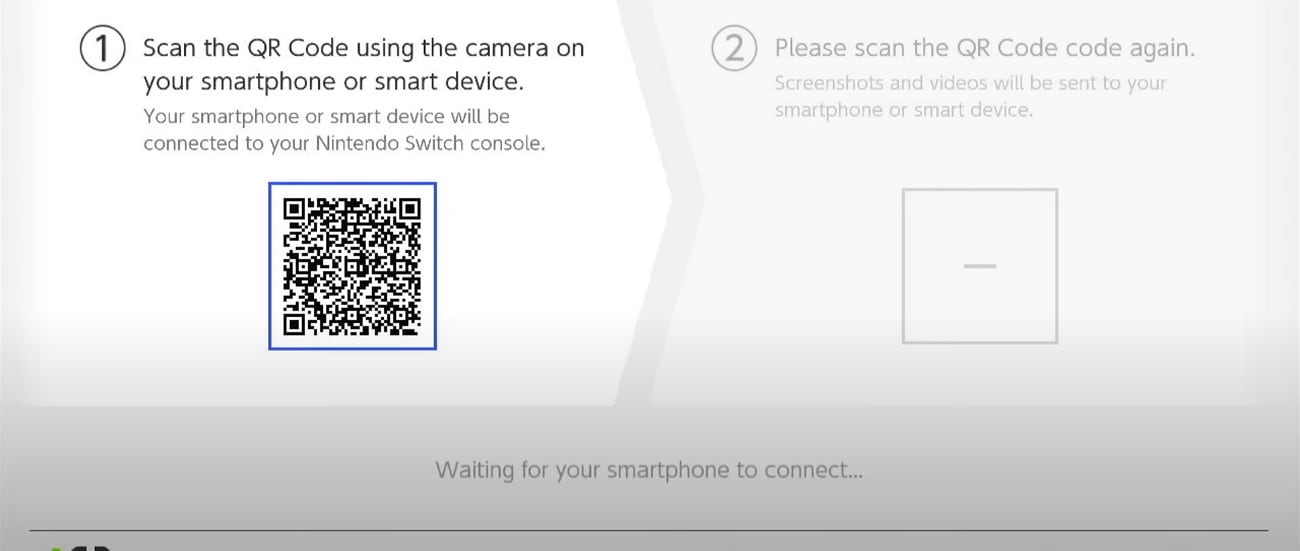
Step 3. You can share clips directly through social media platforms via QR codes or transfer them to external devices using a microSD card.
Part 2. Record Switch Gameplay with Capture Card
A capture card is the best and most flexible way to go when a gamer wants to record their streams longer. Capture cards simply plug into your Nintendo Switch dock and enable you to record or live stream your games on your PC or Mac. If you want to know how to use this card to screen record a Switch game walkthrough, read the steps mentioned below:
Step 1. Insert your Nintendo Switch in the dock and connect an HDMI cable between the HDMI OUT port of the Switch dock and the HDMI IN port of the capture card. Plug in another HDMI cable to the HDMI OUT port of the capture card to your TV/monitor. Plug the capture card into your computer with USB.

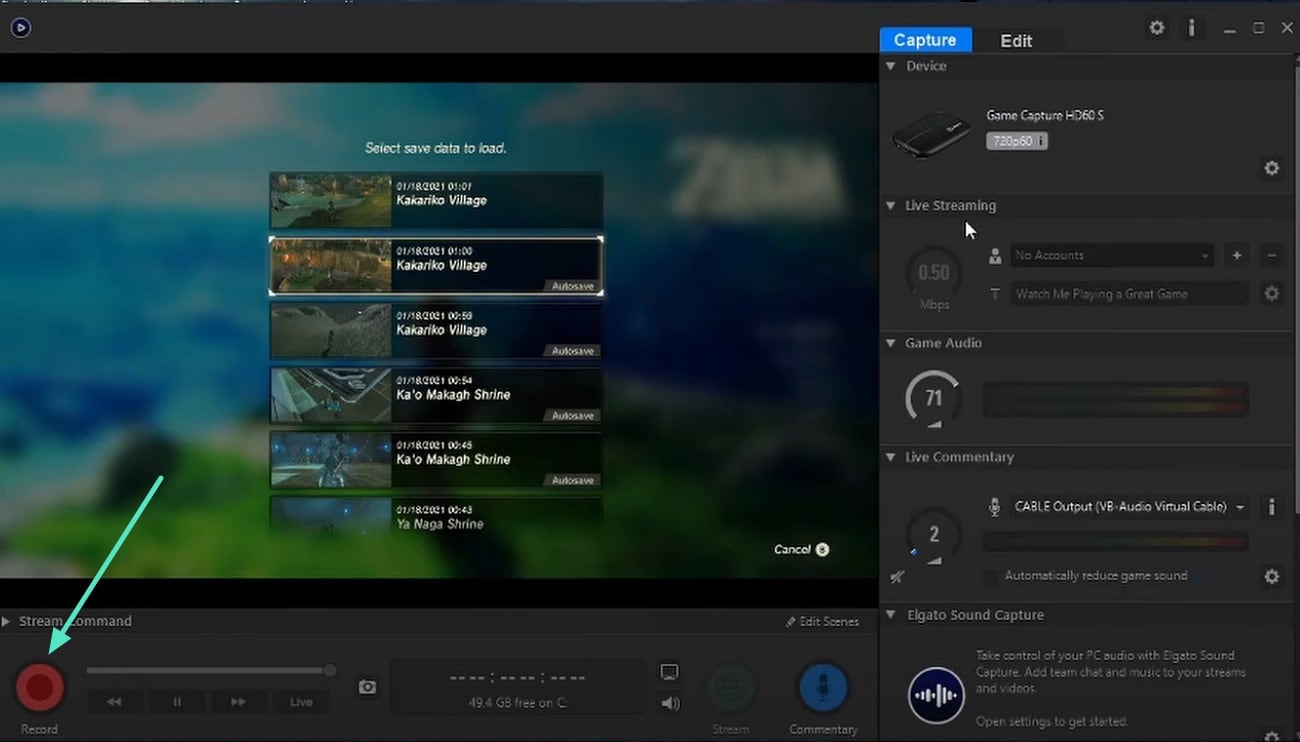
Step 2. Download and install the software that comes with the capture card or third party software like Elgato. It is time to open the capture software, choose the capture device and adjust other settings on the right. When finished, use the “Stop” button and save your video file.
Part 3. Record Nintendo Switch on OBS
Open Broadcaster Software (OBS) is a powerful free tool widely used for recording and streaming gameplay. OBS offers unmatched customization, overlays, and a multi-source setup to record the screen according to your preferences. Moreover, you can save the recorded clip in various formats. Follow the steps mentioned below to learn how to screen record Nintendo Switch using this tool:
Step 1. Open OBS and create a new scene dedicated to your Switch gameplay. Click the “+” icon under the Sources panel and choose “Window Capture.” Select your capture card from the dropdown list and press “Add Source”.

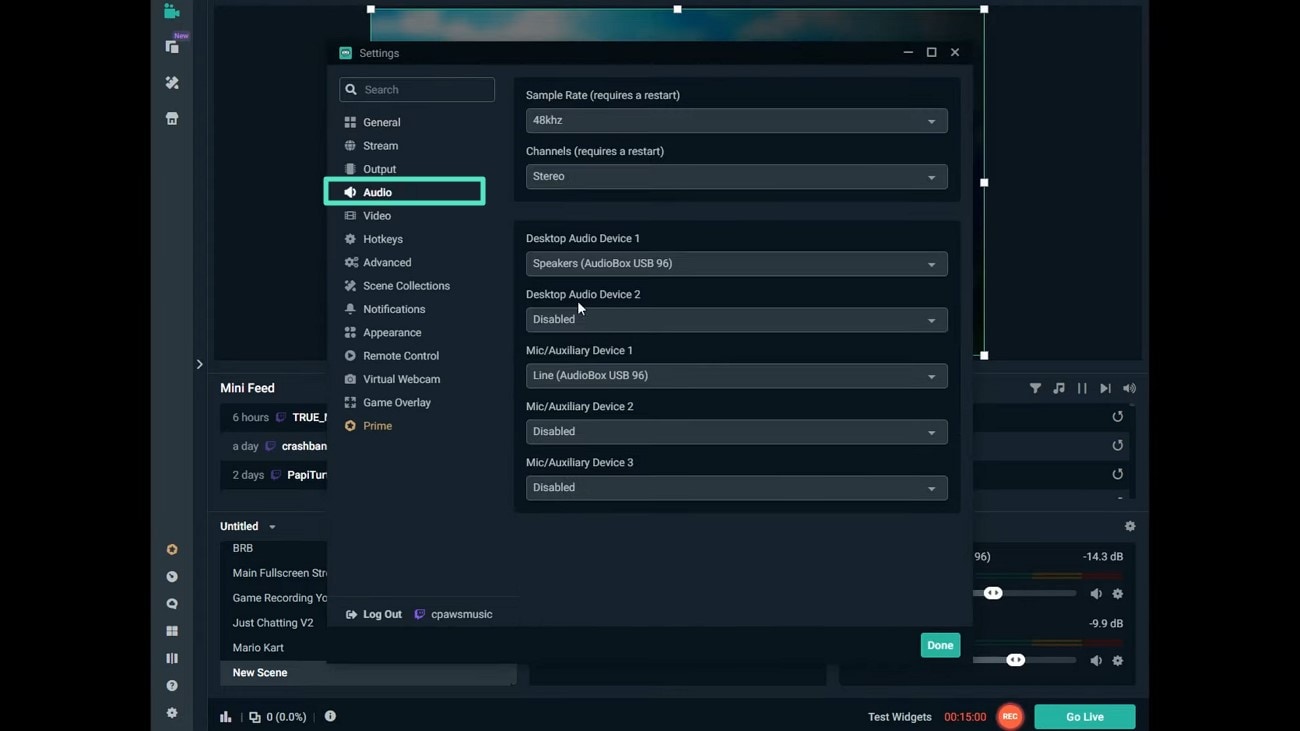
Step 2. Add audio input sources to capture game audio and microphone commentary if desired. Monitor “Audio” levels to avoid lag and optimize OBS settings for recording quality and streaming preferences if broadcasting live.
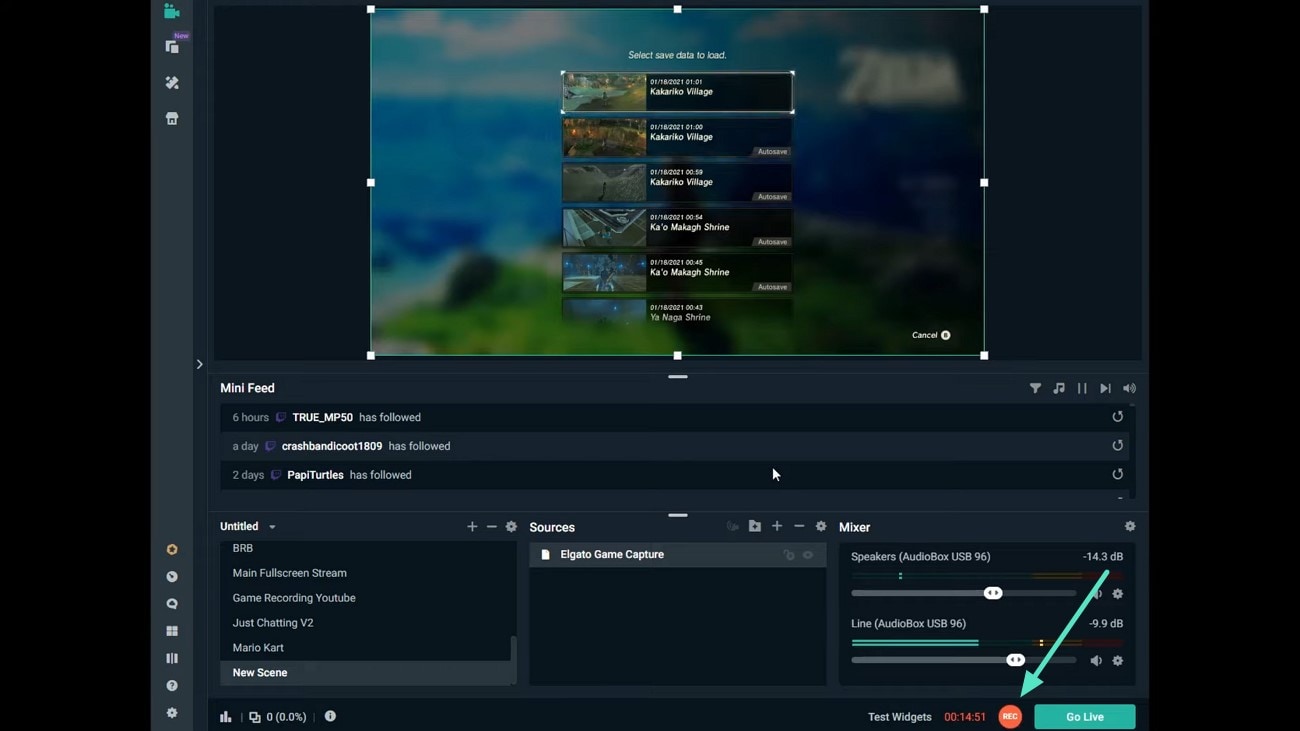
Step 3. Press “Rec” to start recording locally or “Go Live” to broadcast to platforms like Twitch or YouTube. Stop the recording when done, and OBS will save your file to the designated folder.
Bonus Part. Recording High Quality Gameplays Beyond Nintendo Switch
If you want to take screen recording on Nintendo Switch to the next level, there are options that go beyond the Nintendo Switch and let you capture gameplay. One such tool that allows you to record gameplay with various customization options is Wondershare Filmora. This all-in-one multimedia tool provides you with the utility of saving the recorded video in multiple formats.
Moreover, you can enable and disable the microphone and other settings to personalize the recording experience. The intuitive interface of Filmora lets you edit and modify the recorded video by offering various basic and AI-powered features.
Comprehensive Steps to Record and Edit Game Play Using Wondershare Filmora
As discussed, Filmora offers high-quality gameplay recording with a large duration and visual enhancement. Read the steps mentioned below to learn how to use this tool efficiently, screen record on Switch alternative:
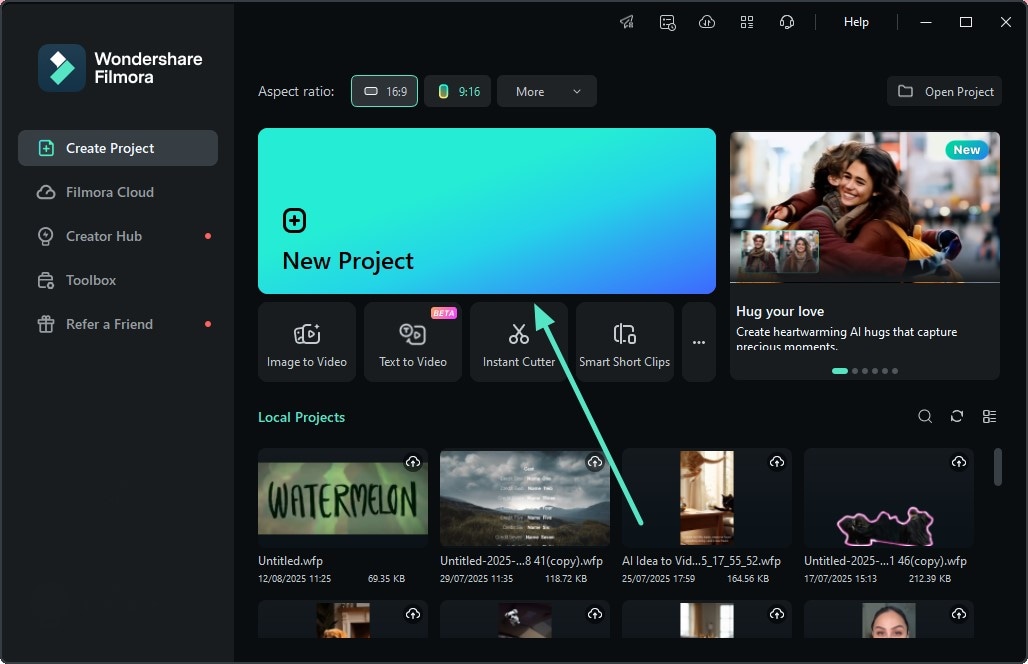
- Step 1. Start By Creating a New Project. Begin the process by launching Filmora on your device and clicking the "New Project" option located on the homepage.
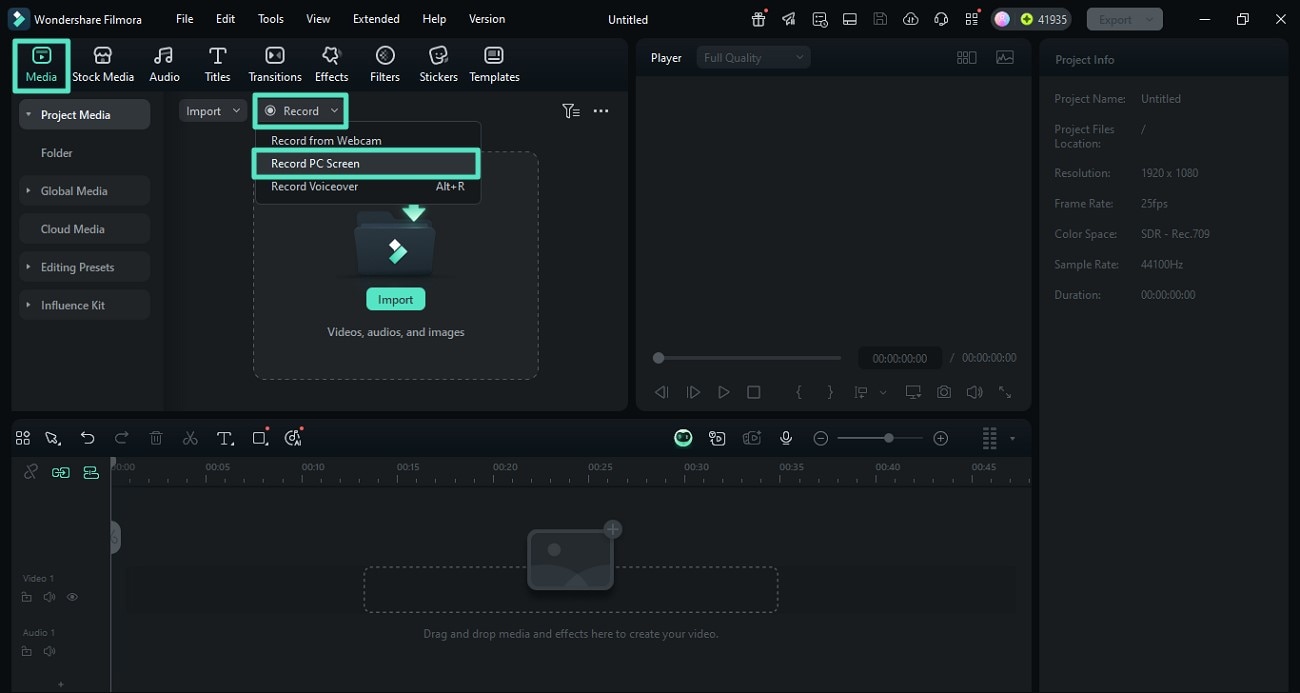
- Step 2. Access the Media Section and Choose Recording Option. In the following interface, select the “Media” tab, expand the “Record” drop-down menu and select the recording option from the expanded list.
- Step 3. Configure the Settings and Start Recording. Start the game on the screen of your computer and configure the recording settings in Filmora's recording window. You can set up adjustments such as camera, microphone, and other output settings and hit the "Record" button to begin the recording while starting to play the game.
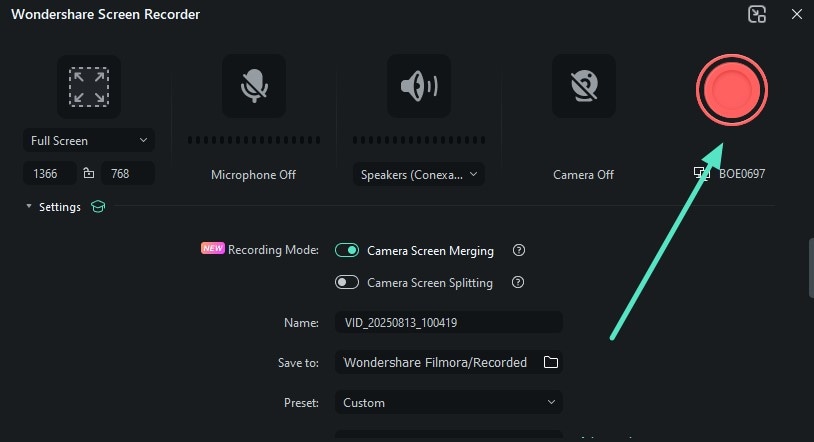
- Step 4. Stop Recording When Done. Once the recording is completed, press the “Red” button on the floating toolbar to abort the recording and get the recorded clip imported to Filmora’s interface.
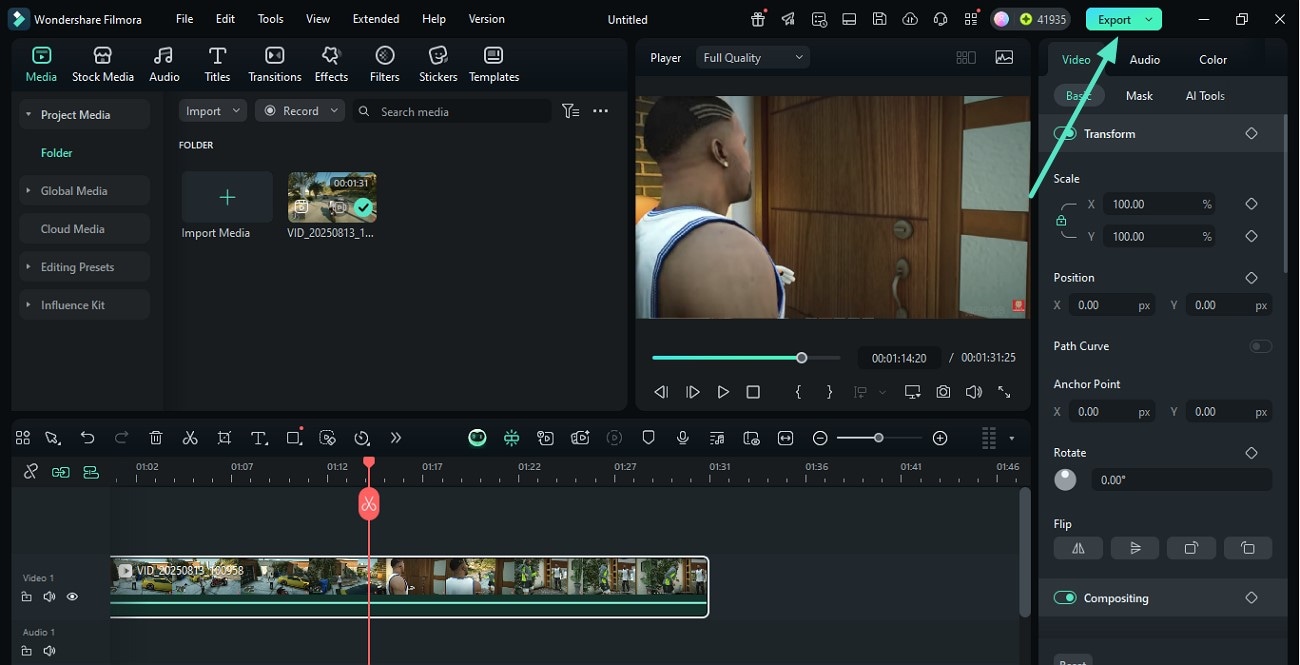
- Step 5. Perform Basic Editing and Export. Here, edit the recorded gameplay video according to your preference by selecting the options provided by the tool. Once you are satisfied with the results, hit the “Export” button located at the top-right corner of the interface to save the results.
 secure download

Conclusion
To wrap up, this article discussed various solutions on how to record your screen on Nintendo Switchfor more than 30 seconds to record gameplay on Switch effortlessly. These methods help record the gameplay precisely with various customizations. However, for longer, higher-quality recordings for gameplays other than Switch, you can use tools like Filmora, which not only records but edits videos.
