Preset Color Adjustment for Mac
When using Filmora, you can harness the power of many options to enhance its color tones. Applying the tone adjustments can set the video to meet your ideal color, be brighter, lighter, darker, or gray. This function grants users easy access to tweak color tones by adjusting sliders or modifying the color element values. In this guide, you'll discover the built-in presets and other color tone adjustment features:
Following the previous step, proceed to the left-side panel and access the "Color > Basic" tab. Here, you'll find a variety of color tone adjustment elements, including "Presets", "LUT", "Color", "Light", and more.
LUT
You can easily adjust the intensity of the added LUT with the provided options in the video editor.
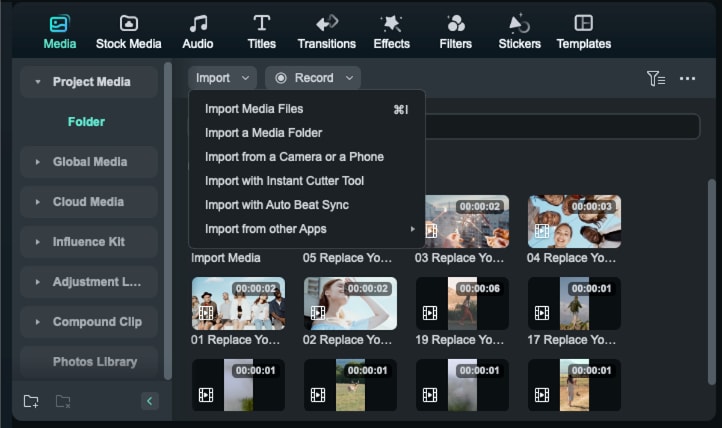
Step 1: Import and Add the video to the timeline
Launch Filmora and import the video from the media area, as you add the video to the timeline, open its video settings by double-clicking on the video.
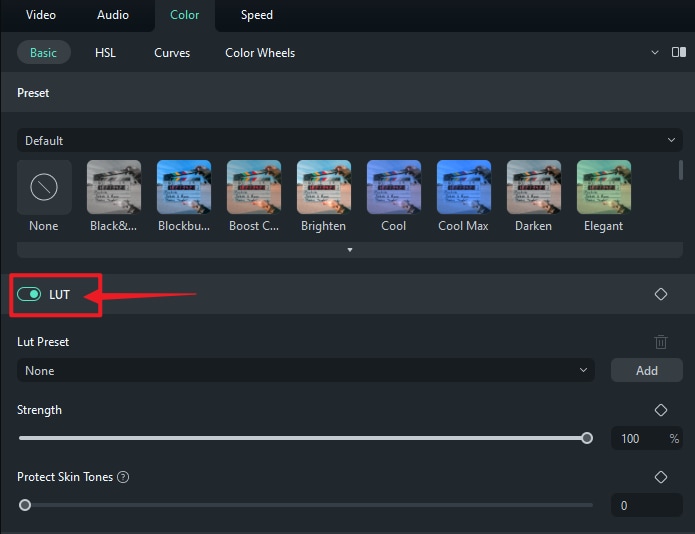
Step 2: Enable LUT
Lead into the "Color" tab and access the "Basic" sub-tab to open the respective options. Scroll down and enable the "LUT" option.
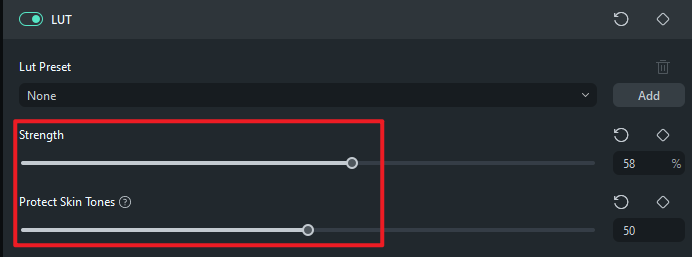
Step 3: Select and Adjust LUT
Select the LUT from the list or browse it.

After selecting the option, define the "Strength" using the slider available on the screen.
Step 4: Remove LUTs from the Video
You can also remove the LUTs from the video with ease. For that, follow the respective details provided below:
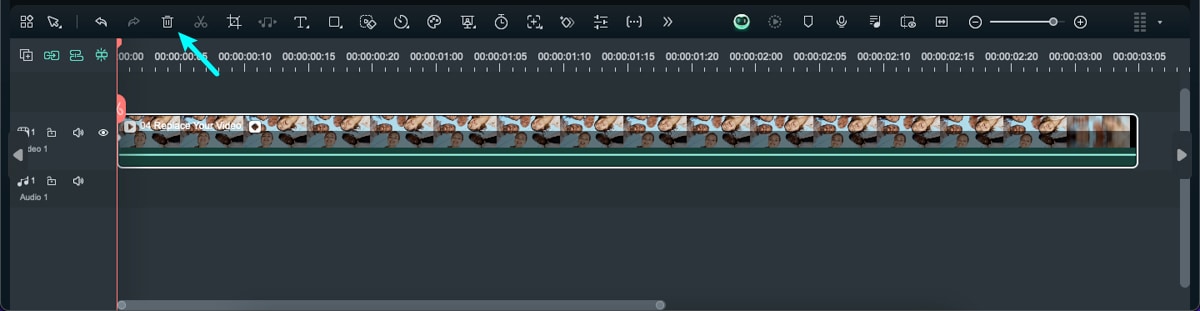
Method 1: Directly From Timeline
When you've added the LUT from the "Effects" tab, right-click on it and click "Delete" to remove it from the timeline successfully.
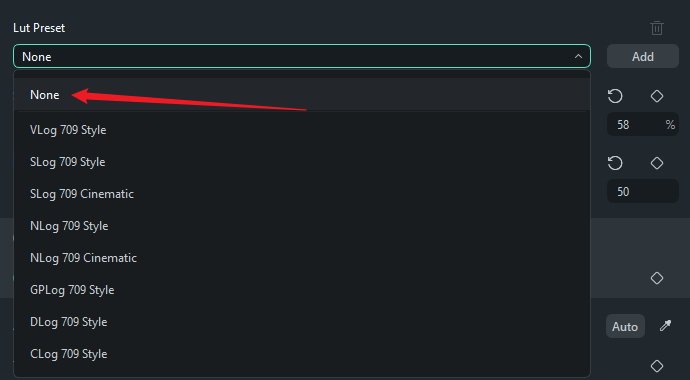
Method 2: Remove From Video Settings
When the LUTs are added from the video settings, access the "LUT" section from the "Color" tab. Change the LUT to "None" and remove the LUT successfully.
Adjust Color
Color is used to improve and adjust the color temperature and tint of a video image. With the white balance settings, you can adjust a video's color temperature to make it natural or create a specific atmosphere.
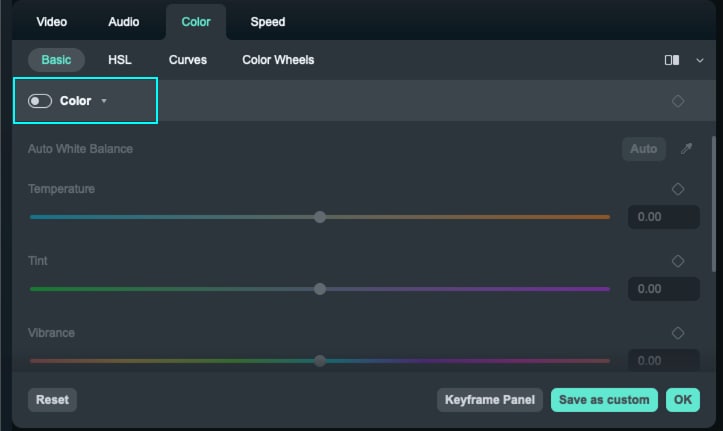
Step 1: Activate the Color Feature
Click the clip in the timeline. Then, click Color>Basic>Color in the upper toolbar. Click the Auto button to select the white color automatically. Alternatively, use the eyedropper tool to pick a reference area efficiently that is white or neutral gray in the video in the Preview window.
Step 2: Adjust the settings
You can also set the values manually. Both Temperature and Tint, Vibrance, and Saturation settings are available below. Click Ok when you are done.
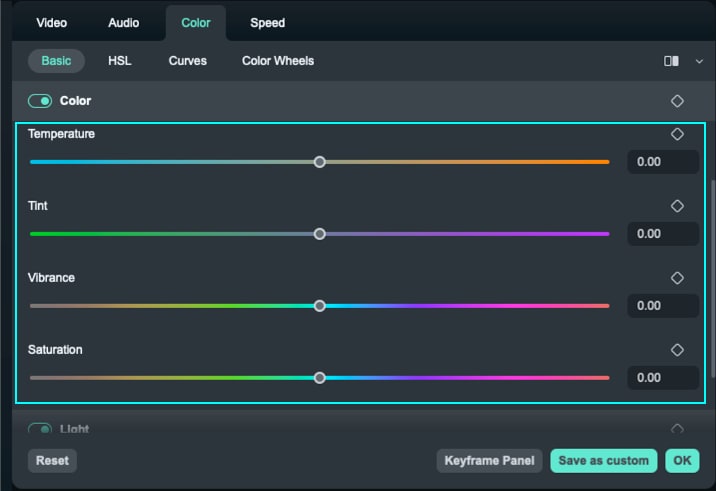
- Temperature: It's used to modify the tone of the video. A lower value means the color looks bluer or colder, and a higher value means the color looks more yellowish or warmer.
- Tint: It's used to change the color level of the video. A lower figure leads to a greener image, and a higher figure leads to a redder image.
- Vibrance: Drag the slider to adjust the intensity of muted colors and saturated colors. The right side, with a positive value, is to increase the intensity of muted colors while leaving saturated colors untouched. The left side with a negative value is to decrease the vibrance and makes the video gray.
- Saturation: Drag the slider to adjust the saturation of color. The right side with a positive value is to increase the color intensity, which makes the video more intensely colored. The left side with a negative value is to reduce the color intensity, which makes the video fade or desaturated and look gray.
Step 3: Remove Color
To quickly delete the feature, you can click on the reset icon on the right side of Color. Then, the values will revert back to the default 0.
Step 4: Keyframes on Color
Sometimes, you may need to apply the feature at specific points or create a transition between different values. It requires you to use Color only in several keyframes.
To achieve it, you need to drag the process bar to where you want to apply the feature first. Then, after setting the specific values, click the keyframe icon. When you confirm the settings, click Ok to save the changes.

Note: No matter how many keyframes you add, the tool will analyze and connect keyframes with different settings smoothly and naturally.
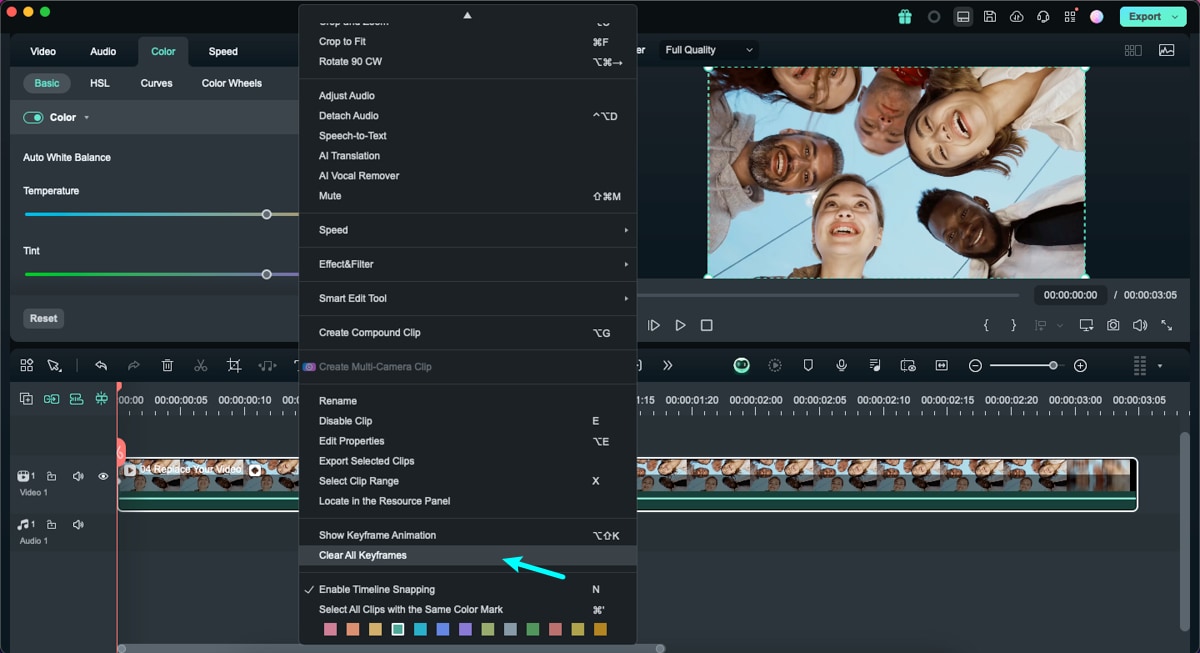
To remove the set keyframe, you can right-click the needed keyframe in the timeline, and select Clear All Keyframes.
Adjust Light
Step 1: Enabling the Light Option
Select the video in the timeline and navigate to the settings panel on the left side of the editing window. Within the "Color > Basic" tab, scroll down until you locate the "Light" section and activate it. In this section, you can adjust elements such as "Exposure", "Brightness", "Contrast", "Highlight", "Shadow", "White", and "Black".
Change the value of Exposure, Brightness, Contrast, Highlight, and Shadow based on your needs. Click OK when you are done.

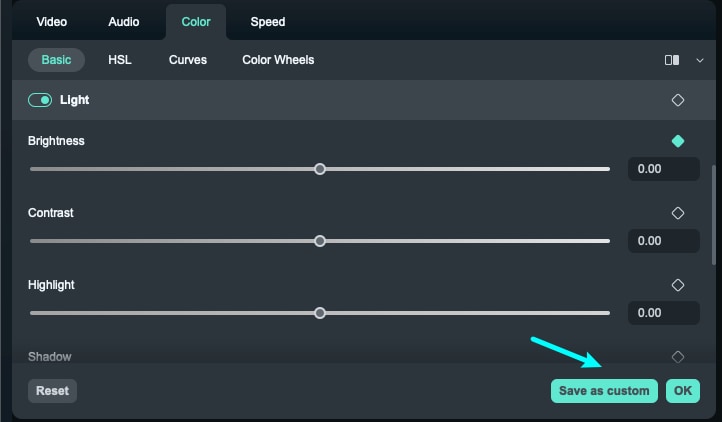
Step 2: Saving the Light settings
After adjusting, preview your video to ensure the results align with your expectations. To preserve these custom edits, click the "Save as custom" button. To reset the existing settings, click the "Reset" button at the bottom.
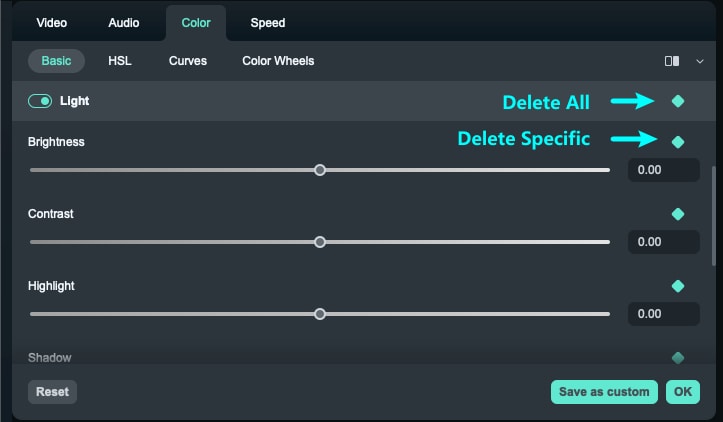
Step 3: Remove Light Settings
If you want to delete the feature, click the clip first to return to the property panel. Then, you can click the Return icon beside the corresponding feature to remove the specific adjustment. Or, you can click the return button in the Light section if you want to reset them all.
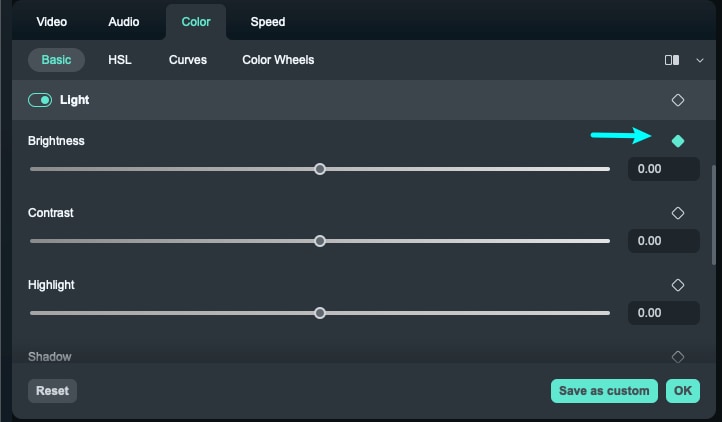
Step 4:Apply the Keyframes on Tone
In many cases, you only need to modify the color of the video at some specific points. You can apply the keyframe to do so. Drag the process bar to wherever you need to edit, change the settings of the color, and then click the keyframe button beside the feature. Filmora will automatically analyze the setting at different keyframes and connect the changes of light smoothly and naturally.
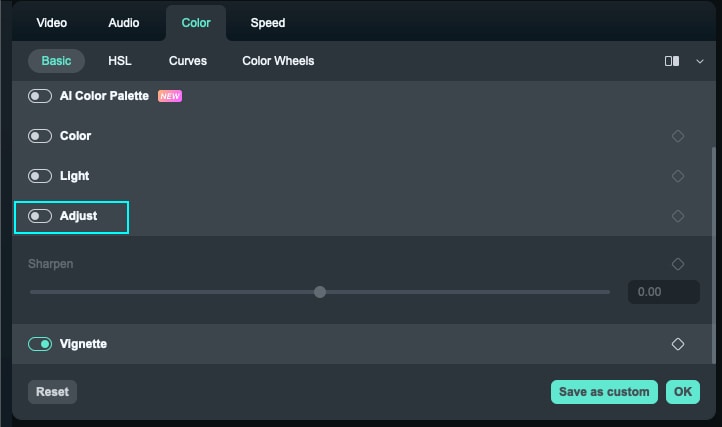
Adjust
Filmora's sharpness feature empowers users to bring clarity to their content and enhance the definition of objects. While it's not an independent function, accessing it is straightforward.
Step 1: Locating and Enabling the Sharpen Option
Select the timeline clip and access the "Color" settings within the left panel. Here, scroll until you find the "Adjust" slider, and enable it. Then, expand it to reveal the "Sharpen" slider. By adjusting the slider forwards and backward, you can control the intensity of this effect.
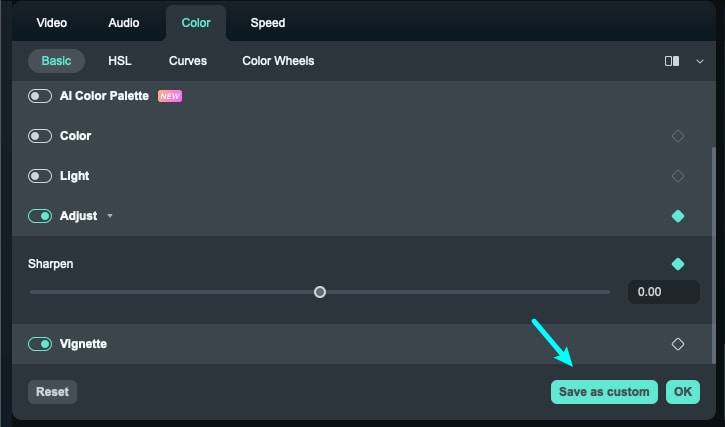
Step 2: Saving or Re-Adjusting Settings
To preserve these settings for future use, click the "Save as custom" button or press the "Reset" button to return to the editing process from the start.
Vignette Effect
The Vignette Effect is a widely-used effect, mainly known for adding a touch of nostalgia or past to your images and videos, and you can achieve this effortlessly with Wondershare Filmora. This effect allows users to edit their media and capture viewers' attention with its outlook.
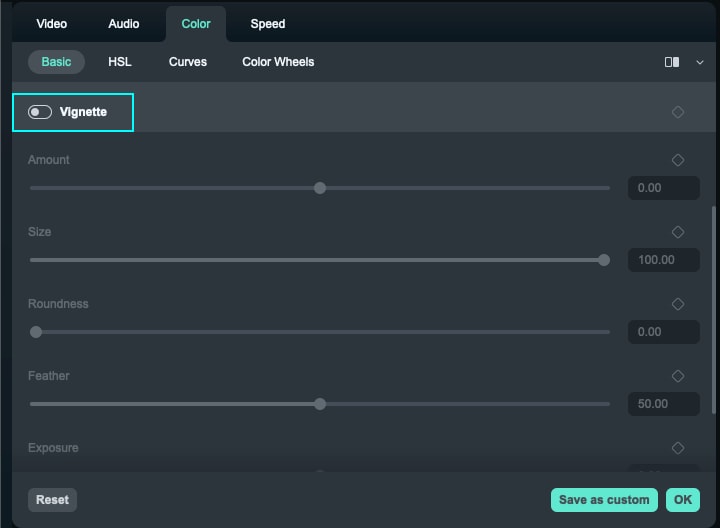
Step 1: Enable the Vignette Effect
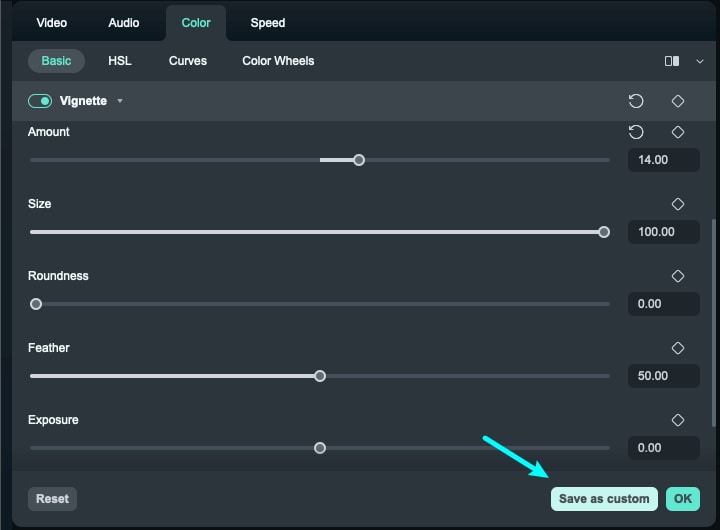
Import your media on the timeline and select it, a customization panel will appear on the left side of the screen. Using your cursor, navigate towards this panel, and under the "Color > Basic" tab, scroll down to locate the "Vignette" effect. Once found, enable it and adjust the settings below as per your video requirements. Users also have the flexibility to customize the parameters under the vignette.
Step 2: Save the Vignette Settings
To readjust the vignette parameters, click the "Reset" button to revert the changes. After completing your editing, save your customized settings by clicking the "Save as custom" button at the bottom of the customization panel.