For the Best Results, Use the Latest Version.
-
Preparations
-
Account
-
Get Started & Basic Settings
-
Compatibility & Tech Specs
-
Performance Settings
-
-
Creating Projects
-
Creating New Projects
-
-
Importing & Recording
-
Video Editing for Windows
-
Basic Video Editing
- Enable/Disable Clip in Windows
- Magnetic Timeline for Windows
- Dual Monitor Setup for Video Editing on Windows
- Select All Clips on Timeline for Windows
- Manage Timeline and Tracks on Windows
- Auto Ripple for Windows
- Split & trim video
- Crop & Pan & Zoom Video
- Compositing
- Change video playback speed
- Playing videos in reverse
- Mark In and Mark Out for Windows
- Markers for Windows
- Group editing
- Customizable Backgrounds for Videos and Images in Windows
- Video snapshot
- Using freeze frame
- Logo Reveal For Windows
- Apply auto enhance
- Applying drop shadow
- Adjustment layer for Windows
- Transforming
- Video Editing Ruler – Windows
-
Advanced Video Editing
- Drawing Tools for Windows | Filmora Guide
- Create Multi-Camera Clip
- Compound Clip for Windows
- Multi-Clip Editing for Windows
- Filmora Motion Blur | Windows
- Filmora Flicker Removal Guide | Windows
- Apply mask to video
- Creating a PIP effect
- Keyframe Graph Editor for Windows
- Add animation keyframing for Windows
- Keyframe Path Curve for Windows
-
AI-Powered Video Editing
- Smart Scene Cut for Windows
- Smart Short Clips for Windows
- AI Face Mosaic for Windows
- Filmora AI Eye Contact- Windows
- AI Video Enhancer for Windows
- AI Text-to-Video for Windows
- Planar Tracking for Windows
- AI Idea to Video for Windows
- Filmora Image to Video for Windows
- Filmora Image to Prompt for Windows
- Instant Cutter Tool for Windows
- AI Extend
- Filmora AI Relight - Windows
- Filmora AI Image Enhancer Guide - Windows
- AI Script to Video Guide for Windows
- AI Text-Based Editing for Windows
- AI Mate Editing for Windows
- Create with instant mode
- ChatGPT Plugin - AI Copywriting
- AI Smart Cutout
- Lens correction on Windows
- Auto reframe video
- AI Portrait Cutout
- Scene detection feature
- AI Smart Masking for Windows
- Make motion tracking
- Video Stabilization for Windows
- AI Video/Photo Object Remover for Windows
- AI Smart Search for Windows
- AI Skin Tone Protection for Windows
- AI Image for Windows
- Chroma key (green screen)
- Super Slow Motion with Optical Flow for Windows
- Video Denoise for Windows
-
-
Audio Editing for Windows
-
Basic Audio Editing
-
Advanced Audio Editing
-
AI-Powered Audio Editing
-
-
Text Editing for Windows
-
Basic Text Editing
-
Advanced Text Editing
-
AI-Powered Text Editing
-
-
Video Customizations
-
Video Effects
-
Audio Effects
-
Transitions
-
Stickers
-
Filters
-
Color Editing
-
Animations
-
Templates
-
Asset Center
-
-
Exporting & Share & Cloud Backup
Export
Filmora provides six ways to export your videos. Here is the introduction to the six ways. You can customize the export settings and save them to apply the same settings next time.
Index
Export to Local
You can export your project file and video to the local computer. It supports to export as MP4, AVI, WMV, AV1, MOV, GoPro Cineform, F4V, MKV, TS, 3GP, MPEG-2, WEBM, GIF, MP3.
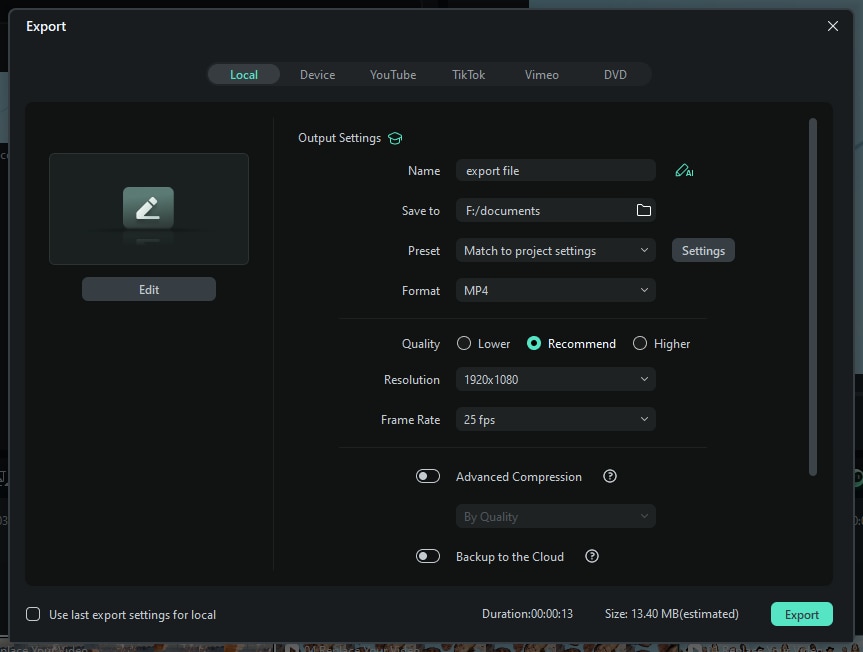
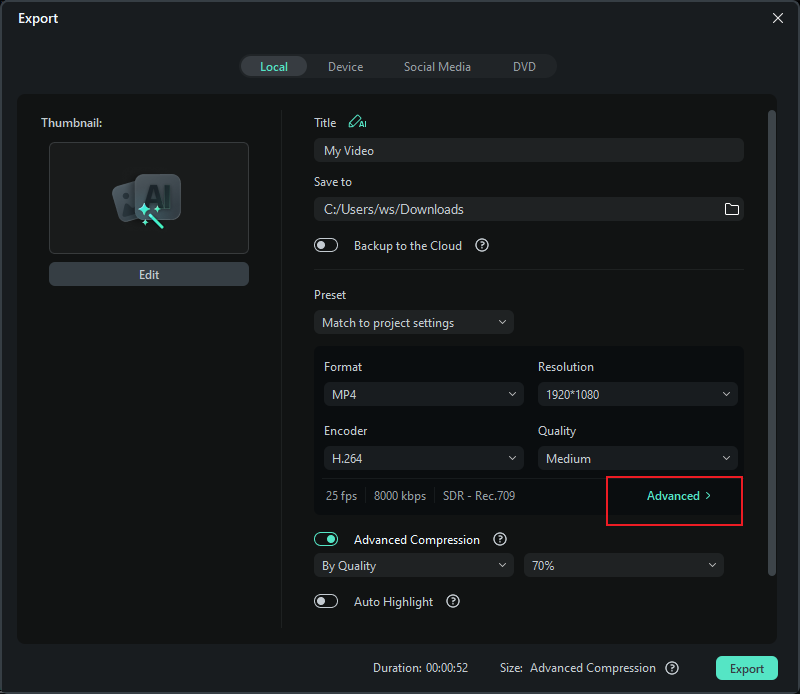
Step 1: Click the Export button and choose the Local tab.
Select the format you want to export in. You can rename the video and change the location on your computer where you save it. You can also check the output resolution, frame rate, size, and duration before you export.
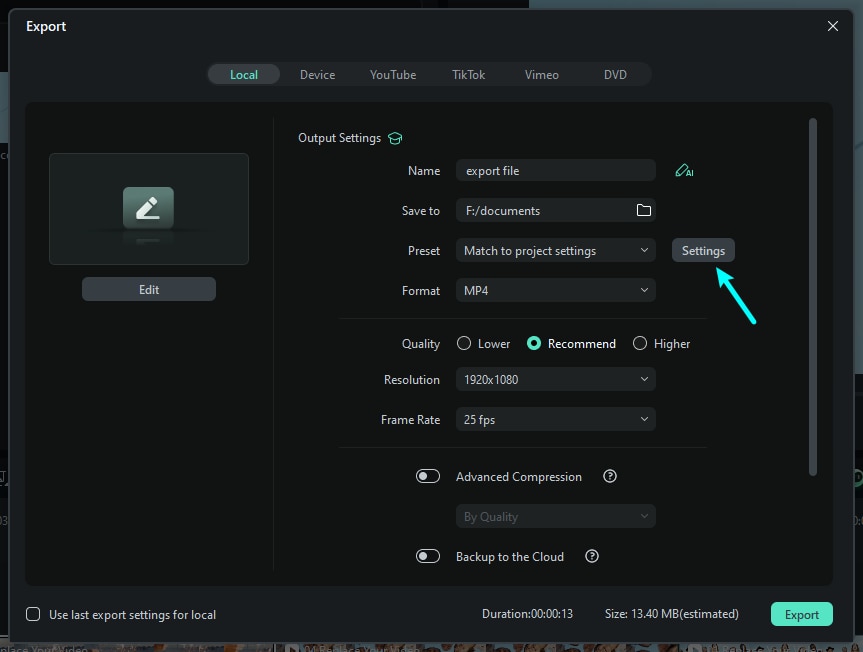
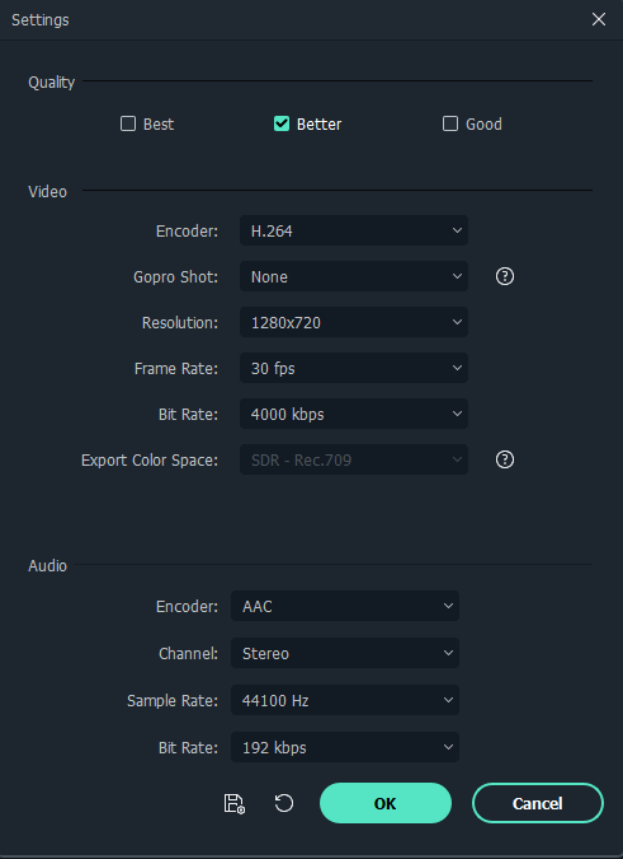
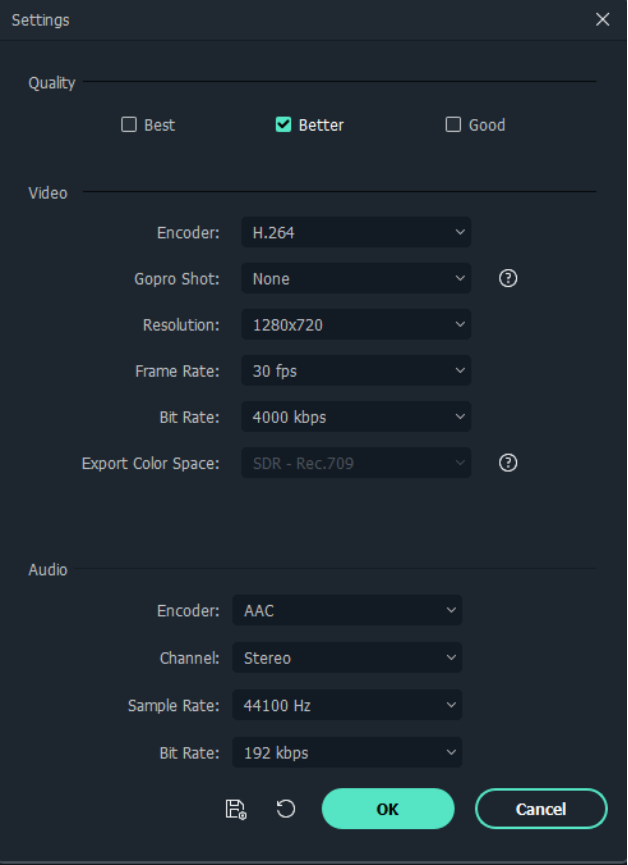
Step 2: Make Related Settings
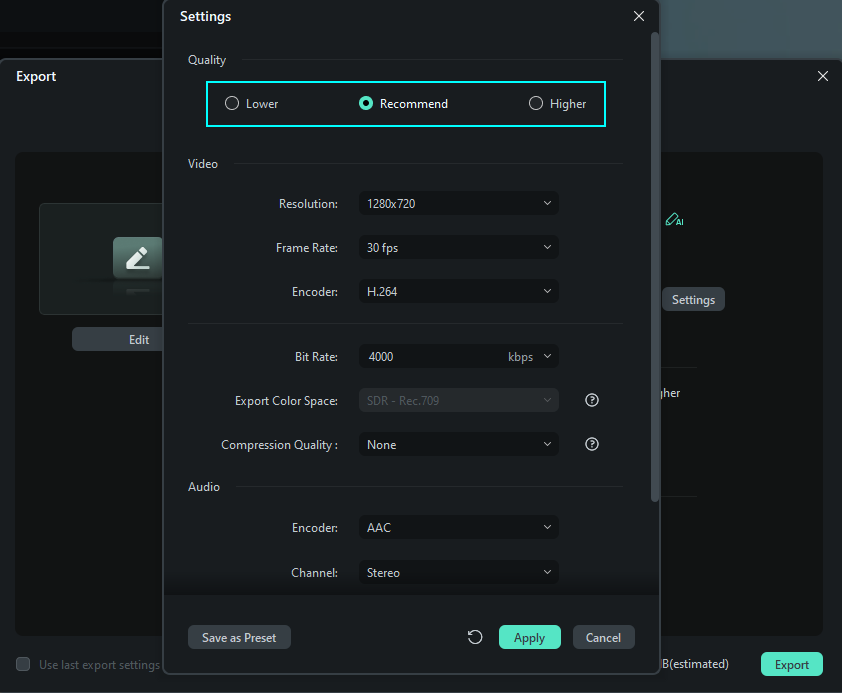
To change your export settings (i.e. resolution, bit rate, and frame rate) click the Settings button.
The settings window has three quality levels: Lower, Recommend, and Higher. The only difference between them is the Bit Rate. You can adjust this or other parameters, such as Resolution and Frame Rate, in this window.
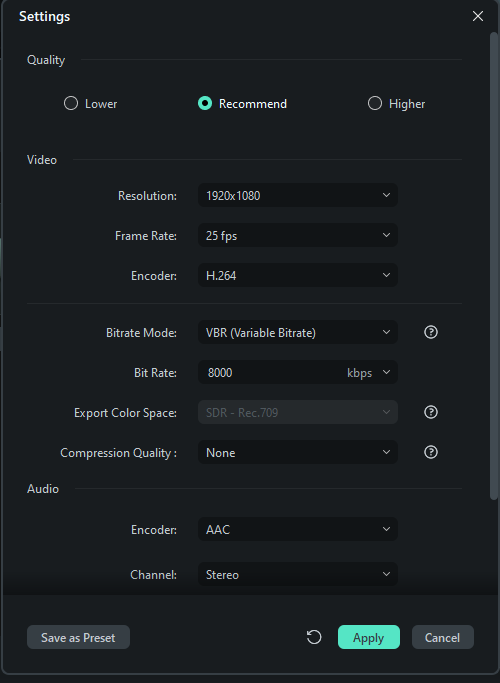
It is best to export your video with the same settings as your original video.
Note:
The size of the video depends on the length of the project and the bit rate. If the file size looks too big, you can try changing the bit rate in the Settings window to make it smaller.Step 3: Export the file to the specified location
When you're finished adjusting your video, press the Export button in the Export window. You can find the video in the specified location you selected.

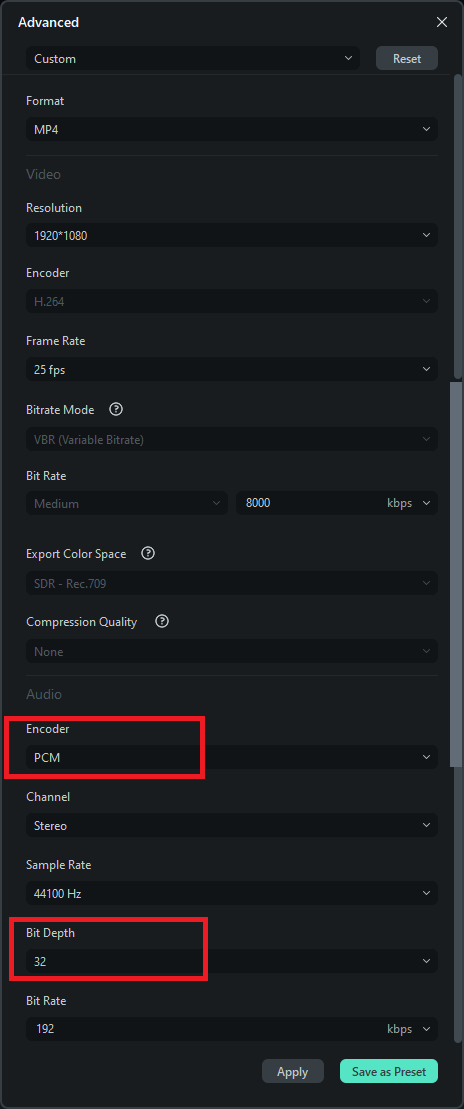
Pro Settings: High-Precision Video and Audio Export
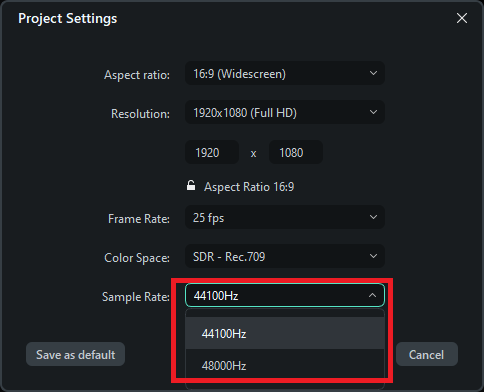
1. Project Settings: Support for Audio Sample Rate Configuration
You can now set the audio sample rate to 44.1kHz or 48kHz in the project settings, ensuring better audio fidelity during export.
2. Adjusting Audio Bit Depth in Video Format Settings
In the Advanced interface, you can select PCM encoding for audio format and set the bit depth, allowing for more precise audio quality control.
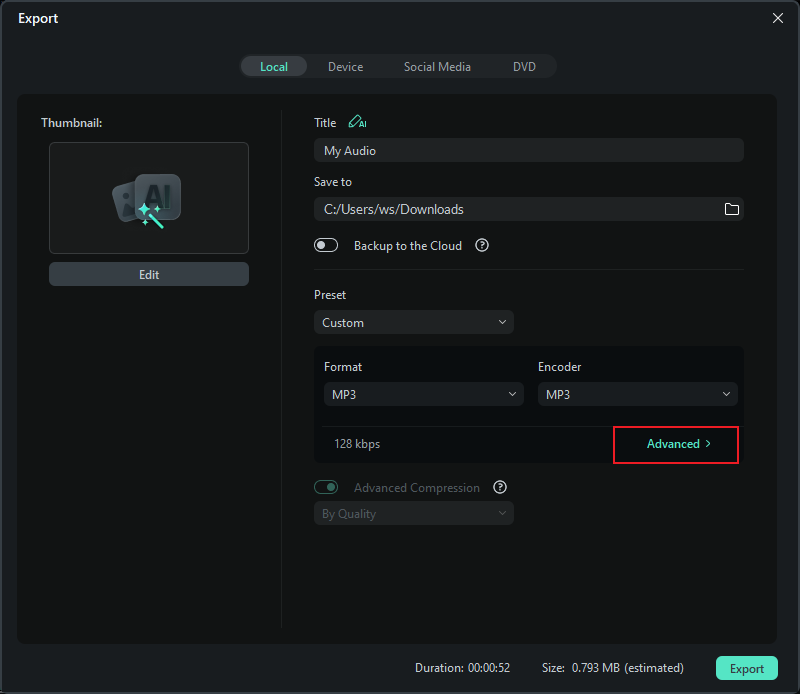
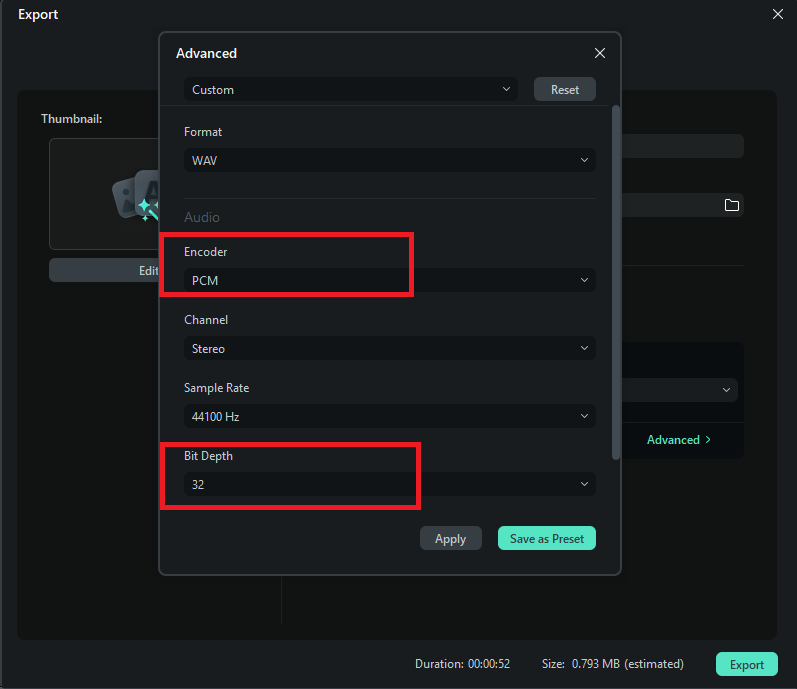
3. Exporting WAV Format PCM Audio with High Precision
When exporting pure audio in WAV format, users can choose the sample rate (44.1kHz or 48kHz) and adjust the bit depth up to 32-bit for maximum audio quality.
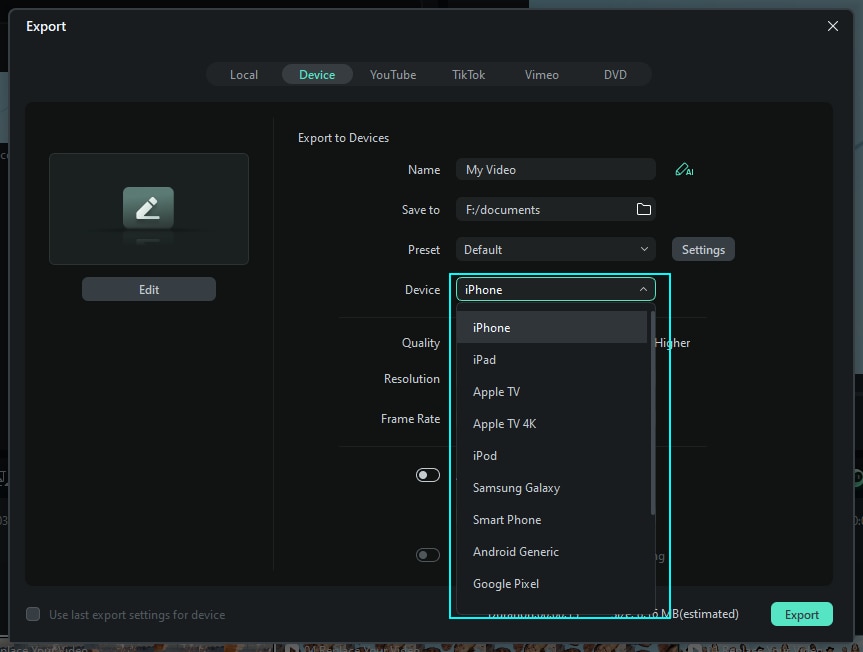
Export to Device
You can export the video in a format suitable for your device; simply select your device, and the export format will be adjusted accordingly. Devices supported by Filmora include iPhone, iPad, Apple TV, Apple TV 4K, iPod, Samsung Galaxy, Smart Phone, Android Generic, Google Pixel, Xbox One, PlayStation 4, PSP, and Smart TV.
Step 1: Choose the device.
In the Device tab under Format, you can choose to output your video according to the ideal settings for different types of devices, such as iPhones, iPads, Apple TVs, Samsung Galaxy phones, PlayStation 4s, and more.
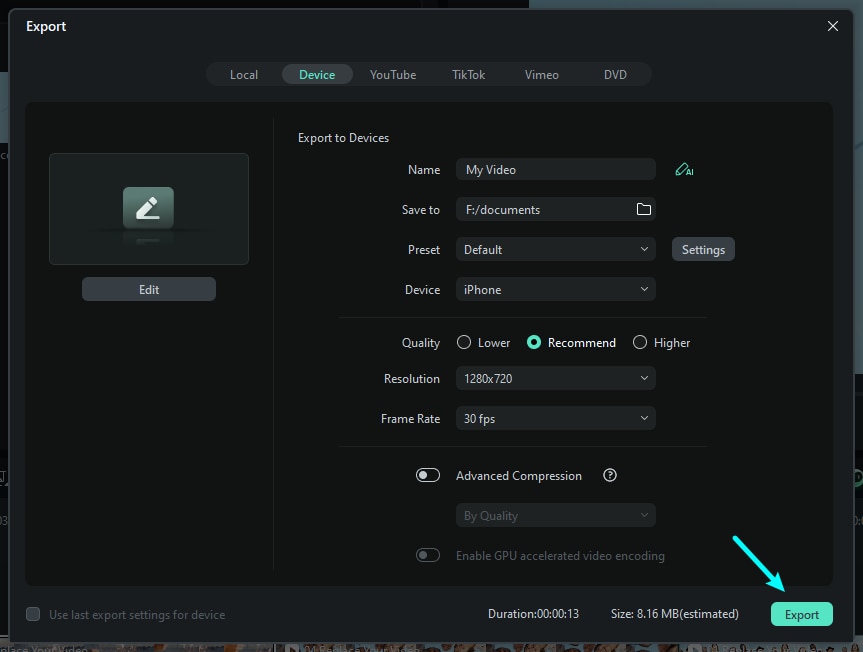
Step 2: Adjust the export settings.
You can also make manual adjustments to your settings by clicking the "Settings" button.
Step 3: Click "Export" when you're finished.
Note:
Exporting in this way won't automatically transfer your videos to your devices. Your videos will still be stored on your computer's local hard drive.Export to YouTube
Filmora supports exporting your video to Youtube directly. All you need to do is logging your Youtube account and export.
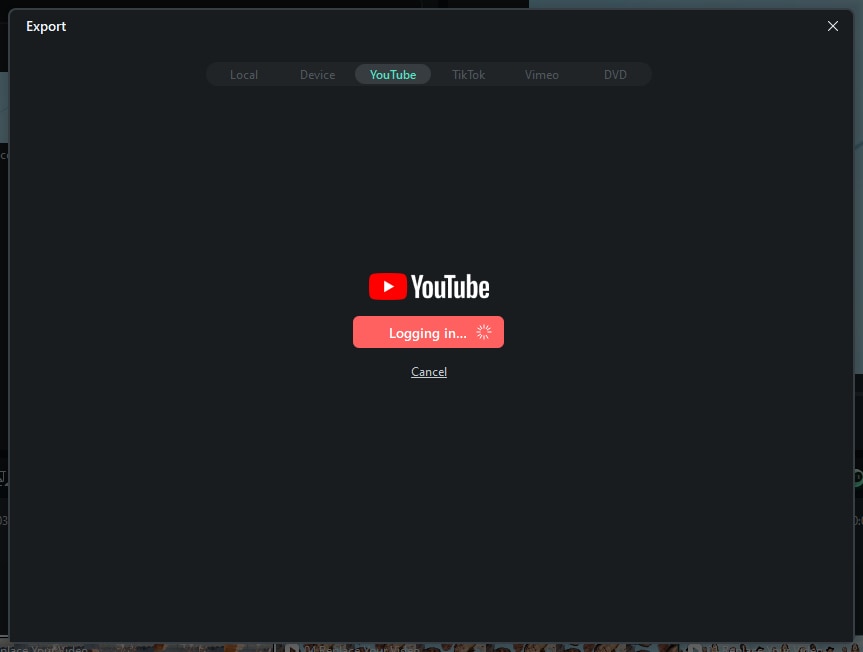
Step 1: Select YouTube to Export
To upload a finished video directly to YouTube, click "Export" and select "YouTube". Then Login to your Youtube account.
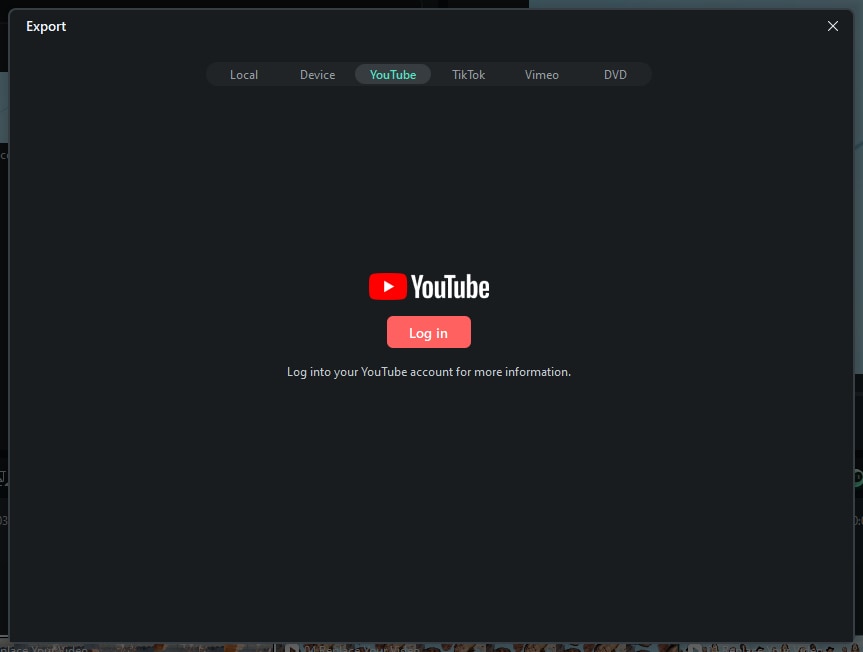
Step 2: Log In
Check your browser to log in to your account.
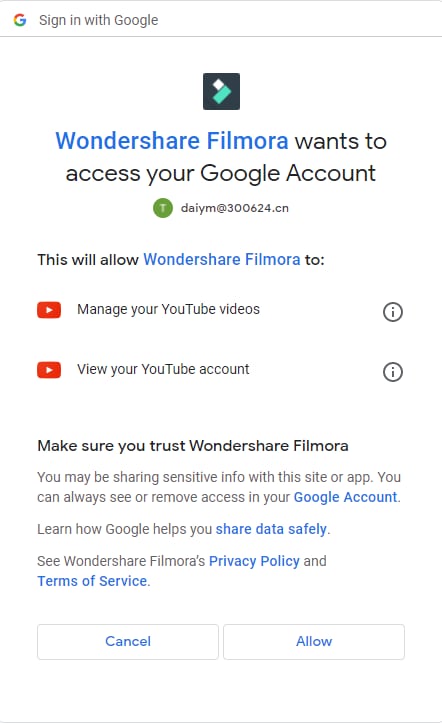
Step 3: Access Account
Click "Allow", which allows Filmora to access your account.
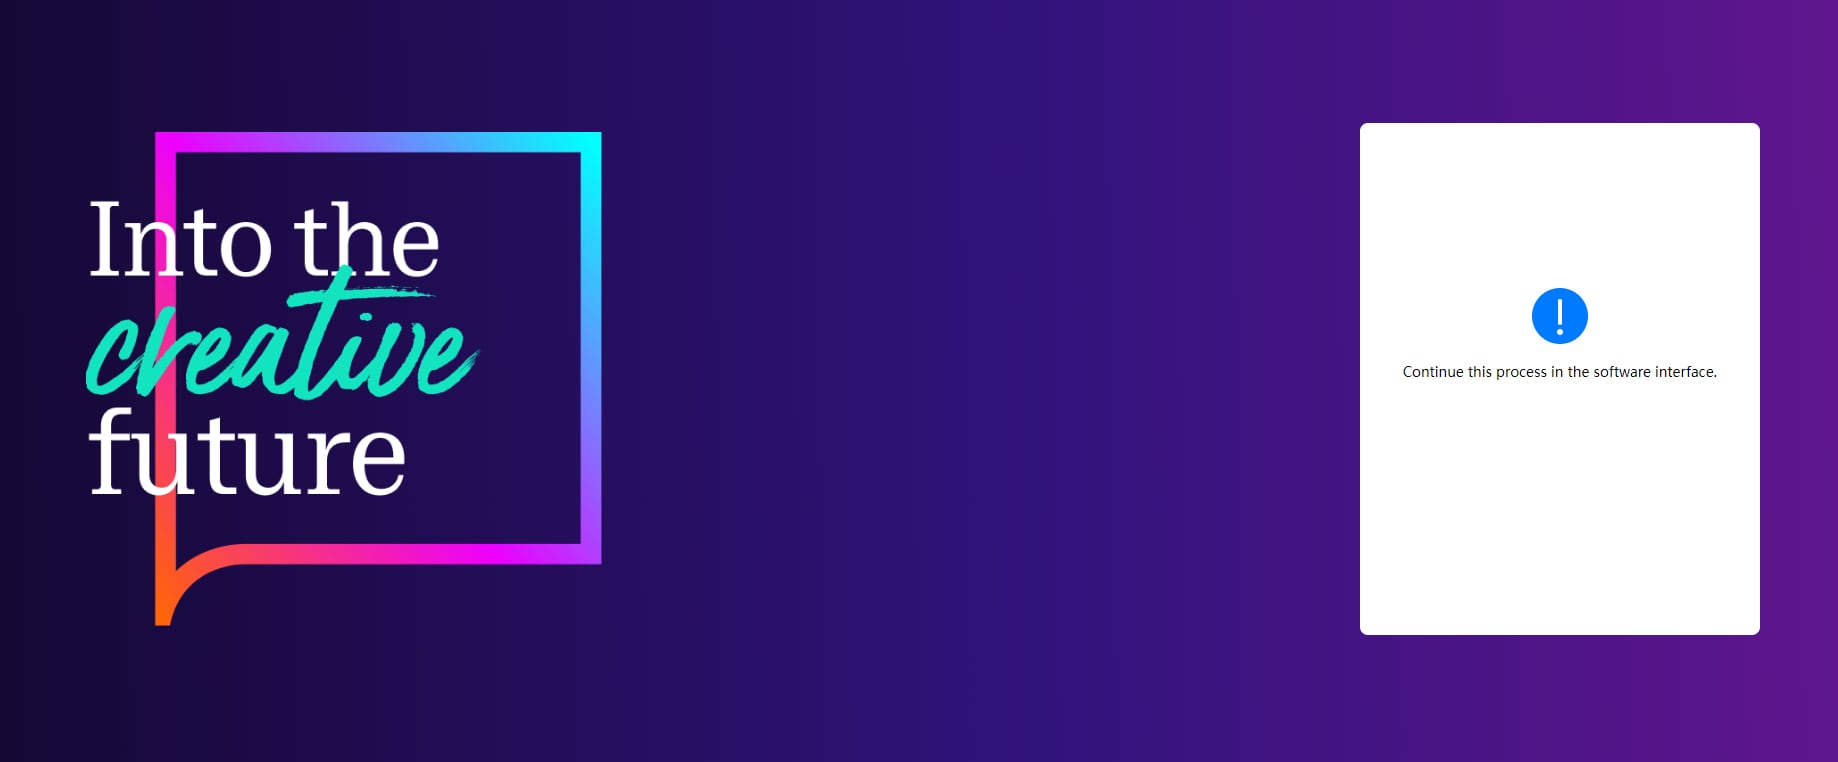
Step 4: Continue the Process in the Filmora
After allowing, you will see a new page to indicate that: Continue the process in the software. Now, come back to Filmora.
Step 5: Input Information for Videos
Input the title, description, and tags for the video and choose whether to upload the video as public, unlisted, or private.
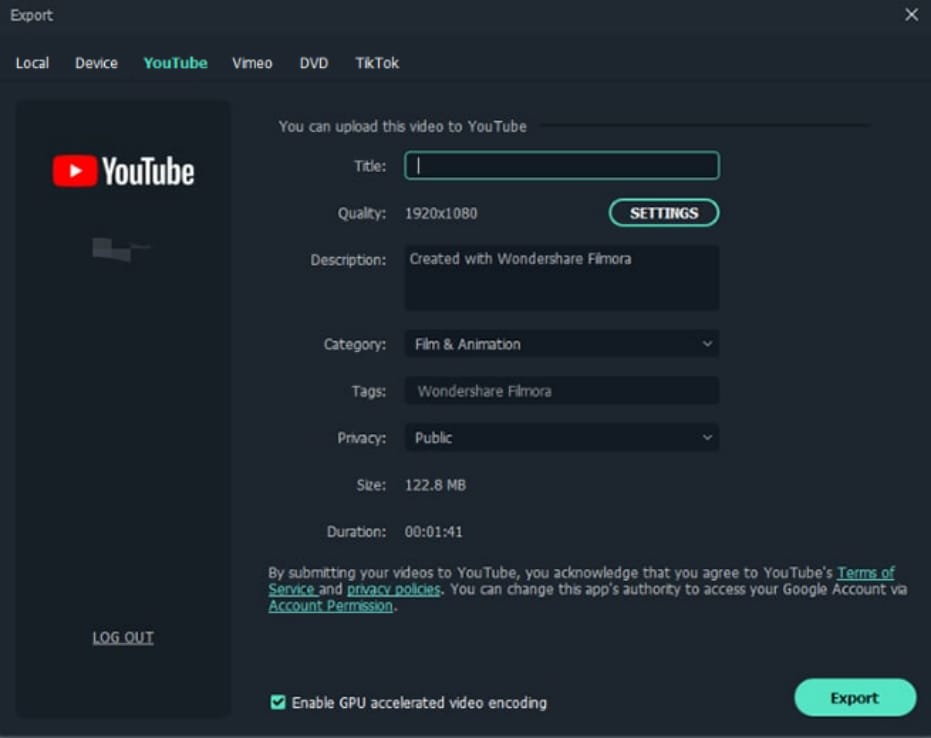
Step 6: Do More Settings
If you want to do more settings, you can click "Settings". When you finish setting, just click OK.
Step 7: Export Now
Click the “Export” button to export your video directly to your Youtube channel.
Export to TikTok
When you finish editing a video clip in Filmora, you can also export and share it to TikTok directly. Follow the steps below:
Step 1: Select TikTok to Export
To upload a finished video directly to TikTok, click "Export" and select "TikTok". Then Login to your TikTok account.
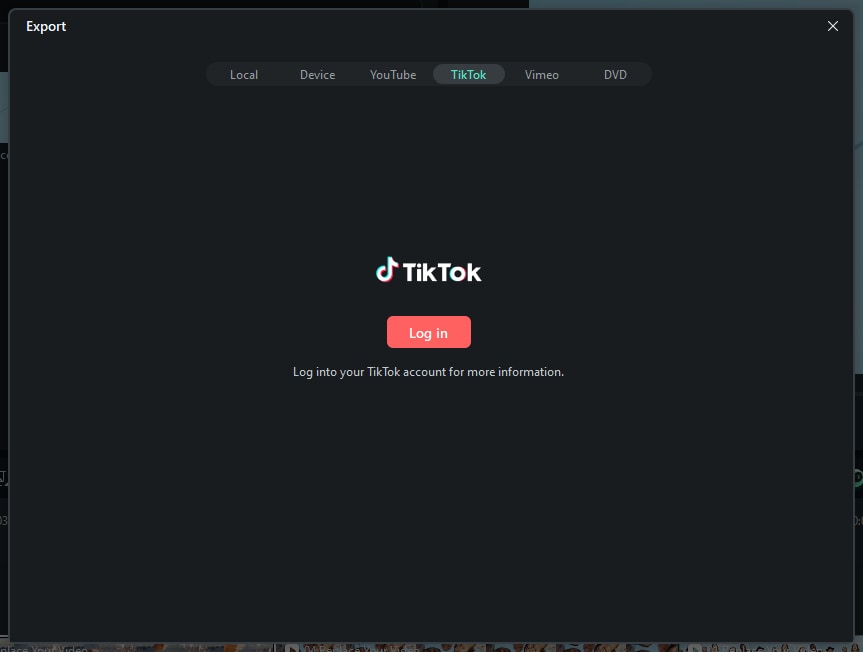
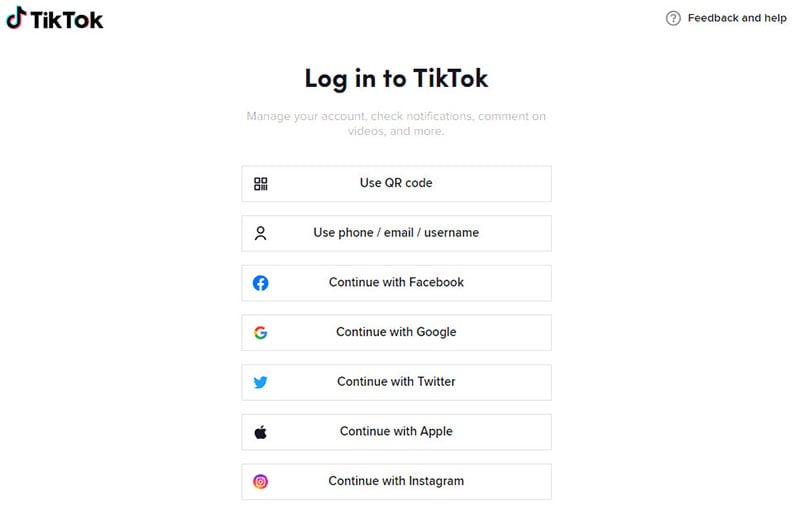
Step 2: Login to Your TikTok account
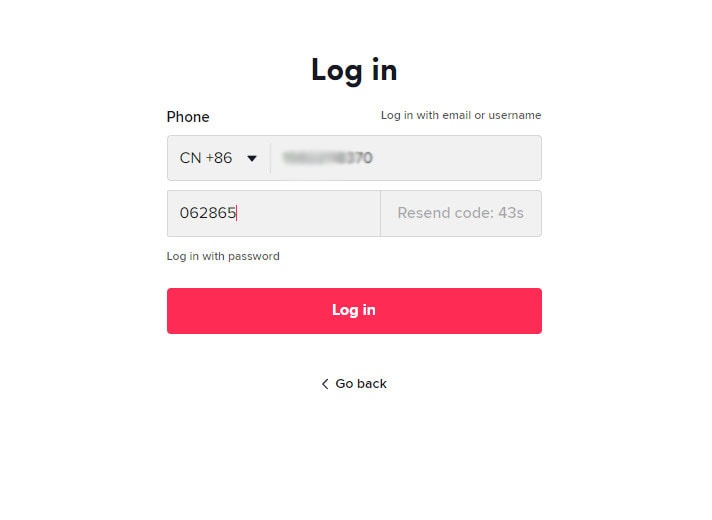
You'll see the login options; choose the one you registered in TikTok. (If you don't have a TikTok account, you'll need to create one from here.)
Here we take the phone number as an example, enter the number and login code, and then click "Log in" to proceed.
Step 3: Continue to Process in Filmora
Once you log into your TikTok account successfully, authorize Filmora to connect with TikTok, and you'll see a window below.
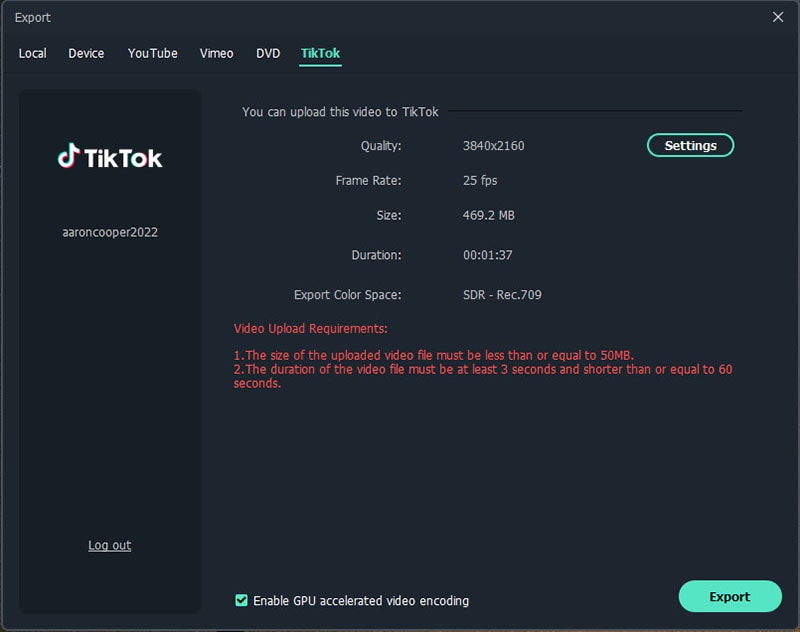
Step 4: Customize and Export
You can customize the video and audio settings in Filmora before sharing it with TikTok.

Export to Vimeo
Filmora supports exporting your video to Vimeo directly. All you need to do is logging your Vimeo account and export.
Step 1: Select "Vimeo"
To upload a finished video directly to Vimeo, click on "Export" and then select "Vimeo".
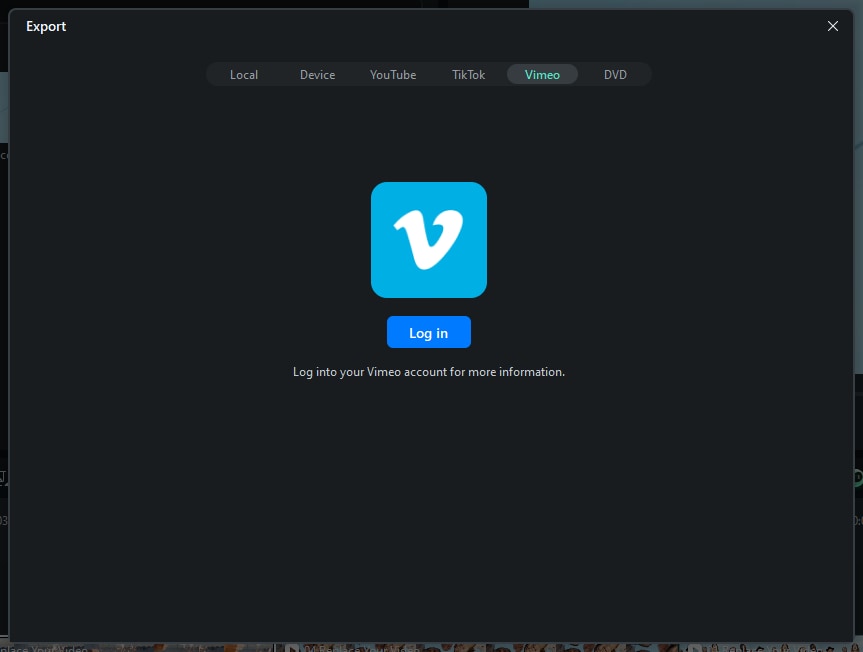
Step 2: Log in to your Vimeo account
Then, you can check your browser to log in to your account. Click "Allow" to allow Filmora to access your account.
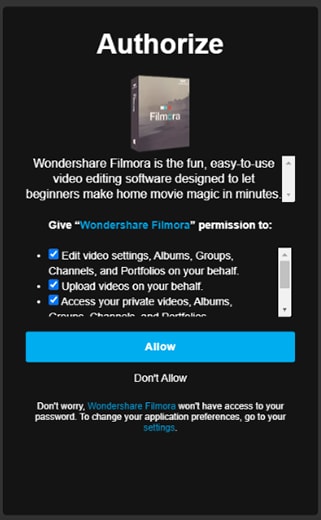
After allowing, you will see a new page to indicate that: "Continue the process in the software". Now, come back to Filmora.
Step 3: Edit video information
Input the title, description, and tags for the video and choose whether to upload the video as public, unlisted, or private.
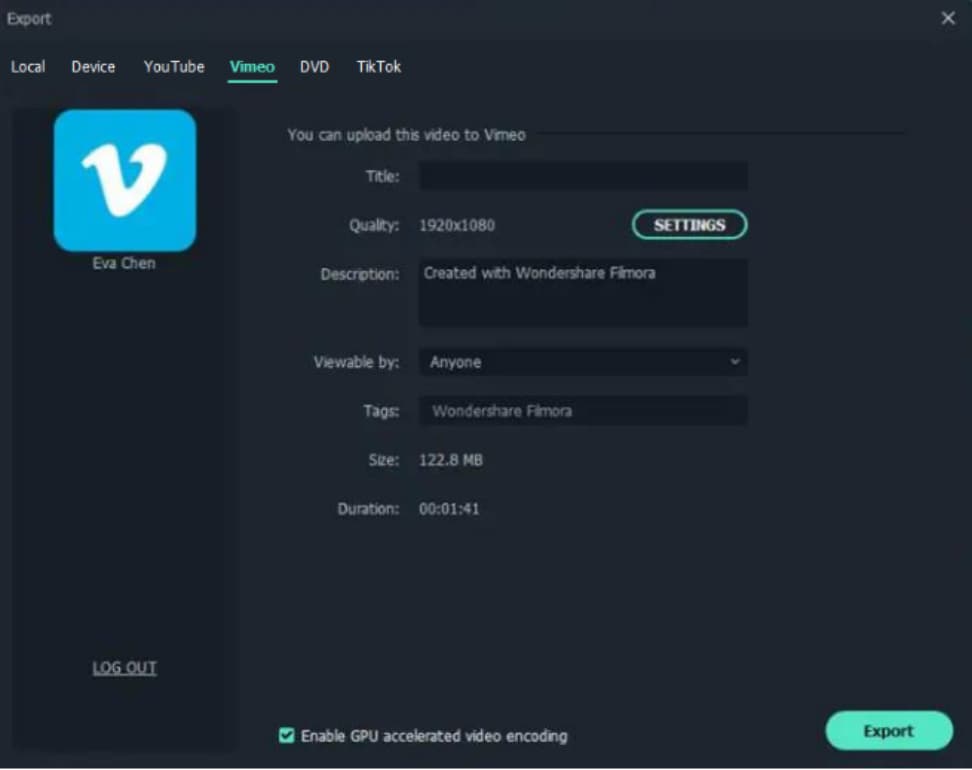
Step 4: Change the settings
If you want to do more settings, you can click "Settings". When you finish setting, just click "OK".
Step 5: Click the Export button to export your video to Vimeo.
Burn a DVD
You can burn your video from a DVD. Choose the DVD tab and enter the required settings, such as the aspect ratio and disc type. To convert your video into DVD during exporting it. Then follow the below steps:
Step 1: Choose the DVD tab.
Step 2: Enter the required settings, such as the aspect ratio and disc type.
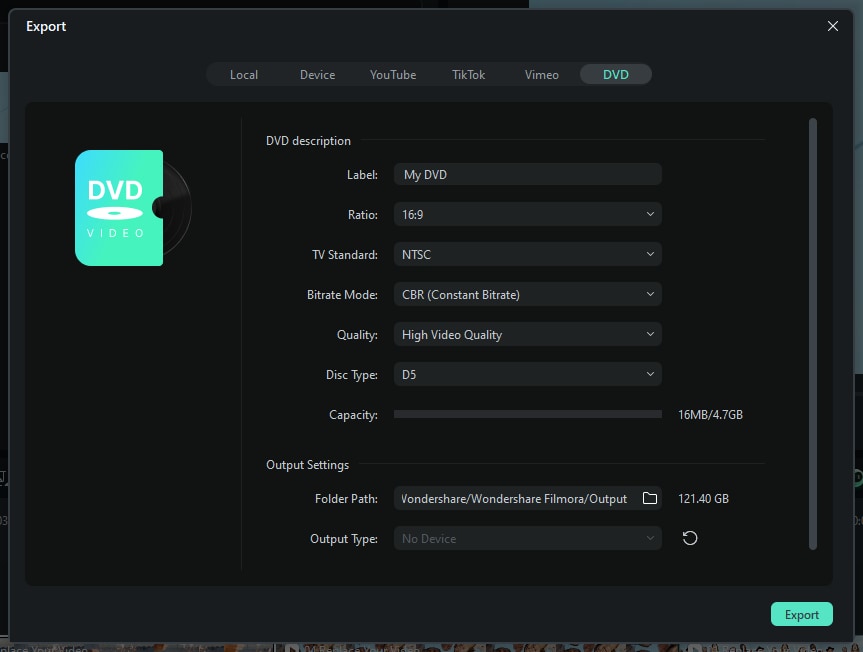
Step 3: Click to export to DVD and wait for a while.
Related Posts
Featured Articles
How to Make a Garfield Comic Strip on Your Phone (Free & Easy)?
Create your own Garfield comic strip right on your phone! With Filmora's officially licensed Garfield templates, this beginner-friendly guide makes it easy—no design skills needed.
Crush Your Job Hunt with These Video Resume Makers
Job hunting in 2026? Check out our guide for the best video resume maker that helps you create a standout video CV and impress employers.
Choosing Between Audacity and Adobe Audition in 2026: A Comprehensive Comparison
Find out which audio editing software is superior in 2026. Our detailed comparison of Audacity and Adobe Audition covers all the key aspects you need to know.
Recommended User Guide
Workflow of exporting
Workflow and Overview for Exporting filmora
Export Selected Clips
There are various occasions when you edit multiple clips in a timeline and need to export any of them, and Filmora offers this functionality.
