For the Best Results, Use the Latest Version.
-
Preparations
-
Account
-
Get Started & Basic Settings
-
Compatibility & Tech Specs
-
Performance Settings
-
-
Creating Projects
-
Creating New Projects
-
-
Importing & Recording
-
Video Editing for Windows
-
Basic Video Editing
- Enable/Disable Clip in Windows
- Magnetic Timeline for Windows
- Dual Monitor Setup for Video Editing on Windows
- Select All Clips on Timeline for Windows
- Manage Timeline and Tracks on Windows
- Auto Ripple for Windows
- Split & trim video
- Crop & Pan & Zoom Video in Filmora for Windows
- Compositing
- Change Video Speed on Windows
- Playing videos in reverse
- Mark In and Mark Out for Windows
- Markers for Windows
- Group editing
- Customizable Backgrounds for Videos and Images in Windows
- Video snapshot
- Using freeze frame
- Logo Reveal For Windows
- Auto Enhance in Filmora for Windows
- Applying drop shadow
- Adjustment layer for Windows
- Apply Transforming for Windows
- Video Editing Ruler – Windows
-
Advanced Video Editing
- Drawing Tools for Windows | Filmora Guide
- Create Multi-Camera Clip in Filmora for Windows
- Compound Clip for Windows
- Multi-Clip Editing for Windows
- Filmora Motion Blur | Windows
- Filmora Flicker Removal Guide | Windows
- Apply mask to video
- Creating a PIP Effect for Windows
- Keyframe Graph Editor for Windows
- Add animation keyframing for Windows
- Keyframe Path Curve for Windows
-
AI-Powered Video Editing
- Smart Scene Cut for Windows
- Smart Short Clips for Windows
- AI Face Mosaic for Windows
- Filmora AI Eye Contact- Windows
- AI Video Enhancer for Windows
- AI Text-to-Video for Windows
- Planar Tracking for Windows
- AI Idea to Video for Windows
- Filmora Image to Video for Windows
- Filmora Image to Prompt for Windows
- Instant Cutter Tool for Windows
- AI Extend
- Filmora AI Relight - Windows
- Filmora AI Image Enhancer Guide - Windows
- AI Script to Video Guide for Windows
- AI Text-Based Editing for Windows
- AI Mate Editing for Windows
- Instant Mode in Filmora
- ChatGPT Plugin - AI Copywriting
- AI Smart Cutout for Windows
- Lens correction on Windows
- Auto Reframe Video for Windows
- AI Portrait Cutout
- Scene detection feature
- AI Smart Masking for Windows
- Make motion tracking
- Video Stabilization for Windows
- AI Video/Photo Object Remover for Windows
- AI Smart Search for Windows
- AI Skin Tone Protection for Windows
- AI Image for Windows
- Chroma key (green screen)
- Super Slow Motion with Optical Flow for Windows
- Video Denoise for Windows
-
-
Audio Editing for Windows
-
Basic Audio Editing
-
Advanced Audio Editing
-
AI-Powered Audio Editing
- Auto synchronization
- AI Sound Effect
- Smart BGM Generation
- AI Voice Enhancer
- How to Execute AI Voice Cloning in Wondershare Filmora?
- AI Music Generator for Windows
- Audio To Video
- AI Vocal Remover for Windows
- AI Auto Beat Sync for Windows
- AI Audio Stretch for Windows
- AI Audio Denoise for Windows
- Silence detection
-
-
Text Editing for Windows
-
Basic Text Editing
-
Advanced Text Editing
-
AI-Powered Text Editing
-
-
Video Customizations
-
Video Effects
-
Audio Effects
-
Transitions
-
Stickers
-
Filters
-
Color Editing
-
Animations
-
Templates
-
Asset Center
-
-
Exporting & Share & Cloud Backup
Manage Timeline and Tracks in Filmora for Windows
In Filmora, the timeline is the main workspace where all editing happens. It allows you to arrange video, audio, and effects in a structured way. Understanding how to manage tracks, adjust the view, and organize elements helps you create smoother and more professional edits.
Index
Using the Timeline
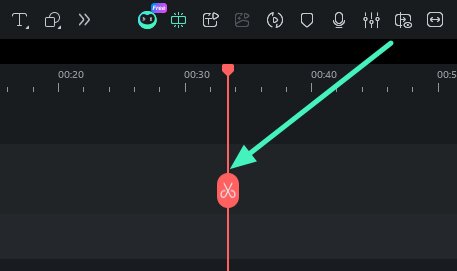
The Playhead is an important indicator in the timeline that shows your current position in the video. It helps you navigate through your project easily. The frame where the playhead is placed is also displayed in the preview window, allowing real-time viewing of edits.
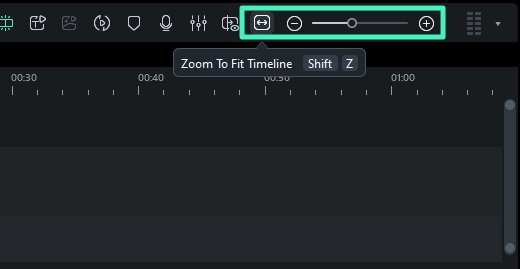
Adjust Timeline View
You can zoom in or out of the timeline to get a better editing view. When you hover over the time ruler, your cursor changes into a two-way arrow. Drag left or right while holding the mouse button to adjust zoom. Additionally, the Zoom to Fit Timeline button in the top-right corner allows you to instantly view all clips within the timeline. You can also use the zoom slider for manual control.
Adding and Managing Tracks
Tracks are the layers where your media files are placed. In Filmora, video and audio are always placed on separate tracks to keep the timeline organized.
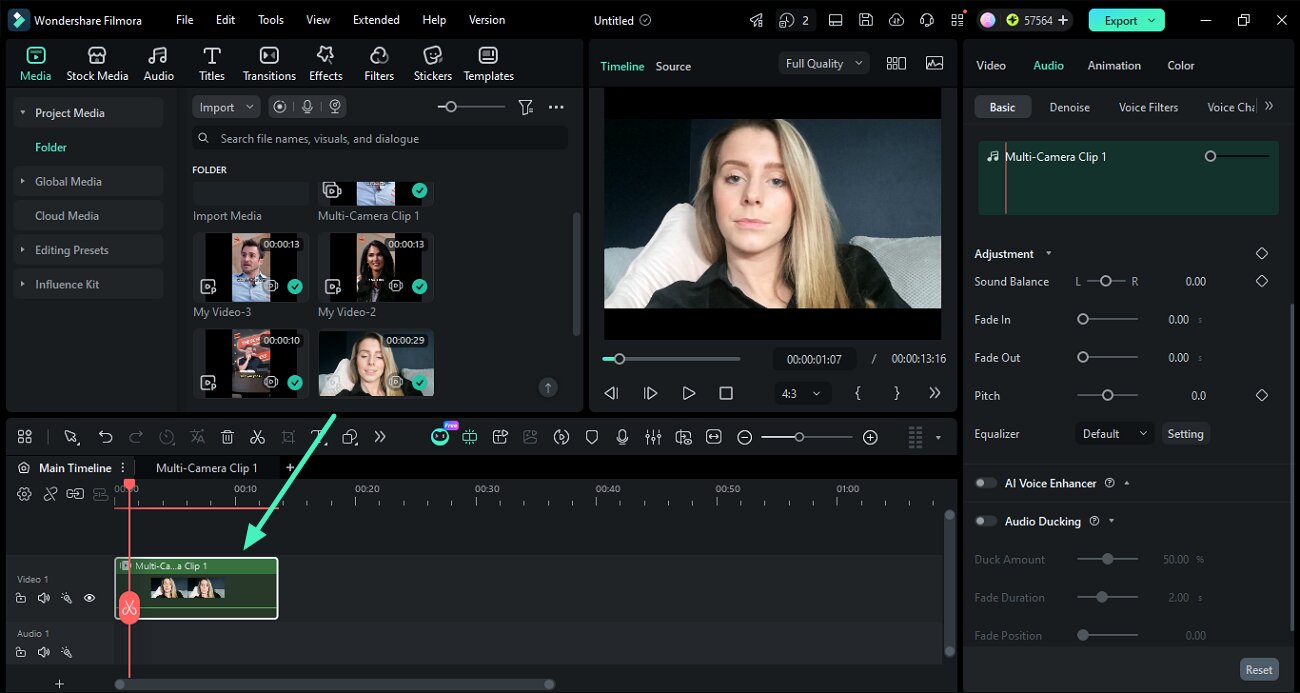
Step 1. Add a Single Track
To add a track, simply drag and drop a video or audio file into the timeline. Filmora will automatically create a new track for it.
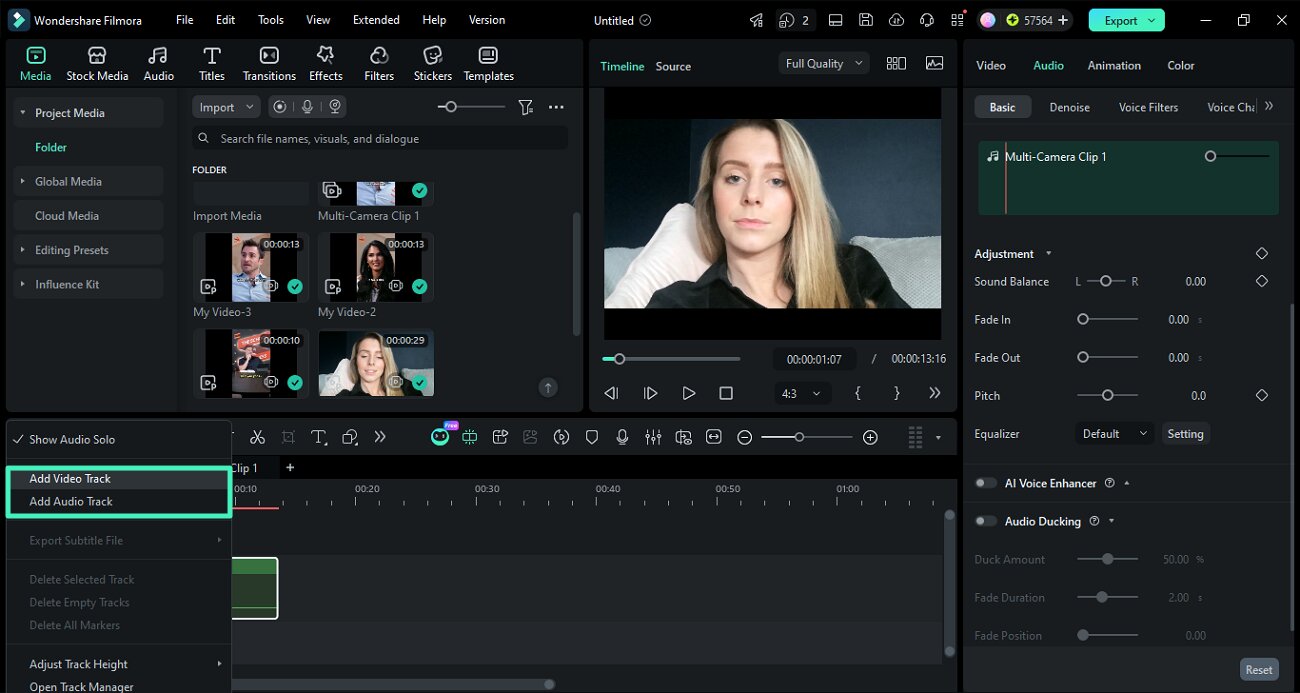
Step 2. Add Multiple Tracks at Once
Import multiple tracks from your device and drag to select them all. Now drag them all together to the timeline. You can also add each track one by one to the timeline to enable multiple track editing. Click the + icon located at the bottom left corner of the timeline to enable the Manage Timeline option. From here, choose Add Video Track or Add Audio Track according to your choice.
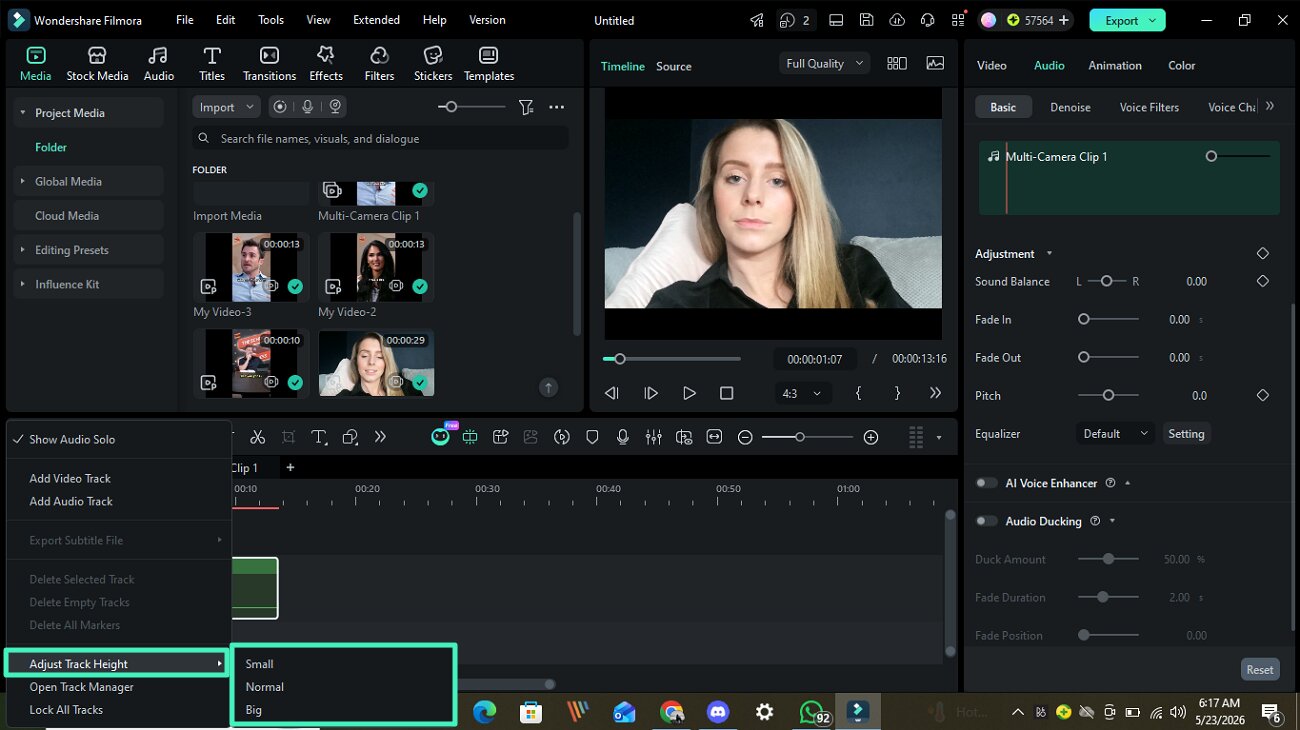
Step 3. Adjust Track Height
Open the Track Manager and access the Adjust Track Height option. Choose the height from the options provided. This helps you increase or decrease track size for better visibility and editing control.
Hide and Lock Tracks
Filmora allows you to control track visibility and editing access easily. Follow the guide below to learn how to do it:
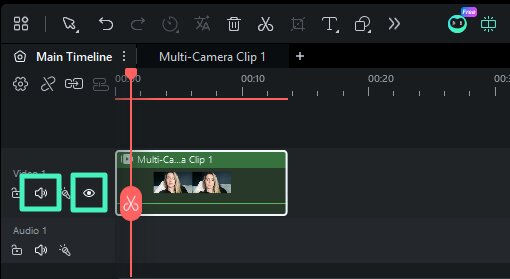
Step 1. Hide or Mute Tracks
Click the Eye icon on any video track to hide it from the preview, allowing you to focus on other layers without deleting anything. For audio tracks, click the Speaker icon to mute the sound instantly, which helps you manage background audio or isolate specific clips while editing.
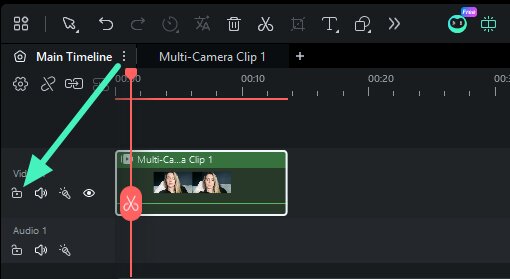
Step 2. Lock Tracks on Timeline
Head to the left corner of the timeline and click on the Lock icon to lock the track to block it from moving or being modified.
Mastering Multi-Timeline Editing
Filmora also supports advanced editing using Compound Clips, which work as separate nested timelines. This feature helps you organize complex projects more efficiently. Follow the steps mentioned below to learn how to add and manage compound clips in Filmora timeline:
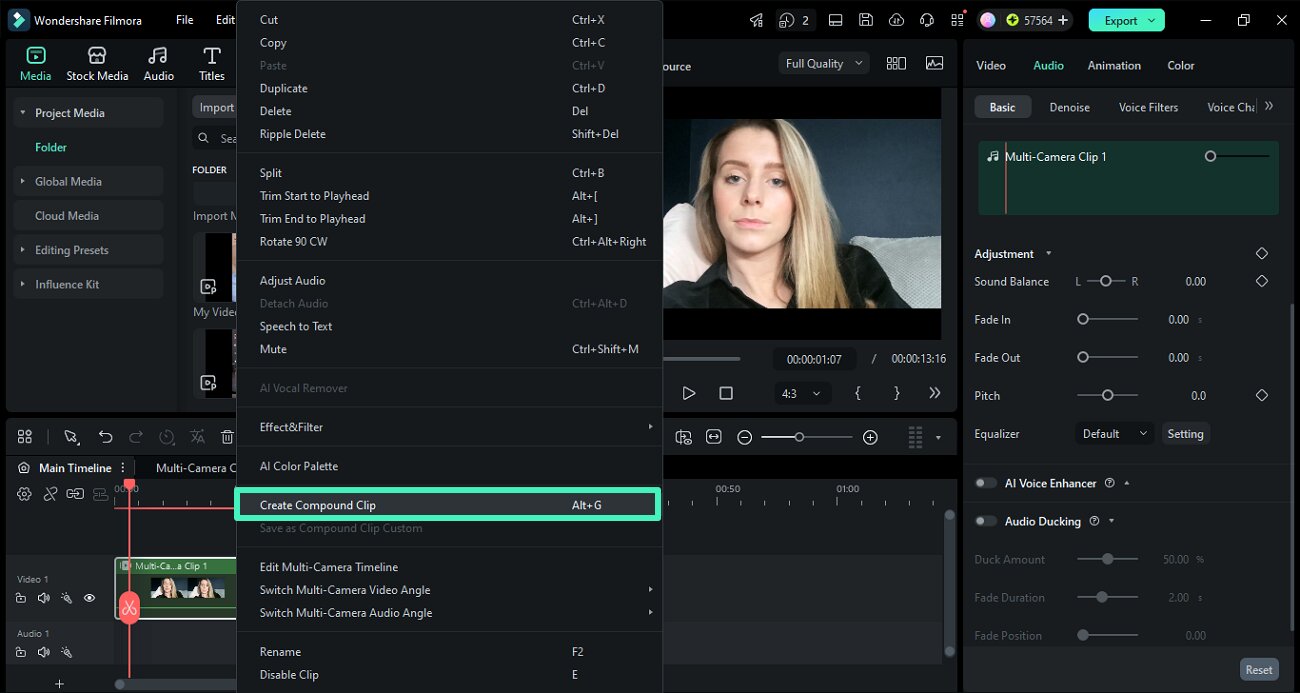
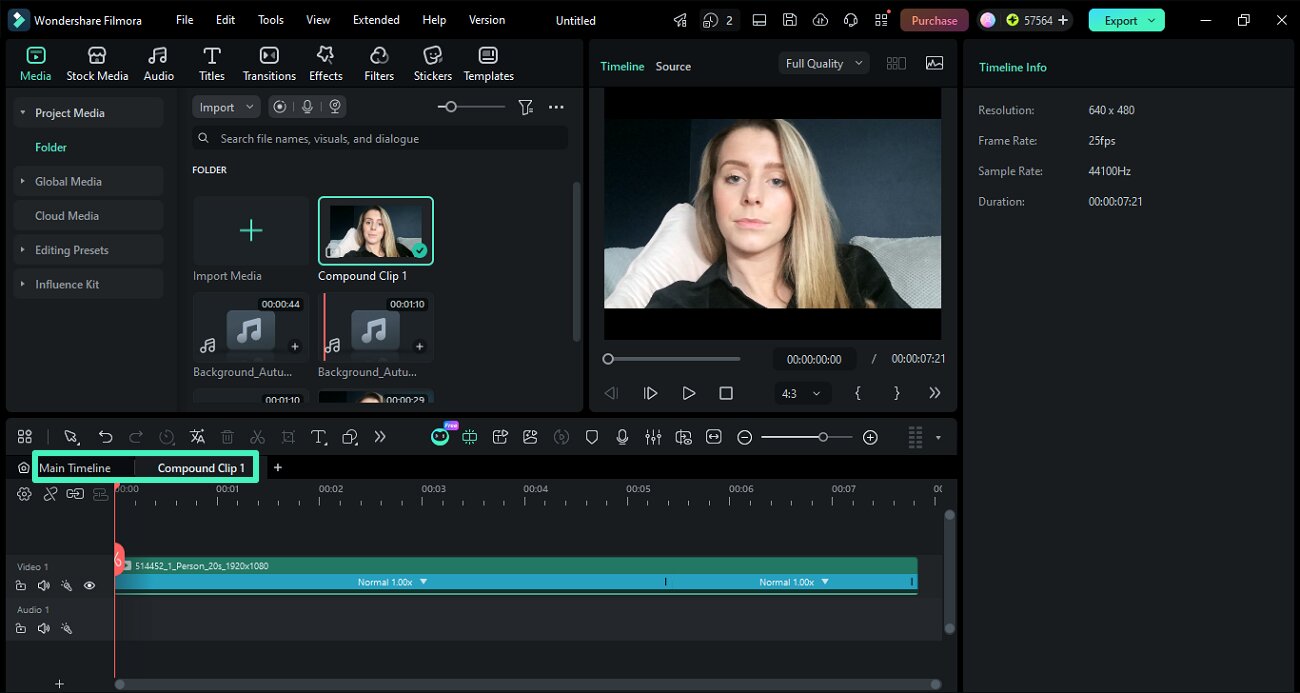
Step 1. Create and Open Compound Clips
Right click on the track and choose the Create Compound Clip option from the extended list. Double-click it to open it as a separate timeline tab above the main timeline.
Step 2. Switch Between Timelines
You can switch between the Main Timeline and Compound Clip timelines by clicking on their tabs. Each tab works as an independent editing space.
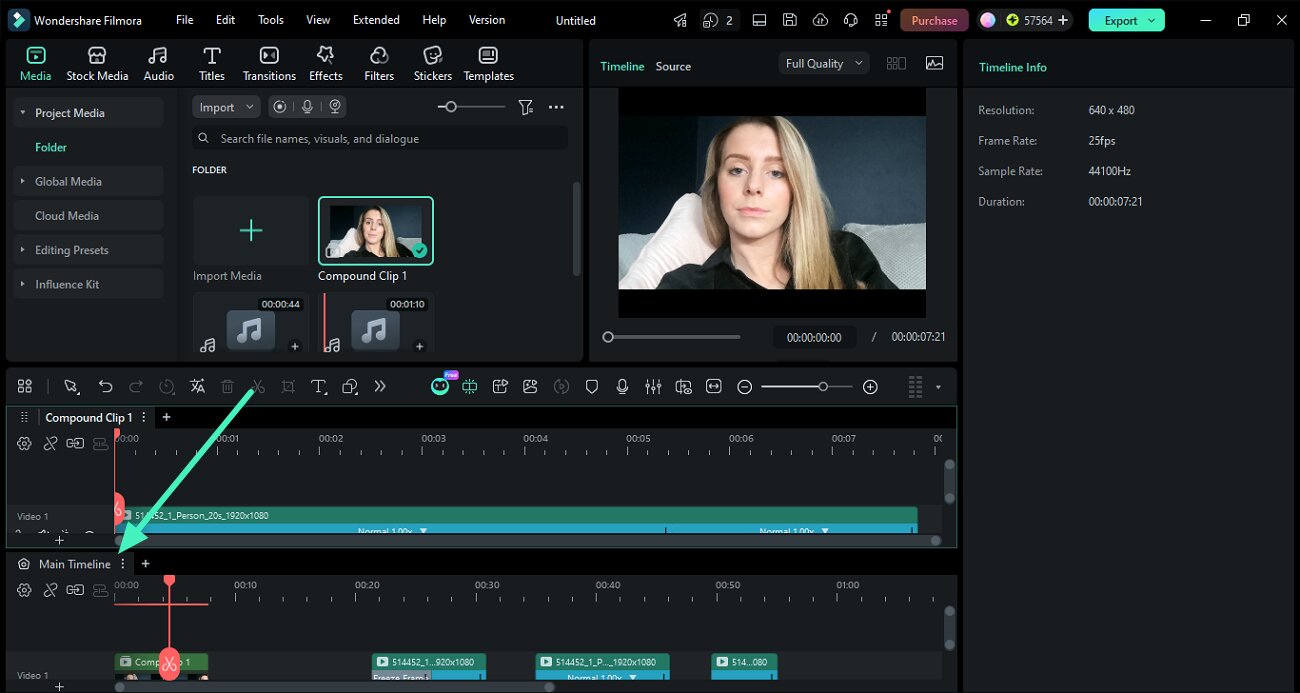
Step 3. Use Dual Timeline View
Drag a compound clip tab down into the timeline area to activate dual timeline view. This allows you to work on two timelines at the same time and move content between them easily.
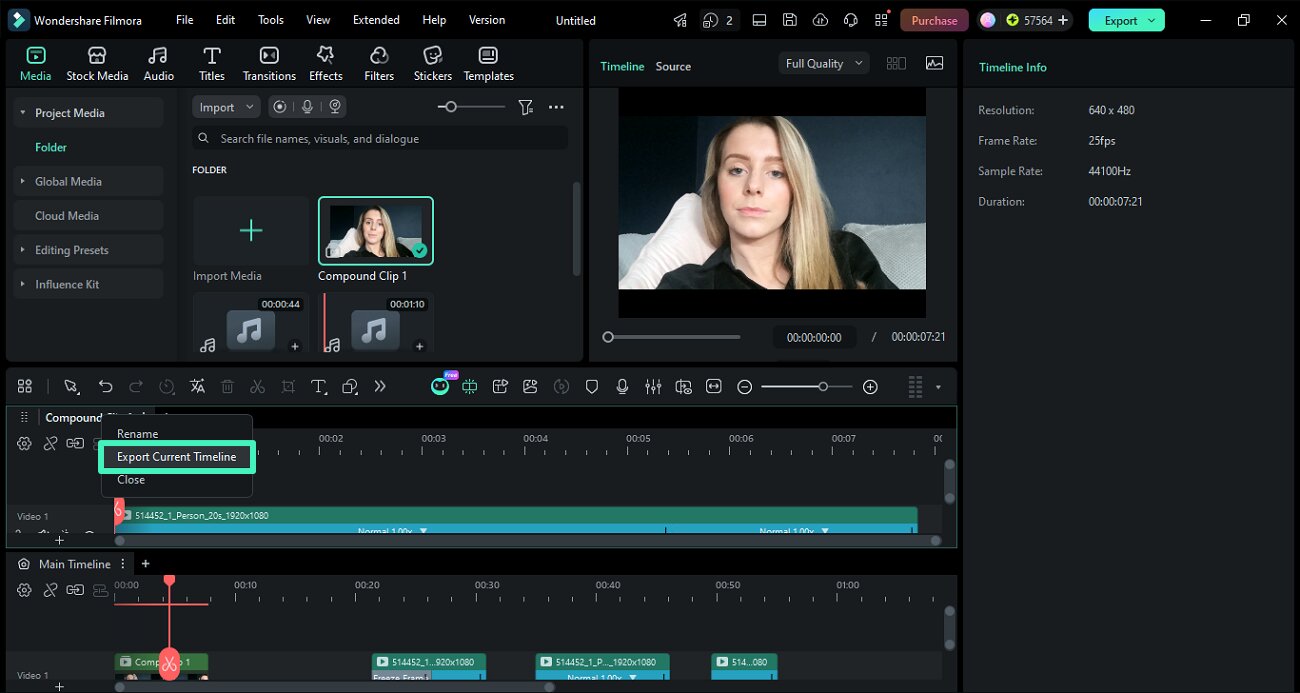
Step 4. Export a Specific Timeline
Right-click on a timeline tab and choose Export Current Timeline. This lets you export only that specific sequence without affecting the full project.
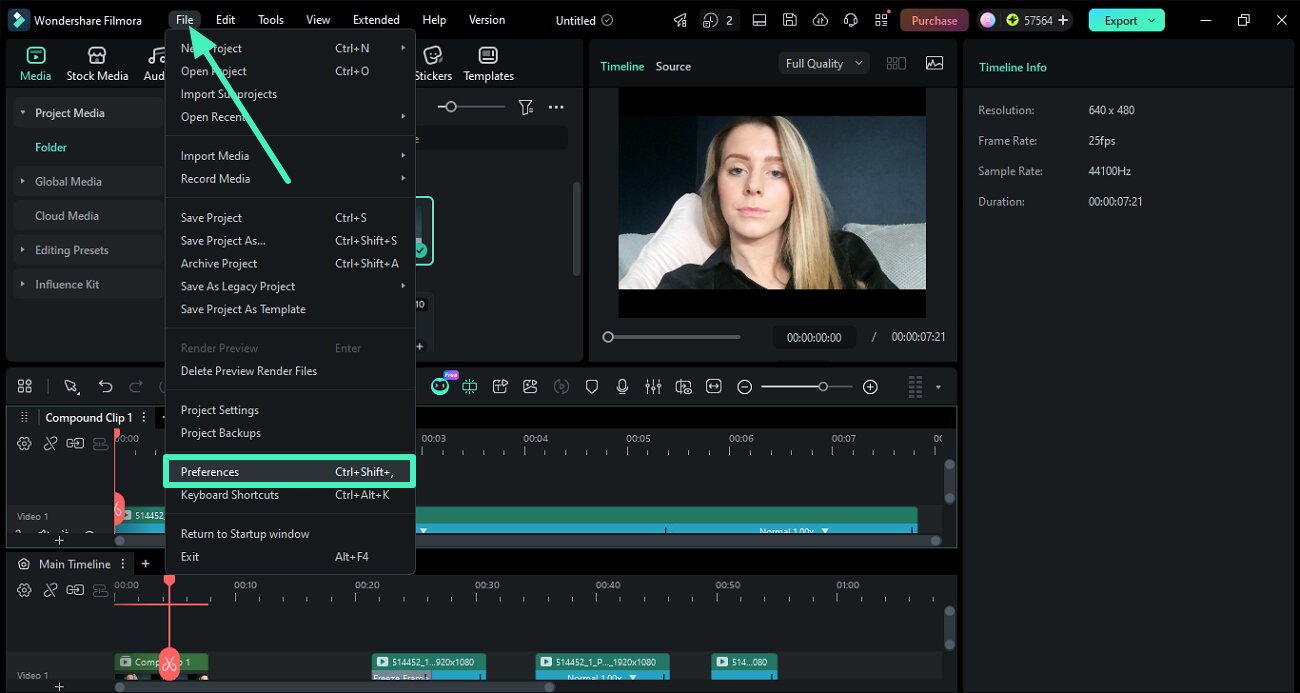
Step 5. Customize Timeline Preferences
Go to the File option and click the Preferences option to adjust timeline behavior. You can enable or disable automatic opening of compound clips in new timeline tabs based on your workflow preference.
Related Posts
Featured Articles
Grok Video Generator Guide: How to Use Grok Imagine for Free AI Video Creation
Learn how to use Grok video generator (Grok Imagine) to create free AI videos. Step-by-step tutorial covering text-to-video, image-to-video, spicy mode, limits & Filmora integration.
How to Sharpen Photos in Photoshop and Bonus Tips
Are you looking for how to fix blurry pictures in Photoshop? Here is a guide on how to make a blurry picture clear in Photoshop.
Aiseesoft Screen Recorder Review | Key Features and How to Use
Don't know how to use an Aiseesoft screen recorder? Check our detailed review and step-by-step guide.
Recommended User Guide
Split & trim video
Learn how to use Split & Trim in FIlmora 11
Customizable Backgrounds for Videos and Images in Windows
With Wondershare Filmora's new updates come with pre-built and customizable backgrounds for videos.
Select All Clips on Timeline for Windows
If you’re editing in Filmora and want to speed up your workflow, knowing how to select clips both forwards and backwards on the timeline is essential. This feature allows you to select multiple clips at once, saving you time and effort when editing larger projects.
