For the Best Results, Use the Latest Version.
-
Preparations
-
Account
-
Get Started & Basic Settings
-
Compatibility & Tech Specs
-
Performance Settings
-
-
Creating Projects
-
Creating New Projects
-
-
Importing & Recording
-
Video Editing for Windows
-
Basic Video Editing
- Enable/Disable Clip in Windows
- Magnetic Timeline for Windows
- Dual Monitor Setup for Video Editing on Windows
- Select All Clips on Timeline for Windows
- Manage Timeline and Tracks on Windows
- Auto Ripple for Windows
- Split & trim video
- Crop & Pan & Zoom Video in Filmora for Windows
- Compositing
- Change Video Speed on Windows
- Playing videos in reverse
- Mark In and Mark Out for Windows
- Markers for Windows
- Group editing
- Customizable Backgrounds for Videos and Images in Windows
- Video snapshot
- Using Freeze Frame in Filmora for Windows
- Logo Reveal For Windows
- Auto Enhance in Filmora for Windows
- Applying drop shadow
- Adjustment layer for Windows
- Apply Transforming for Windows
- Video Editing Ruler – Windows
-
Advanced Video Editing
- Drawing Tools for Windows | Filmora Guide
- Create Multi-Camera Clip in Filmora for Windows
- Compound Clip for Windows
- Multi-Clip Editing for Windows
- Filmora Motion Blur | Windows
- Video Chapters in Filmora on Windows
- Filmora Flicker Removal Guide | Windows
- Apply mask to video
- Creating a PIP Effect for Windows
- Keyframe Graph Editor for Windows
- Add animation keyframing for Windows
- Keyframe Path Curve for Windows
-
AI-Powered Video Editing
- Smart Scene Cut for Windows
- Smart Short Clips for Windows
- AI Face Mosaic for Windows
- Filmora AI Eye Contact- Windows
- AI Video Enhancer for Windows
- AI Text-to-Video for Windows
- Planar Tracking for Windows
- AI Idea to Video for Windows
- Filmora Image to Video for Windows
- Filmora Image to Prompt for Windows
- Instant Cutter Tool for Windows
- AI Extend
- Filmora AI Relight - Windows
- Filmora AI Image Enhancer Guide - Windows
- AI Script to Video Guide for Windows
- AI Text-Based Editing for Windows
- AI Mate Editing for Windows
- Instant Mode in Filmora
- ChatGPT Plugin - AI Copywriting
- AI Smart Cutout for Windows
- Lens correction on Windows
- Auto Reframe Video for Windows
- AI Portrait Cutout
- Scene detection feature
- AI Smart Masking for Windows
- Motion Tracking on Windows
- Video Stabilization for Windows
- AI Video/Photo Object Remover for Windows
- AI Smart Search for Windows
- AI Skin Tone Protection for Windows
- AI Image for Windows
- Chroma key (green screen)
- Super Slow Motion with Optical Flow for Windows
- Video Denoise for Windows
-
-
Audio Editing for Windows
-
Basic Audio Editing
-
Advanced Audio Editing
-
AI-Powered Audio Editing
- Auto synchronization
- AI Sound Effects in Filmora for Windows
- Smart BGM Generation on Windows
- AI Voice Enhancer in Filmora
- AI Voice Cloning in Wondershare Filmora
- AI Music Generator for Windows
- Audio To Video
- AI Vocal Remover for Windows
- AI Auto Beat Sync for Windows
- AI Audio Stretch for Windows
- AI Audio Denoise for Windows
- Silence Detection on Windows
-
-
Text Editing for Windows
-
Basic Text Editing
-
Advanced Text Editing
-
AI-Powered Text Editing
-
-
Video Customizations
-
Video Effects
-
Audio Effects
-
Transitions
-
Stickers
-
Filters
-
Color Editing
-
Animations
-
Templates
-
Asset Center
-
-
Exporting & Share & Cloud Backup
AI Music Generator for Windows
This feature enables users to create original background music tailored to their videos. By entering prompts and selecting style, mood, and duration, the tool generates unique tracks automatically. It eliminates the need for external music sources, saves time, and helps creators produce engaging, copyright-safe audio that perfectly matches their content.
Mode 1. Normal Mode
This generates balanced and simple background music based on basic input settings. It is ideal for quick music creation with minimal customization, making it suitable for everyday video projects. Follow the steps mentioned below to learn how to use it:
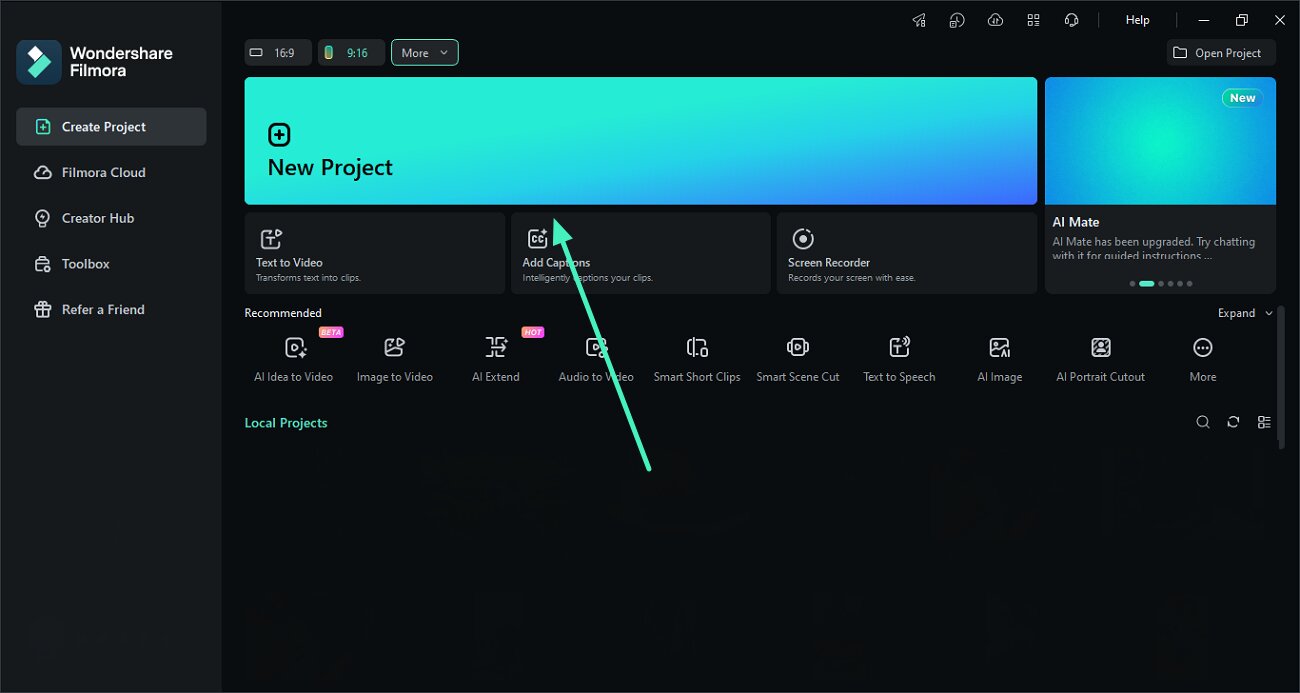
Step 1. Create a New Project in Filmora
After you have accessed the homepage of the tool, locate and click on the New Project tab to enter the main interface.
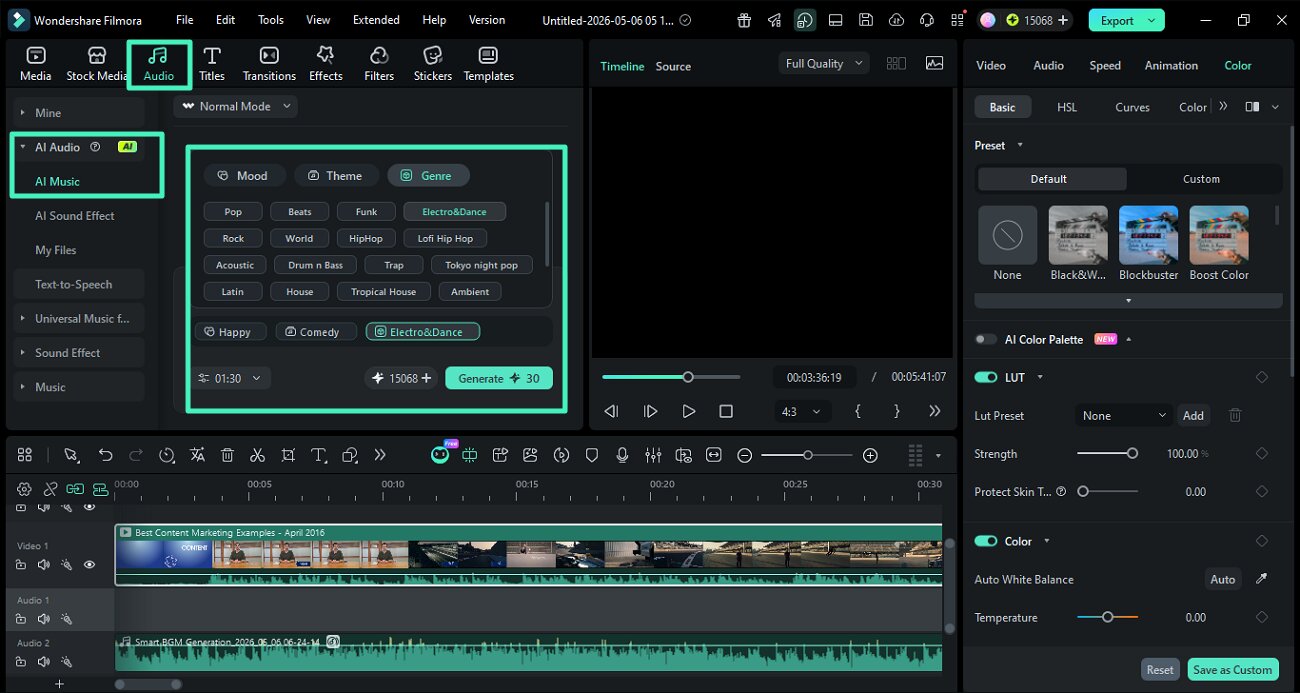
Step 2. Choose AI Music and Mode
Next, head to the menu bar and select the Audio option. Now, expand the AI Audio section and opt for AI Music. Moving forward, select the Normal Mode by expanding the drop-down menu. Select the mood, theme, and genre of the music to be generated from the options provided. Once done, select the duration and press the Generate button to execute the process.
Step 3. Preview Results and Export
After the audio file is successfully generated, drag it to the editing timeline and preview it by playing. Press the Export button to save the results once you are satisfied.

Mode 2. Standard 1.0
Standard 1.0 offers more refined music generation with better control over style, mood, and structure. It produces higher-quality audio with a text prompt as well and is suitable for more polished and professional content. To learn how to generate music in this mode, read the steps provided below:
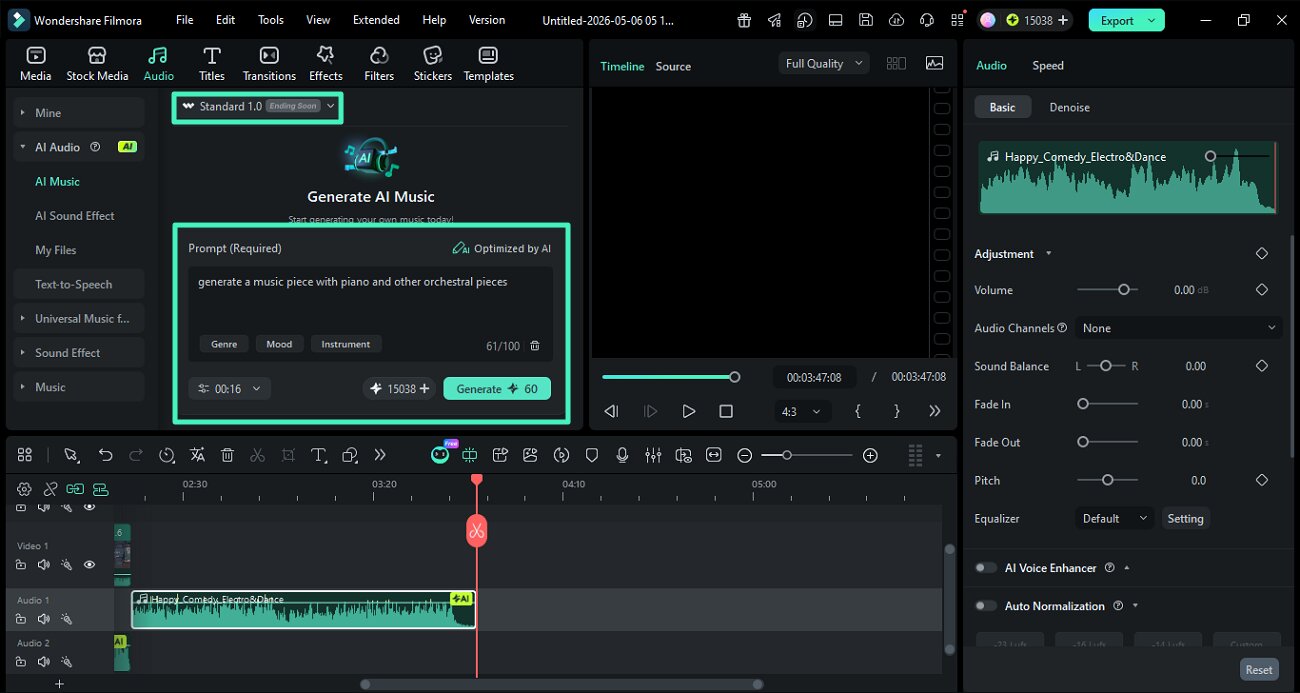
Step 1. Choose Standard Mode and Generate
Once you have accessed the AI Music section, choose the Standard 1.0 mode from the drop-down menu. Next, input the text prompt and select genre, mood, and instruments from the given options. Choose the music duration and hit the Generate button to let the tool start the process.
Step 2. Edit Generated Results and Export
When the audio is successfully generated, drag it to the timeline and enhance it using the Audio panel on the right. Once you are done with the editing, click the Export button to save the results.
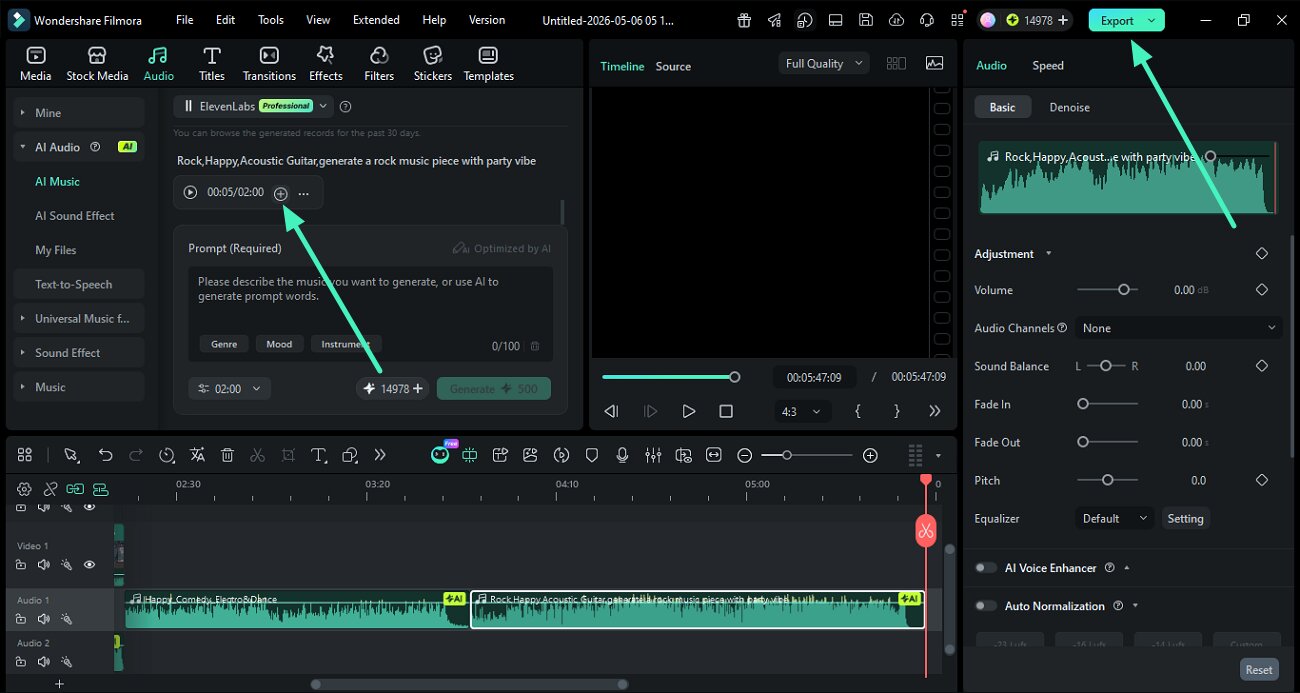
Mode 3. ElevenLabs
ElevenLabs mode leverages advanced AI technology to create highly detailed and realistic music tracks. It focuses on premium-quality output with enhanced depth and accuracy, making it ideal for high-end creative projects. If you do not know how to use this mode, read the steps provided below:
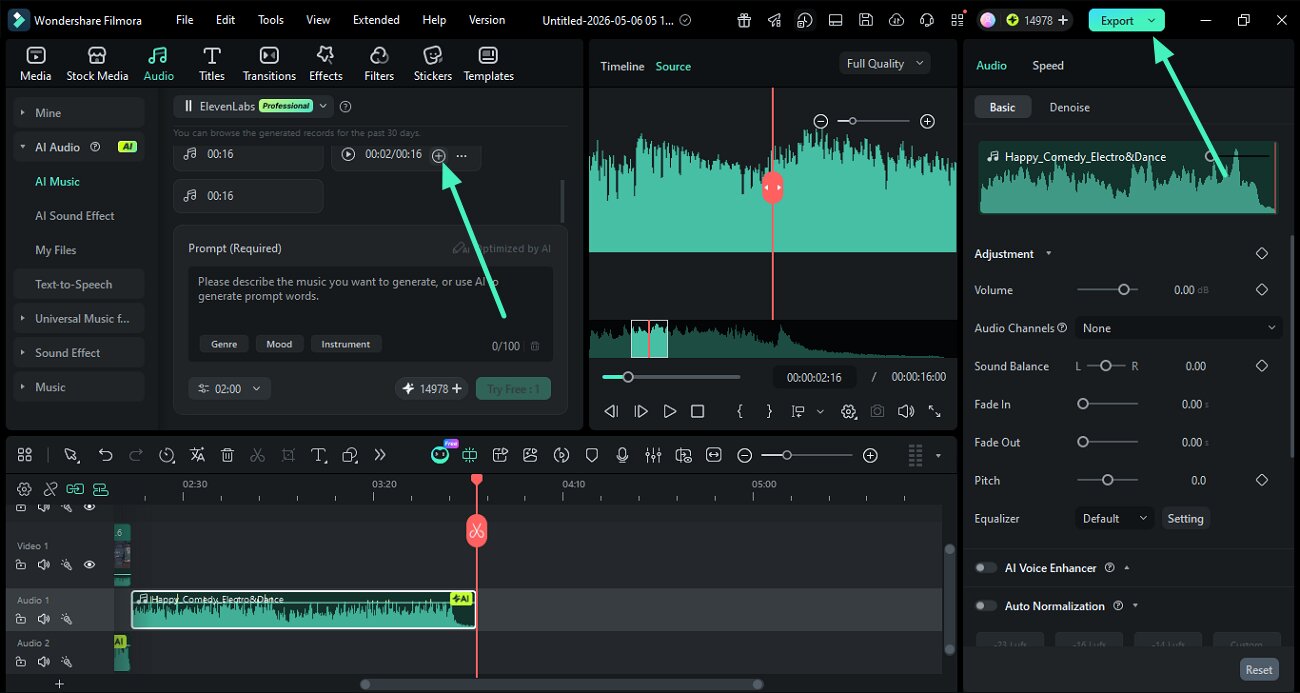
Step 1. Access ElevenLabs and Input Prompt
After opening the AI Music section in Wondershare Filmora, pick the ElevenLabs mode from the available options. Enter your text prompt, then customize the track by choosing the genre, mood, and instruments. Set the desired duration and click the Generate button to begin creating the music.
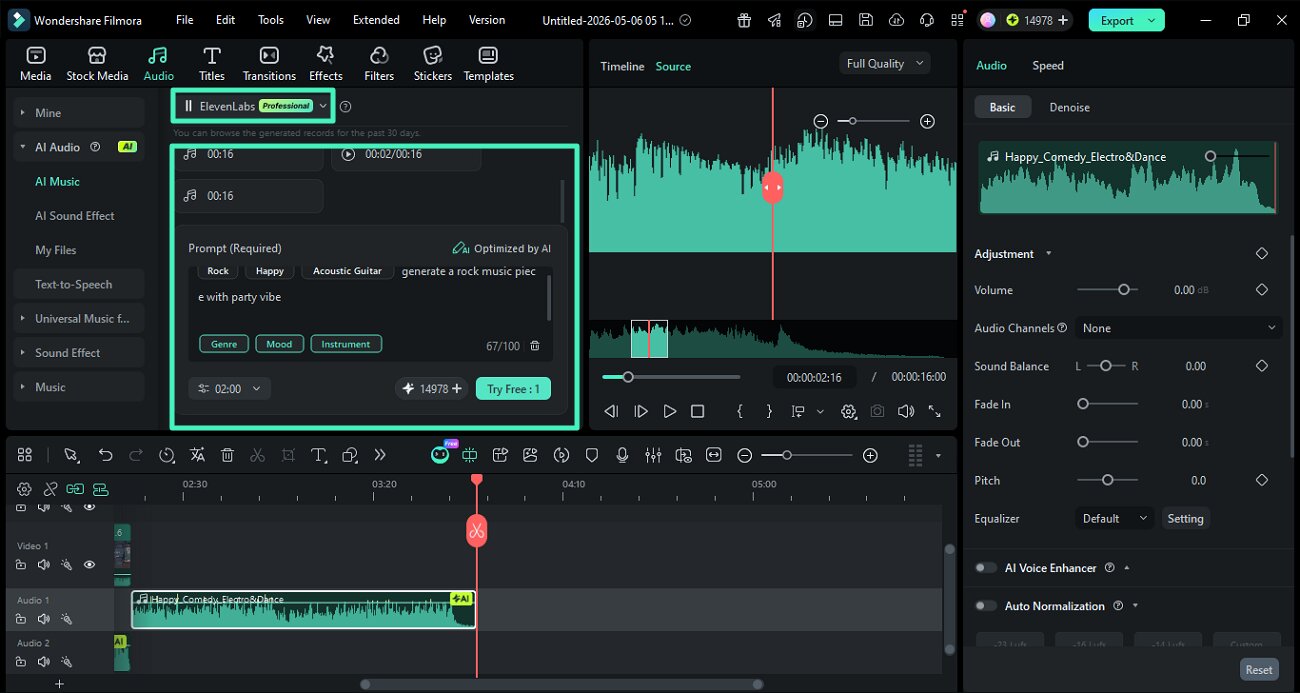
Step 2. Refine Output and Save Audio
Once the track is ready, move it onto the timeline and fine-tune it. After making the necessary adjustments, press the Export button to download and save the final audio file.
Related Posts
Featured Articles
AI Video to Video Generator: How to Transfer Style to Your Video
AI video-to-video style transfer lets you refresh old footage from a prompt. You can restyle the lighting, textures, and mood while keeping the original motion.
How To Make Your Videos Look Like VHS With Filmora
Do you want to give your videos a nostalgic retro vibe? Learn how to apply the VHS effect using Filmora. Make your videos look like they came from the '80s.
4 Best Apps for Making Short Videos in 2026: AI & Manual Tools
Discover the best apps for making short videos. Explore all the smart video editing apps that can help you quickly turn long videos into short viral clips.
Recommended User Guide
AI Auto Beat Sync for Windows
This is a guide about auto beat-sync in Filmora.
AI Audio Stretch for Windows
AI Audio Stretch is a useful tool to remix music automatically. It allows you to retime the audio clip easily to match the duration of the video. The beginning and end of the material remain the same in the remix, and the middle will be edited.
AI Voice Cloning in Wondershare Filmora
Do you wish to clone a video recording or tutorial in your voice? Using basic text presets and easy voice training, create a perfect clone of your voice.
